Hi friends,
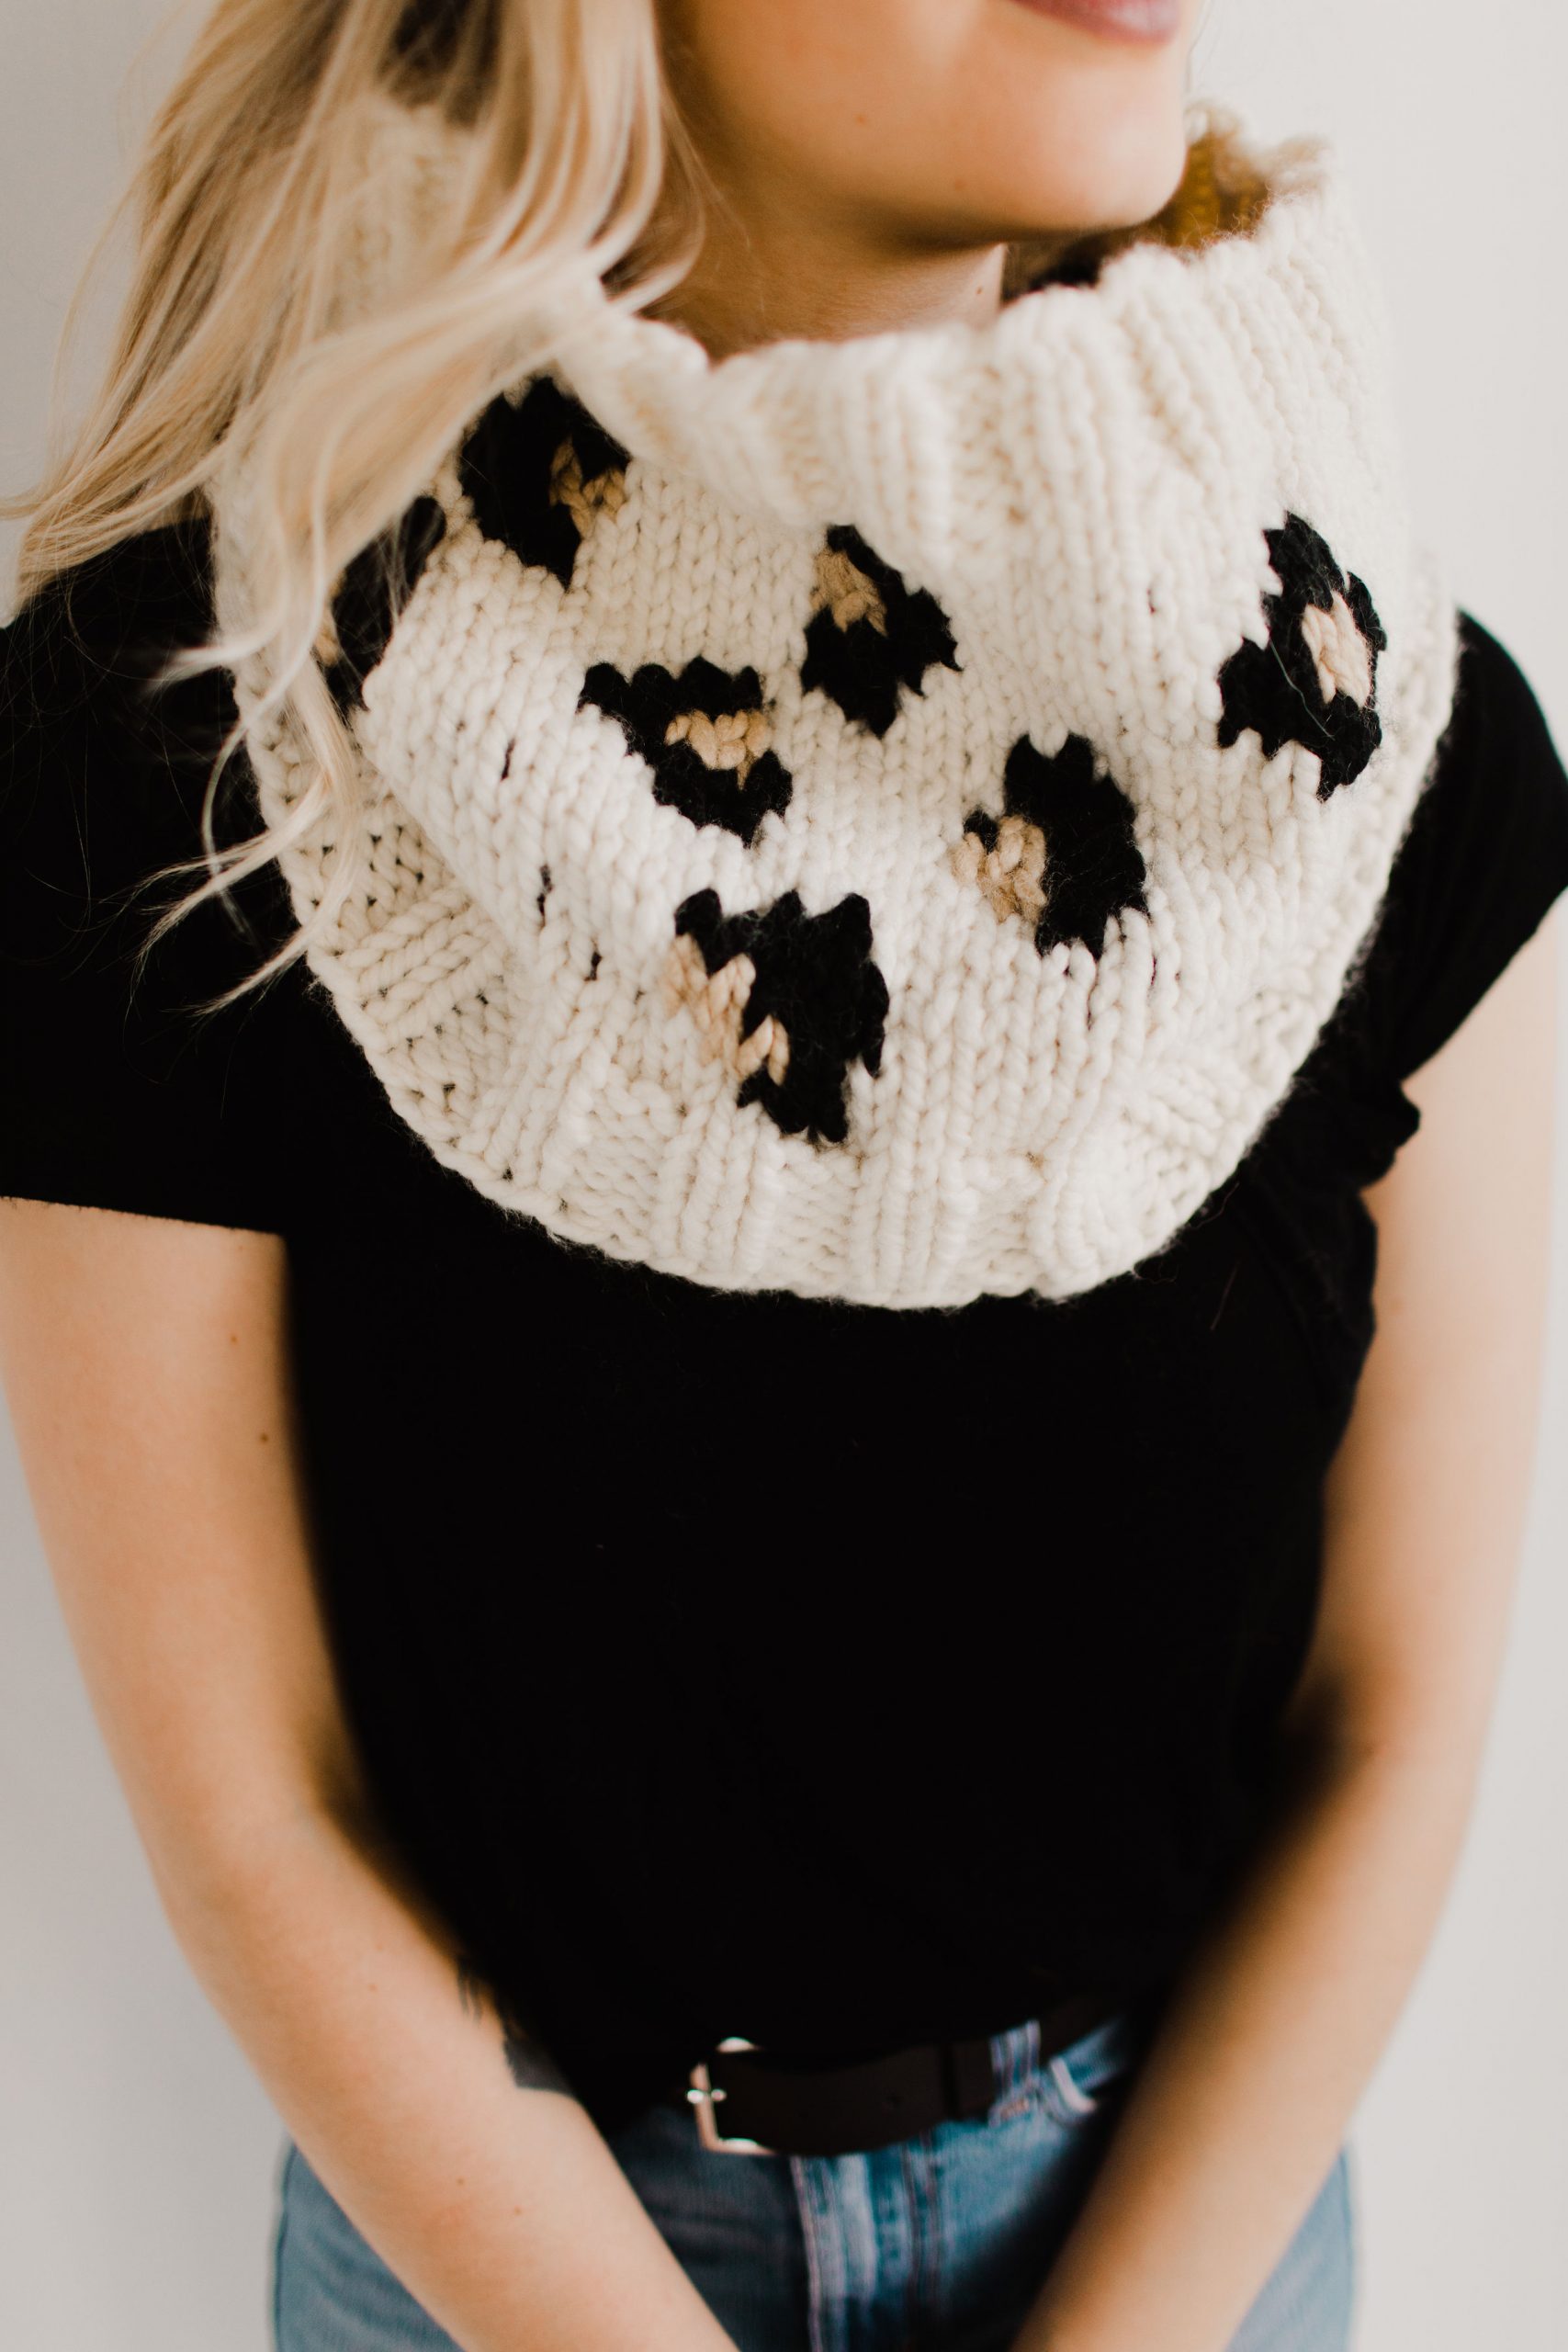
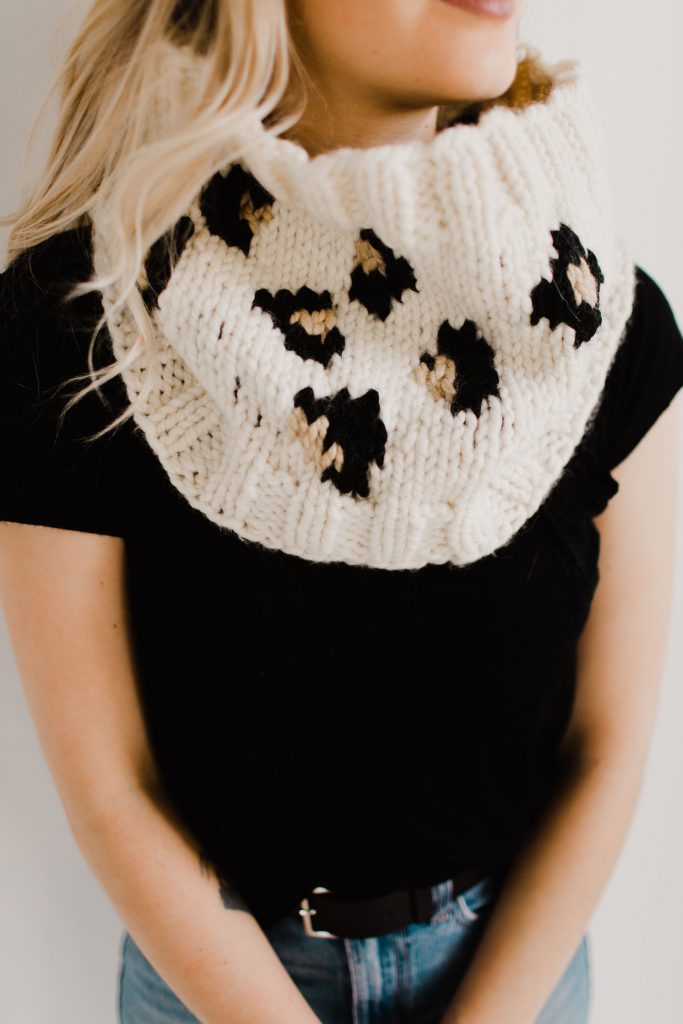
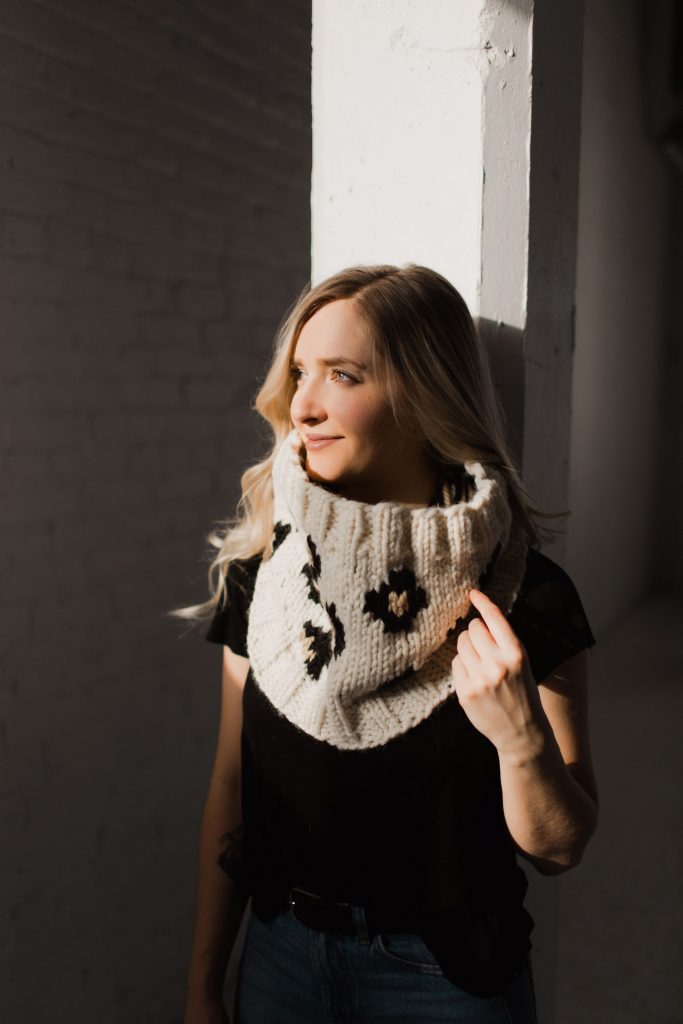
I’m so excited to share the Cheetah Print Cowl with you today! Click here to go straight to the pattern or continue reading fore more info, links, photos, and a coupon code!

About
I am doing some freelance design work for Lion Brand this year, and this Cheetah Print Cowl design is our first collaboration of this type. This pattern will be available on the Lion Brand website in a little while, but it is also available through my regular channels (Etsy, Ravelry, and my website) right now!
Cheetah print has been in style for the last 5-7 years and I’m still loving it. Something about mimicking nature is so desirable in fashion and I think even as this trend comes and goes, it’s just a classic design that will always be cool in my opinion. I have chunky cheetah print booties and multiple cheetah print tops, just call me Janice from Friends. “Janice” and “Janine” are close enough anyways.
![]()


Construction
This cowl is knit from the bottom-up, in the round, using fair-isle/stranded colourwork. This means that as each colour changes, the old colour floats in the back of your work and is picked up when you need it again. Since some of the colours are not used for as much as 6″ of space, I would catch the floats in the back of my work every 5-7 stitches, but you can do this however you want. Some of the colour may show through slightly if you are catching black floats behind white, but you can pull on the floats from the inside in order to hide them properly.
Blocking
This is a piece that you are going to want to block. If you’ve never blocked anything before, check out my “blocking” highlight on Instagram to learn about what types of projects you usually require blocking, or keep reading for more detailed instructions on how to block this cowl yourself. It’s super easy to do and you don’t need any fancy equipment, just a sink and a couple towels.
Blocking is a way of relaxing the fibers in your knit or crochet items and shaping your pieces so they lay in the proper shape. Think of it as ironing a wrinkly shirt. You wouldn’t wear a shirt that had a bunch of wrinkles, you would iron or steam it to smooth it out. It’s the same kind of thing for knitwear. When your piece comes off the needles, your stitches may not be uniform and your colourwork, lace, or cables may look a little wonky, even though you followed the pattern perfectly. This is why you block things – to help bring your knitwear to its intended state; to fix the cables, to straighten out any lace work, and to flatten out your colourwork so your knitwear isn’t bunched or puckered.
To block this cowl, I chose wet-blocking opposed to steaming it just because the yarn is so chunky that I wanted more drastic results. This is how I did it:
- Fill a sink with warm water
- Immerse your cowl in the water so that it is completely soaked.
- Remove cowl, gently scrunch excess water out, and put on folded towel.
- Roll cowl in towel or use a second folded towel to put on top of cowl and push on it to squeeze out excess water.
- Turn inside out and repeat.
- Turn back right-side out and lay flat to dry, shaping your cowl to your desired dimensions and flattening out any wonky cheetah spots with your hands.
- Lay flat on wire rack so that air can reach both sides if possible. Pin on blocking mat if desired.
- Use a fan to help dry cowl.
You can also use your hands to help pull on any loose strands to help make all the stitches look uniform.
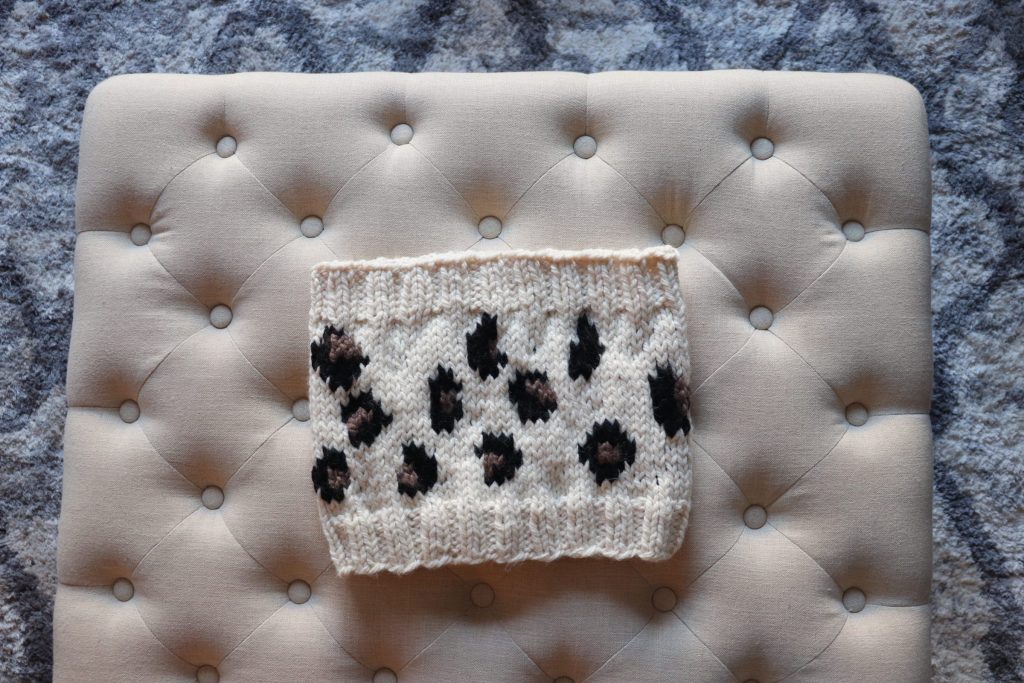
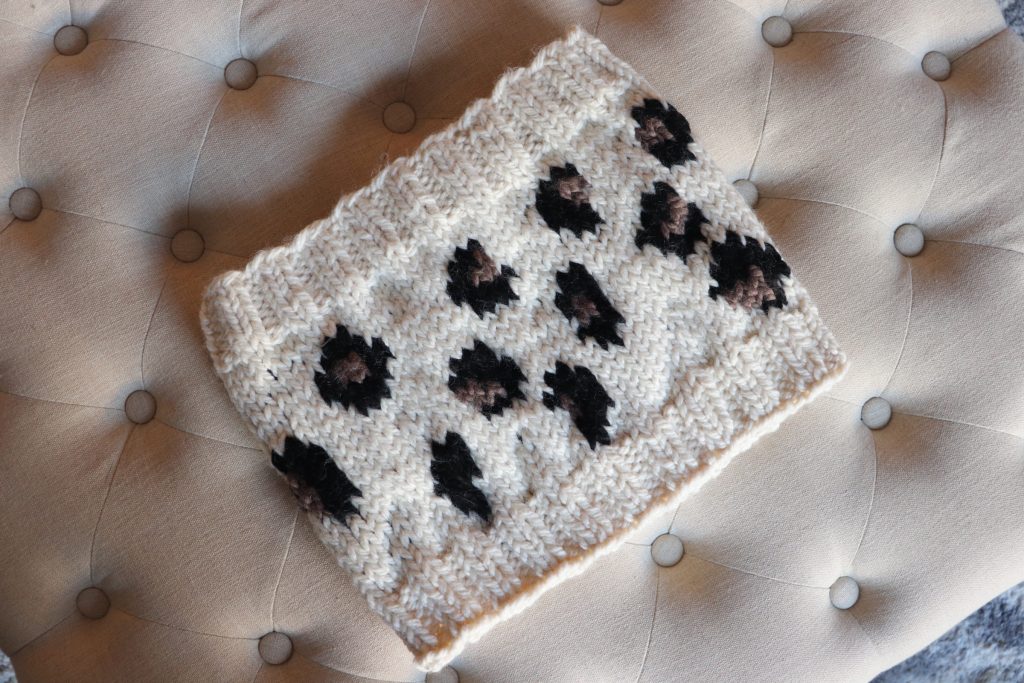
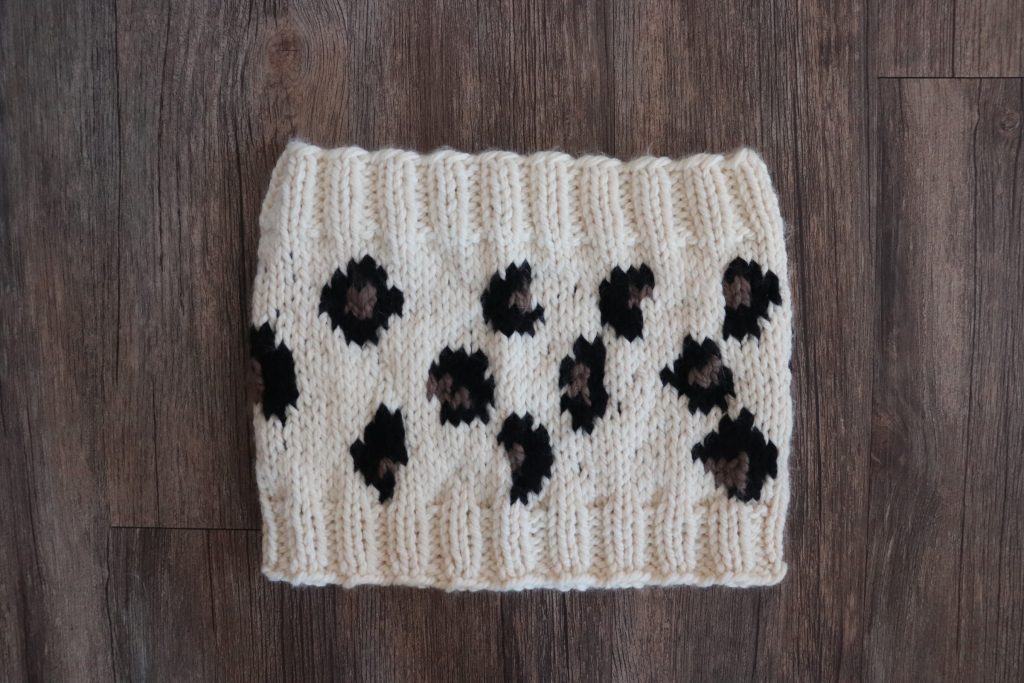
Here is a photo comparing pre-blocking + post-blocking:
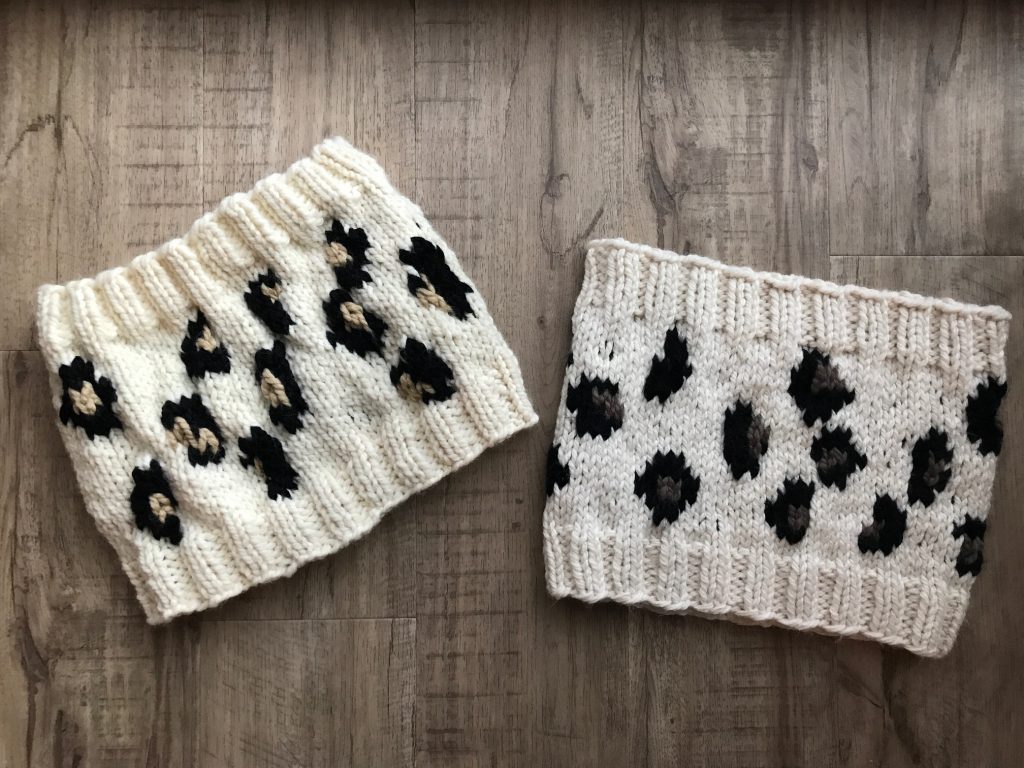
I made 3 samples – one grey cowl that was kind of my jumping-off point so I could figure out how I liked my spots to look, then I used some of my Lion Brand Thick & Quick (the 100% acrylic kind with no wool) to fix some of the things I didn’t like in the first version, and then I used the regular Wool-Ease Thick & Quick for my final sample.
Yarn
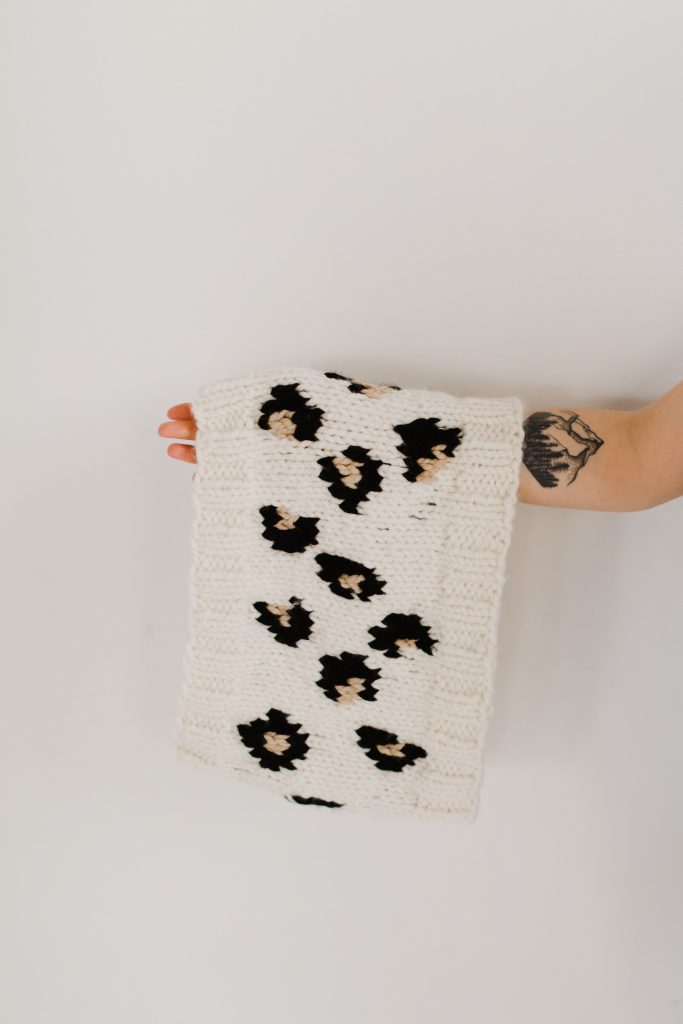
I used Lion Brand Wool-Ease Thick & Quick for this cowl in Fisherman, Black, and Peanut. (One of my samples shown here used “Taupe” as the brown shade in place of “Peanut“.)
This is a super bulky weight yarn and works up incredibly quickly. It’s also inexpensive and goes on sale all the time. Lion Brand is currently offering 35% off all yarn right now with code JAN35 if you’re interested!
You’ll need 2 skeins of your main colour (MC), and 1 skein of each contrasting colour (CC).
My cowl used just 120 yds of Fisherman (MC), 35 yards of Black (CCA) and 20 yds of Peanut (CCB). You definitely don’t need a full skein for your 2 contrasting colours, just a very small amount!
![]()
Thank you so much for reading + I hope you love working up this pattern as much as I loved writing it!
You can find the pattern for in these places:
On my website here.
On Ravelry here.
On Etsy here.
(Use the code “PATTERN10” for 10% off all patterns)
To get exclusive subscriber discounts on all new paid patterns, and be notified of all other free patterns, sign up below!
I can’t wait to see your WIPs! Make sure to tag me @knitsnknotswpg and use the pattern hashtag #CheetahPrintCowl so that everyone can see your projects!
Happy knitting,
Janine x
You May Also Like