Hi friends!
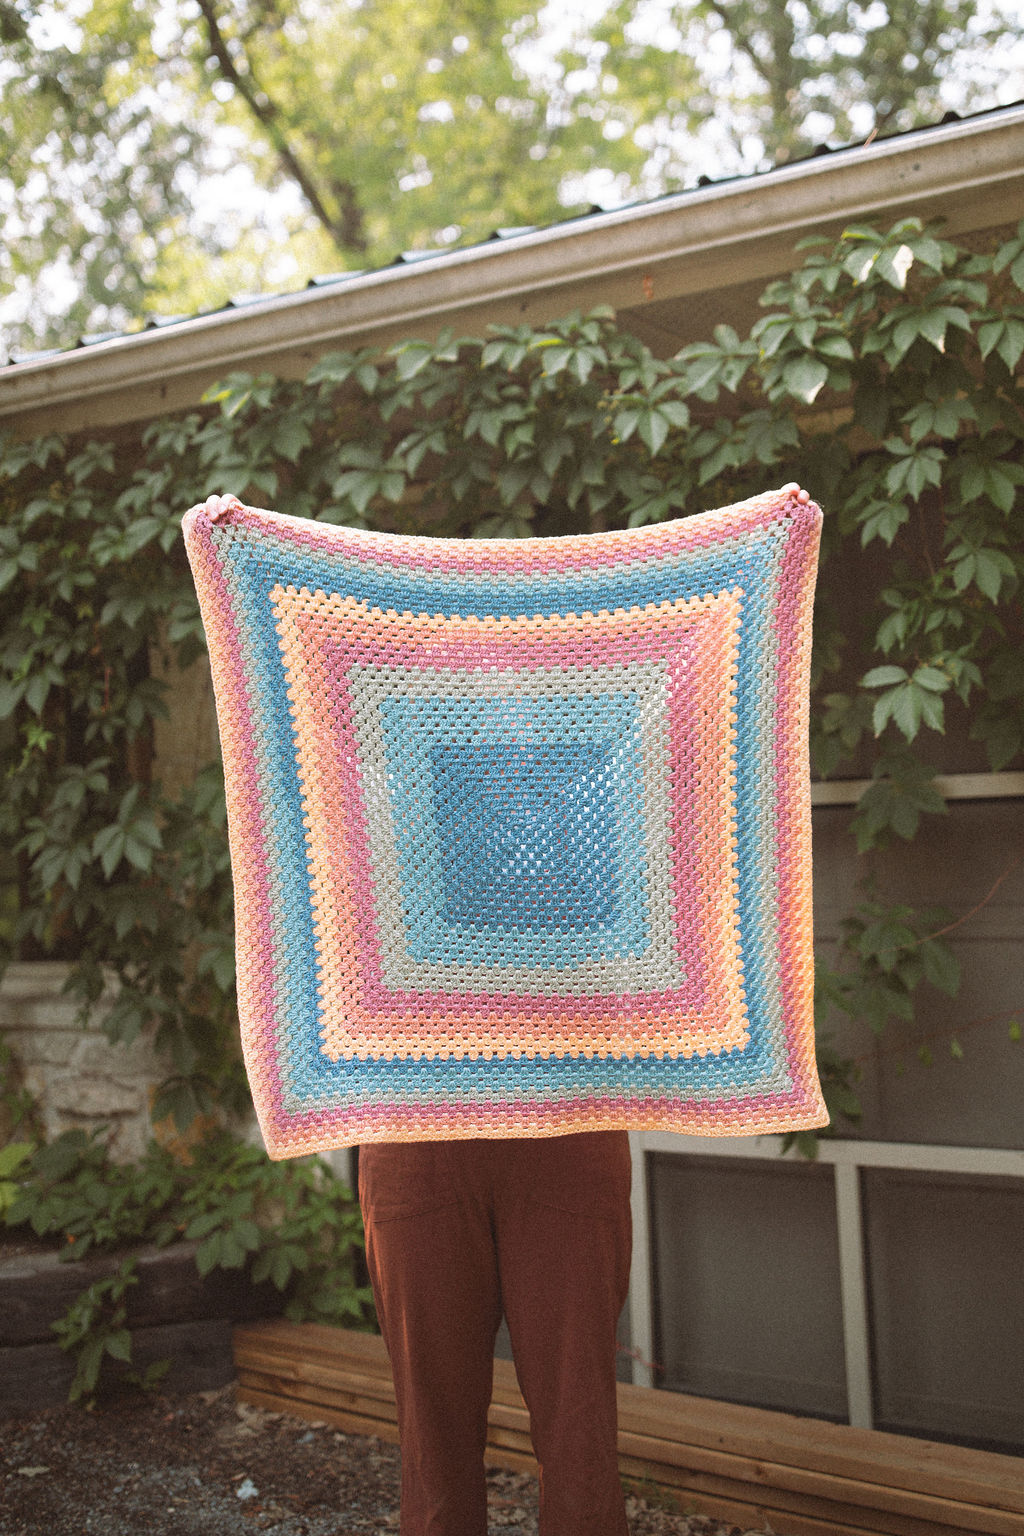
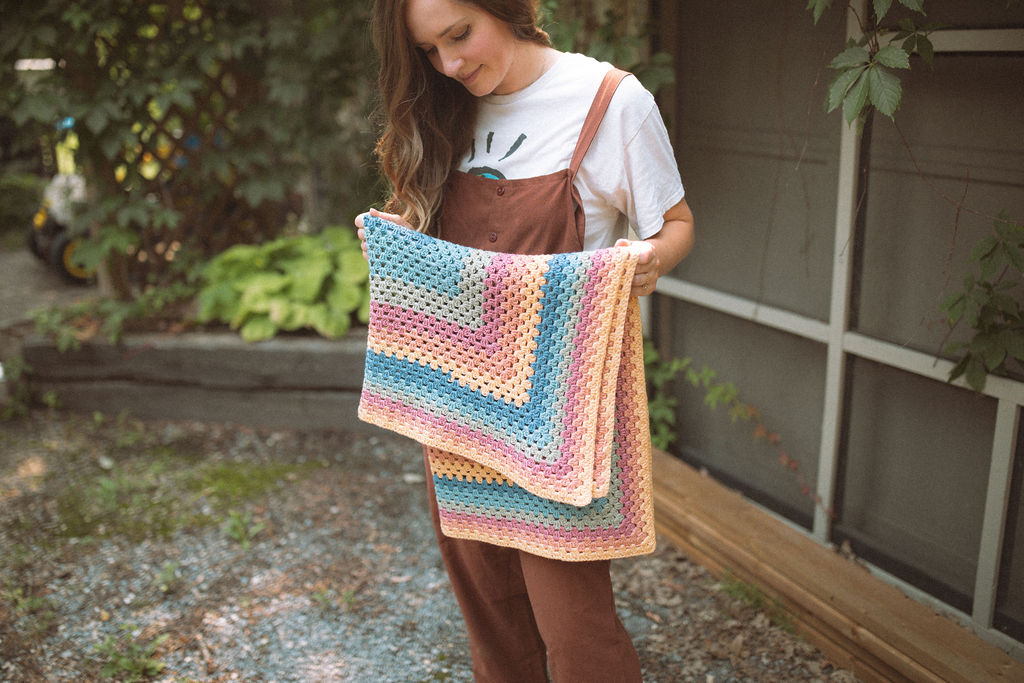
This post includes everything you need to know about my Carnival Crib Throw, a FREE pattern for a simple granny square blanket that you can work in any yarn, to any size. This particular yarn features an eye-catching colour palette thanks to the self-striping Hobbii Sunbird that I used for this sample! There are a ton of granny square patterns and tutorials out there, but I wanted to show you my favourite way to create a granny square. There are plenty of variations in the way they can be constructed: different methods for creating corners, some use ch-1 spaces between each cluster, and some turn after each round while others don’t. Keep reading to explore my favourite method!
Before we begin, here are some quick links for you:
- Find the inexpensive PDF version on Ravelry, Etsy, and my website.
- Add your finished project to Ravelry here!
- Shop the recommended yarn, Hobbii Sunbird, here!
- For any questions about this pattern, please email knitsnknotswpg@gmail.com and I’ll get back to you asap!
Shop my first book – Modern Crochet Sweaters: 20 Chic Designs for Everyday Wear – here!
If you want to be notified of all new pattern releases (and get exclusive discounts on all new paid patterns), sign up below!
This post contains affiliate links. This means, should you make a purchase, I will receive a small portion of the sale at no extra cost to you. All opinions are my own. View my Privacy + Disclosures Policy here.
About
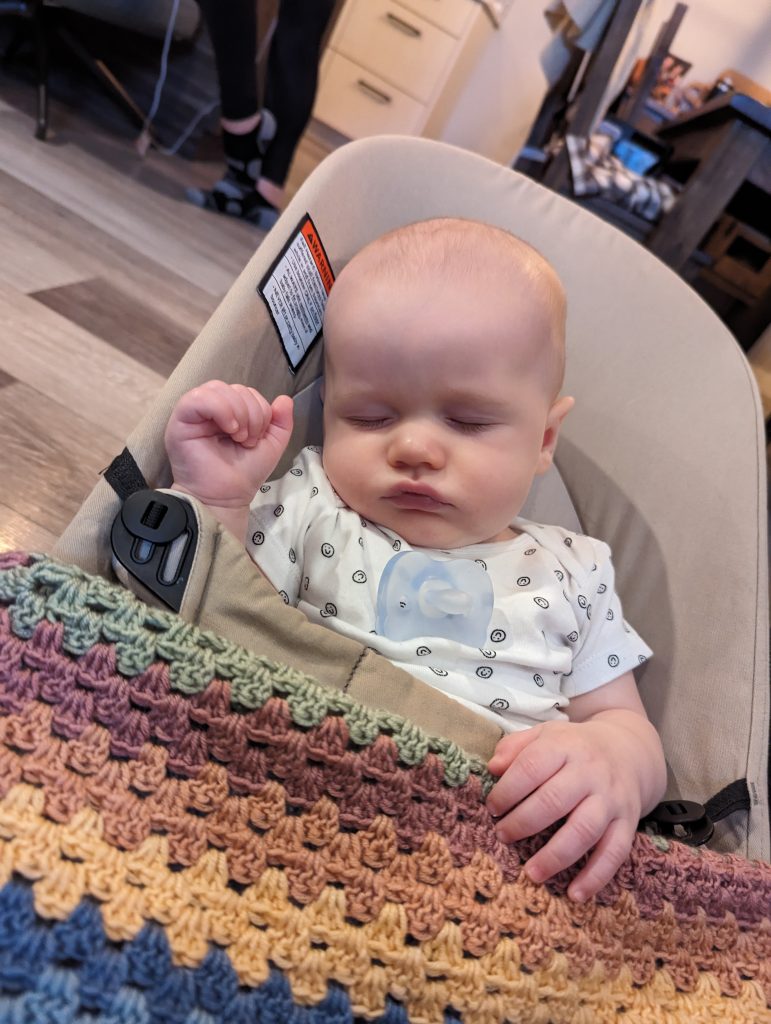
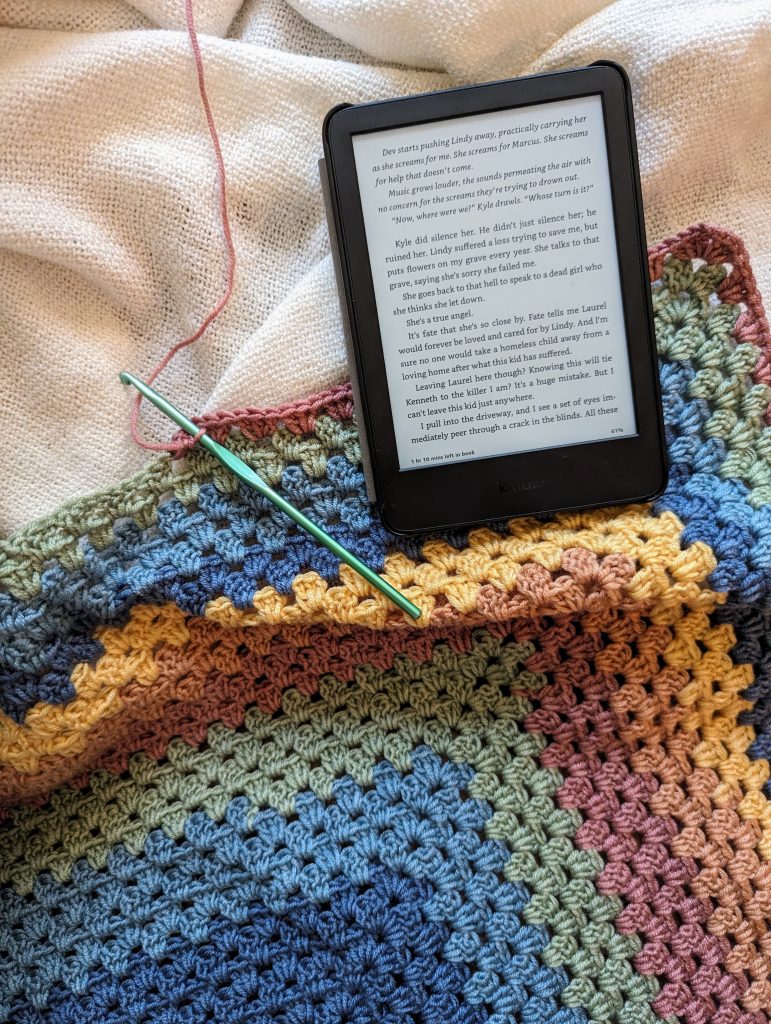
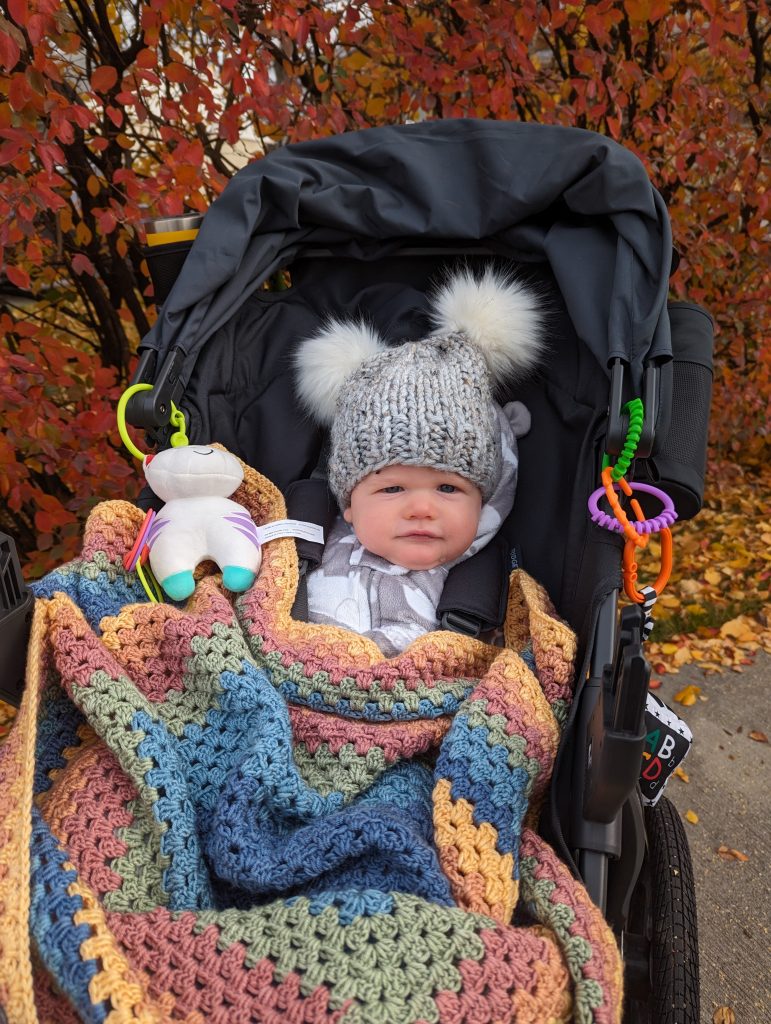
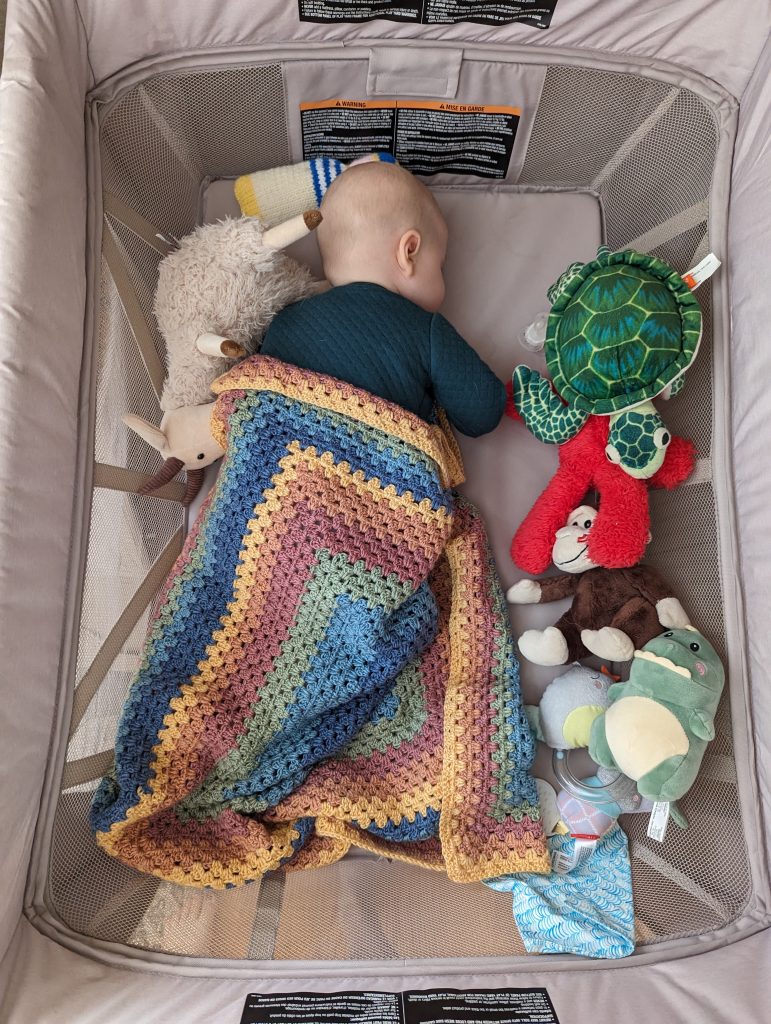
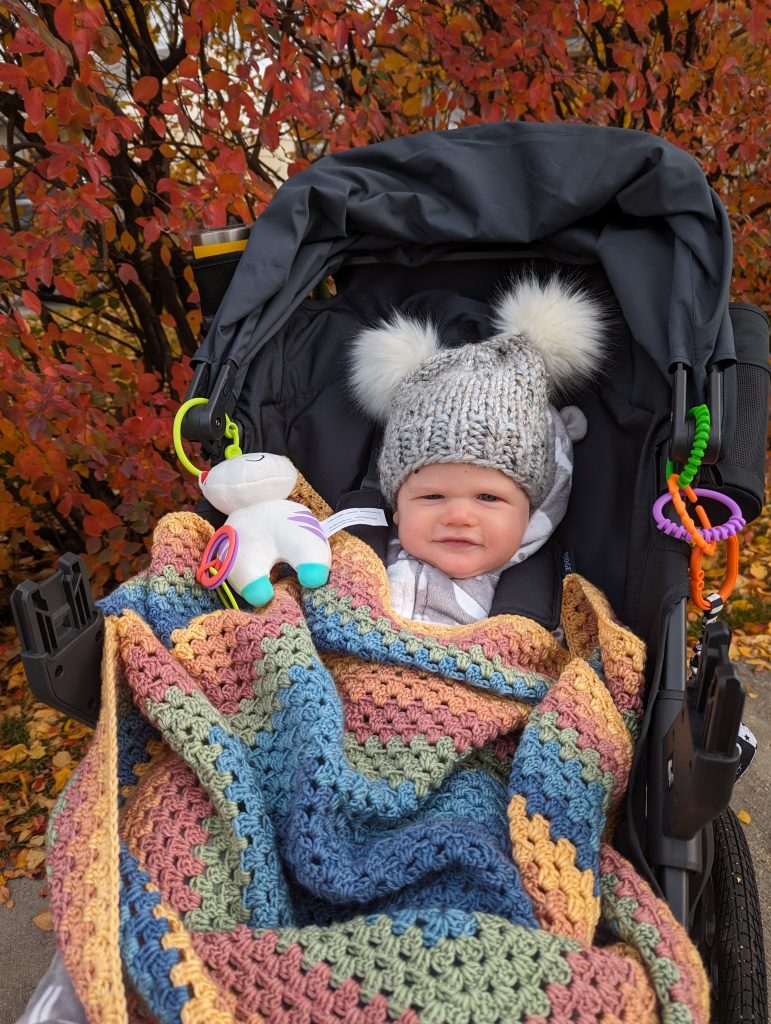
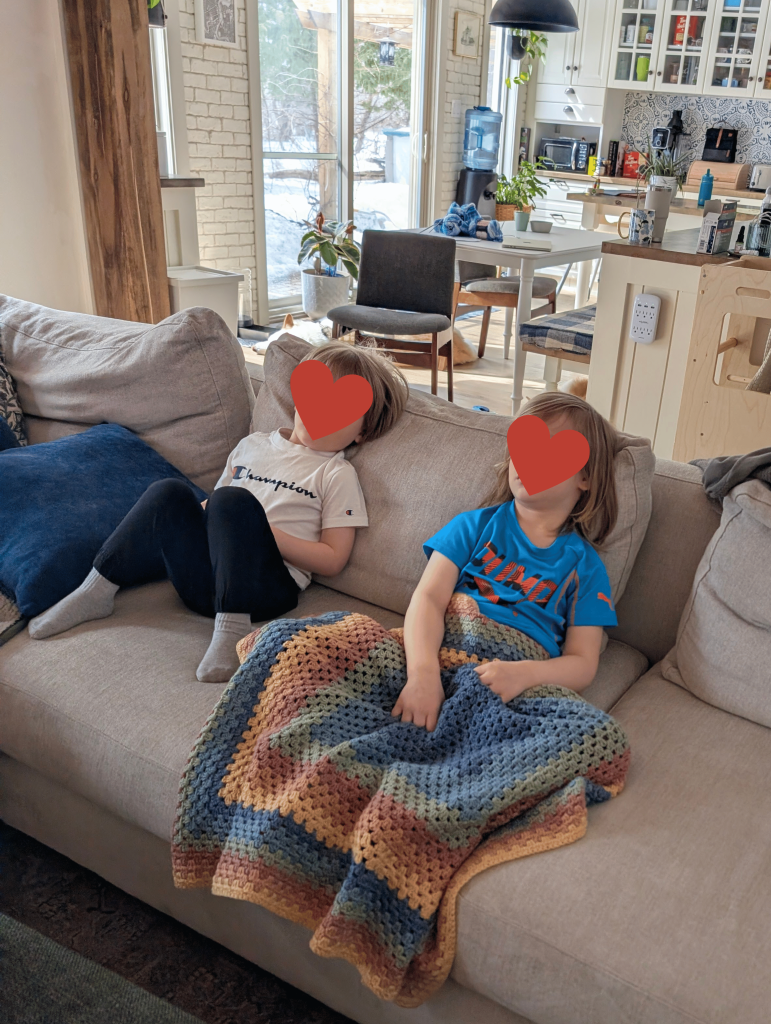
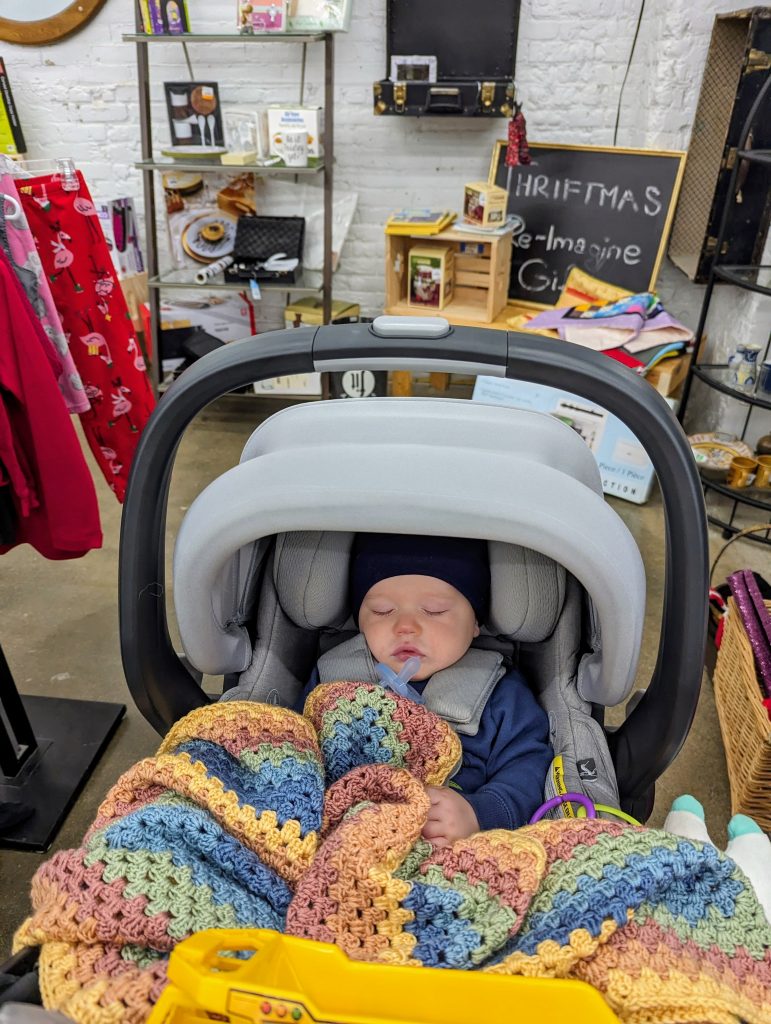
The Carnival Crib Throw is one big granny square, making for the perfect beginner-friendly crochet project. A thoughtful project for gifting (a great baby shower present!) since it’s easy and your square can be made any size. I used this blanket with both of my sons, and it went everywhere with us, from the crib, stroller, to car seat.
Scroll down for a few photos of it in use! It has been our go-to when we need an extra layer on chilly days or if I want to bring something cozy to Nana’s house when she babysits! It’s the perfect size and gets bonus points for allowing the yarn to do the (colour)work!
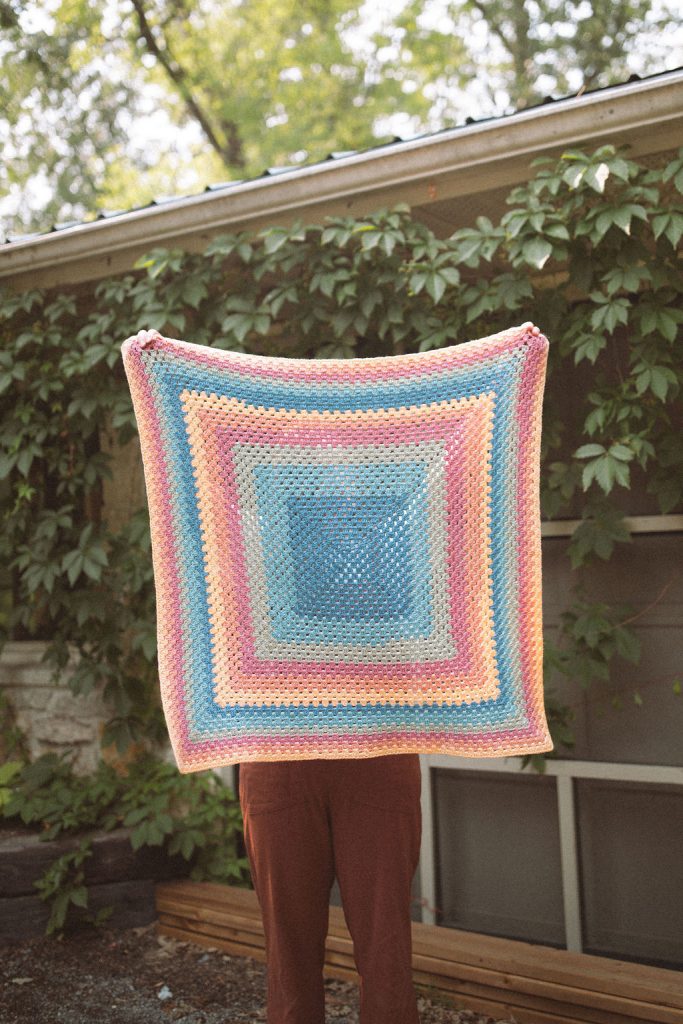
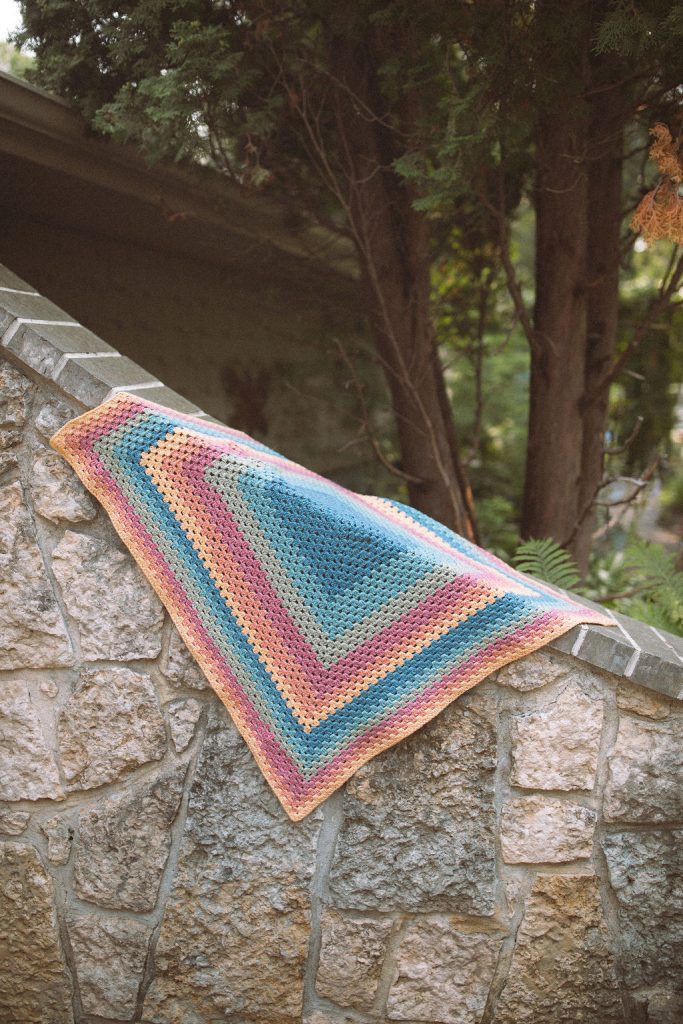
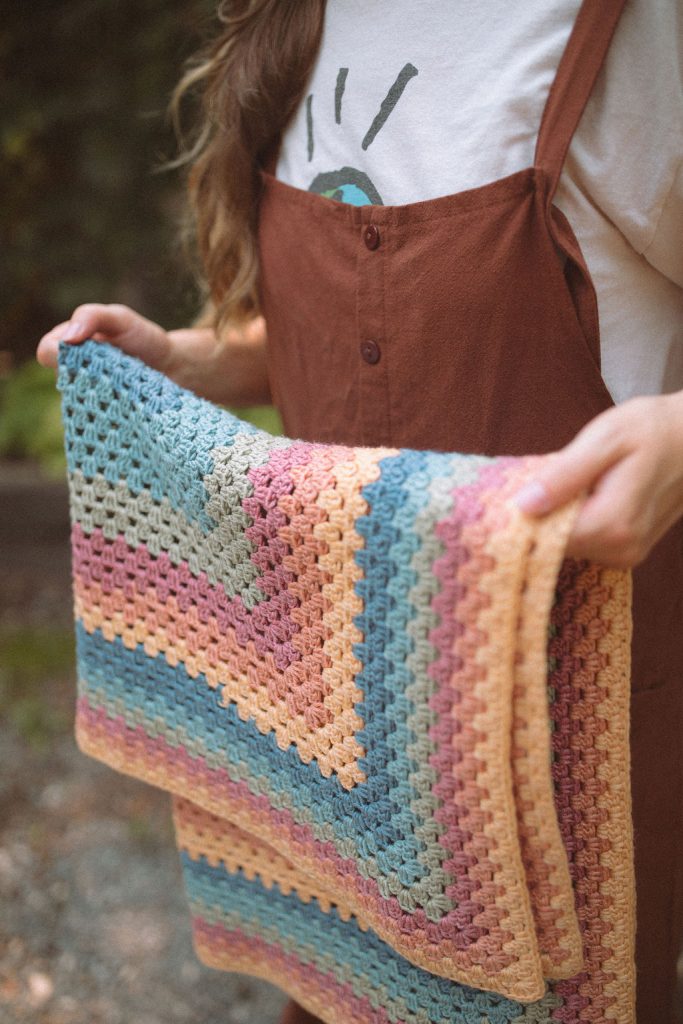
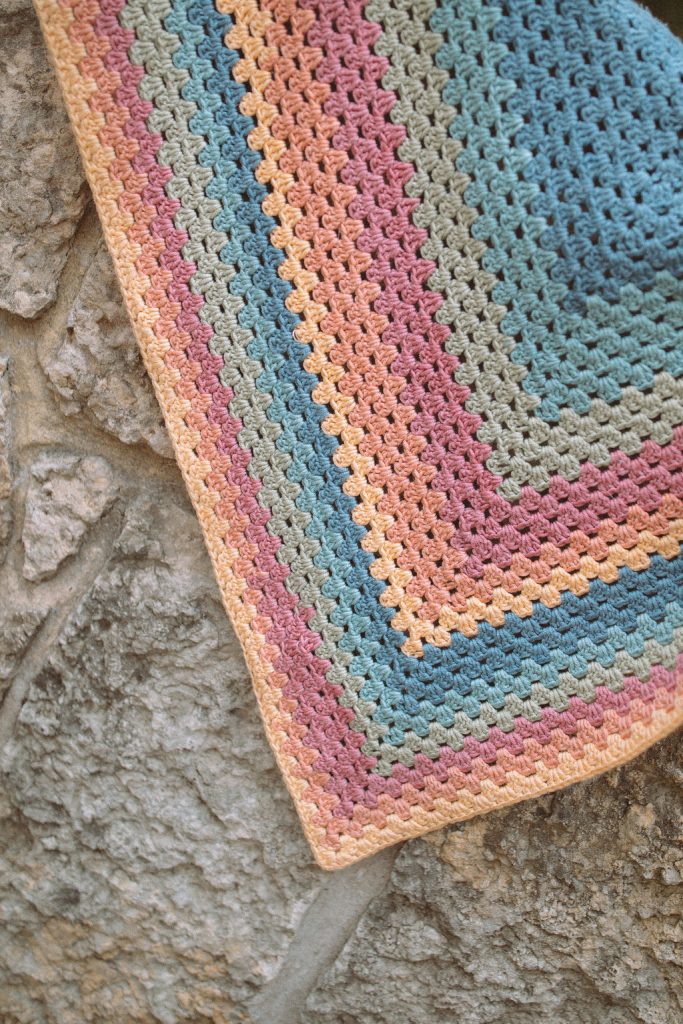
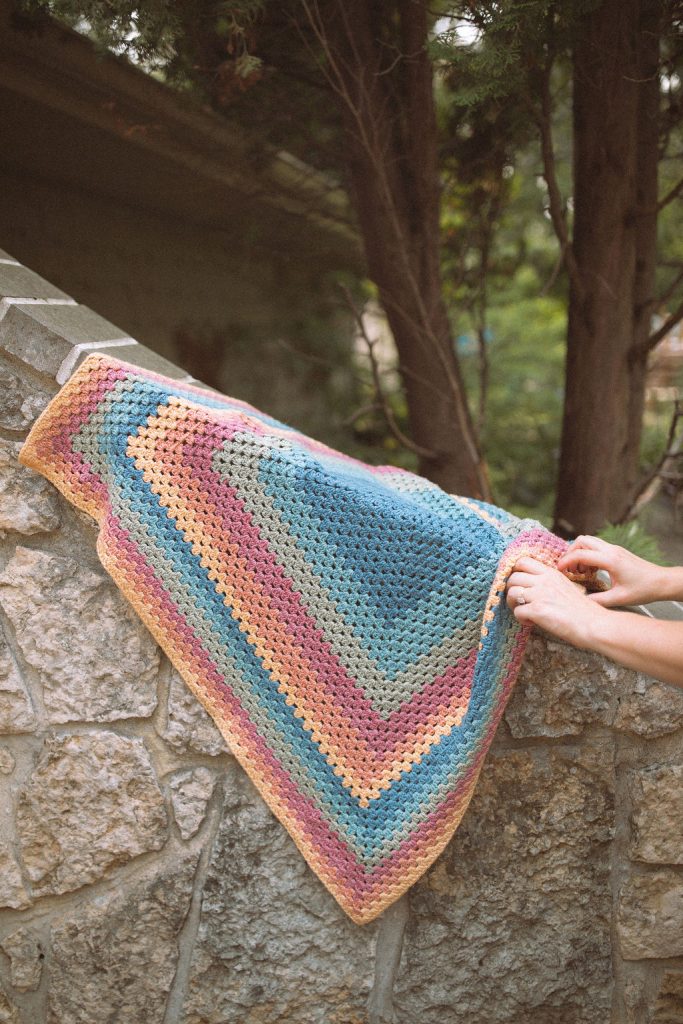
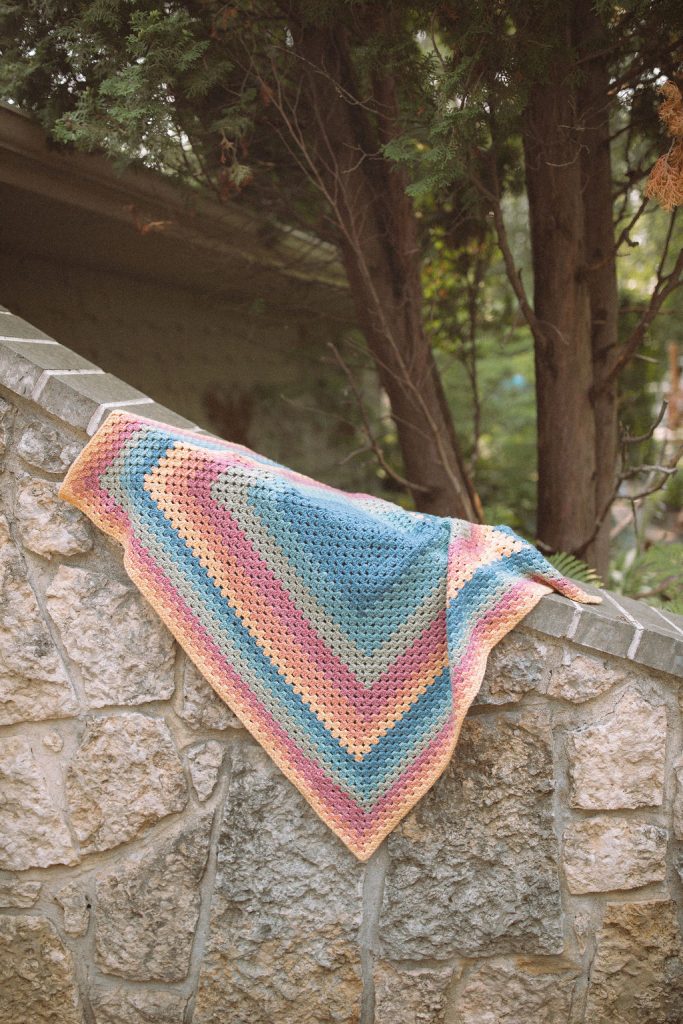
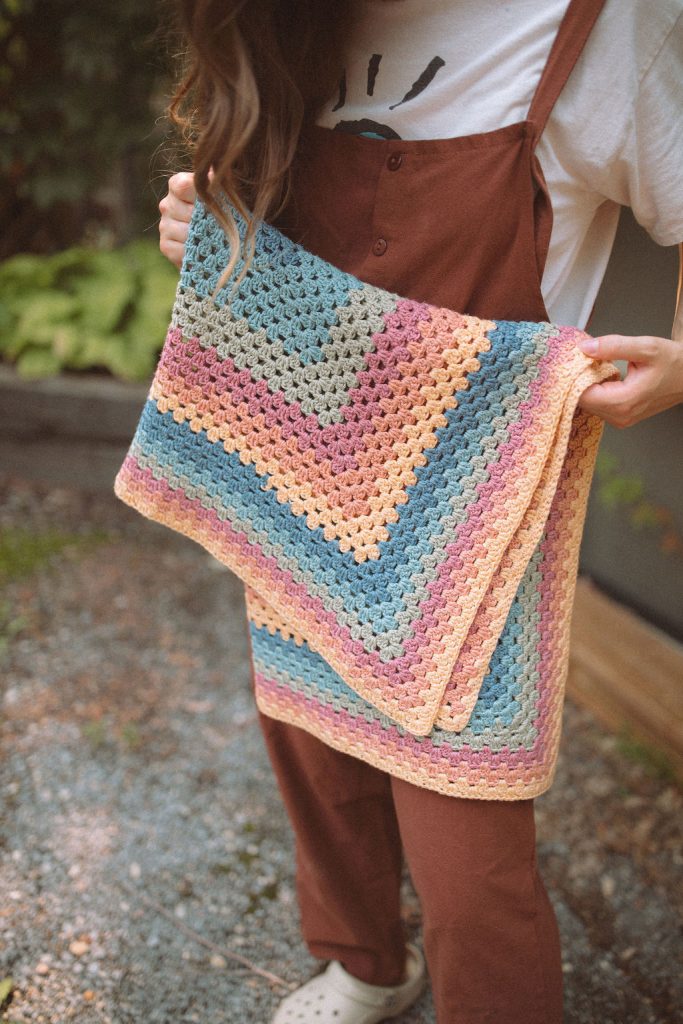
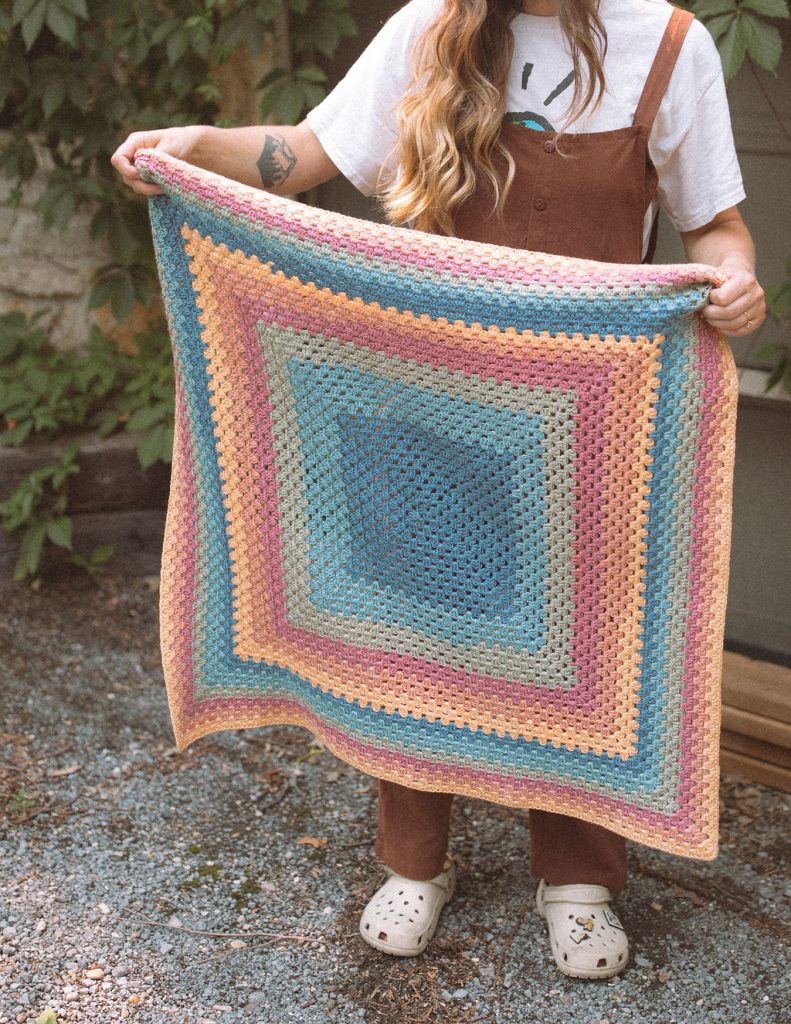
The Carnival Crib Throw in Use
Materials
Yarn Used: DK—Hobbii Sunbird in colorway “Monarch (01)”
- 100% Premium Acrylic
- 546 yds (500 m) per 7 oz (200 g) skein
- Find this yarn on hobbii.com or visit yarnsub.com to find comparable substitutes available in your region.
Yardage Required: 2 skeins or 1043 yds
Yarn Substitution: Substitute Hobbii Sunbird with any similar light, category 3, DK weight yarn that matches gauge. Always swatch before beginning to ensure you are happy with the resulting fabric.
Notions: Tapestry needle, scissors
Hook: Size U.S. G/7 (4.5 mm)
Measurements
This finished blanket measures approximately 31” (79 cm) square.
Gauge
4 x 4” (10 x 10 cm) = approximately 5 granny repeats across and 11 rounds
Note: Gauge is less important for a pattern like this. If you want your blanket to turn out like the sample shown, use this gauge. If you don’t mind a slight variation in size, use whichever yarn/hook combination you like and work as many rounds as desired.
Terms + Abbreviations
Written in U.S. Crochet Terms
- beg: beginning
- ch(s): chain(s)
- ch-sp: chain space
- cluster: this refers to a group of 3 double crochets worked into the same space
- dc: double crochet
- hdc: half double crochet
- magic ring: see photo tutorial on page 5
- rep(s): repeat(s)
- rnd(s): round(s)
- sl st(s): slip stitch(es)
- sp: space between clusters
- st: stitch
Pattern Notes
Skill Level: Easy
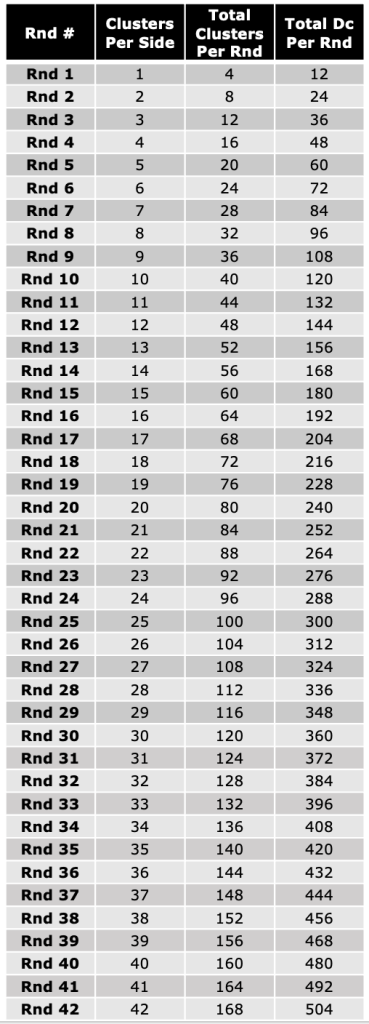
Stitch Counts: Stitch counts are listed after each round. Each new round adds one cluster to each side of the square, for a total increase of 4 clusters (12 dc) per round.
Reversible: There is no right side or wrong side; both sides are identical.
Turning Chain: The beginning chain (ch-3) counts as the first double crochet of each round.
Construction: This blanket is worked in concentric rounds, beginning with a magic ring at the very centre.
Round Joins: In this pattern, each round is worked in joined, turned rounds. Be sure to turn your work after completing each round so that you begin the next round in the opposite direction. Each round is joined with a hdc instead of a sl st, positioning your hook in the corner ch-sp to begin the next round.
Beginning Each Round: After turning your work, ch 3 and work 2 dc into the corner ch-sp created by the hdc join of the previous round. This completes your first cluster
PATTERN
Make Magic Ring (or ch 4 and sl st into first ch to create ring). .
- Note: See stitch count chart below.
- Note: See Magic Ring tutorial below.
Rnd 1: Ch 3 (counts as first dc here and throughout this section), work 2 dc into ring, ch 2 to create first corner, 3 dc in ring, ch 2 to create next corner, 3 dc in ring, ch 2 to create next corner, 3 dc in ring, hdc into top of beg ch to join rnd (this hdc creates your last ch-sp), turn. [1 cluster per side; 4 clusters total, 4 corner ch-sp]
Rnd 2: Ch 3, work 2 dc in first ch-sp, work (3 dc, ch 2, 3 dc) in each of the next 3 ch-sp, 3 dc in final ch-sp (this cluster is worked into the same ch-sp as your first cluster), hdc into top of beg ch to join rnd, turn. [2 clusters per side; 8 clusters total, 4 corner ch-sp]
Rnd 3: Ch 3, work 2 dc in first ch-sp, *work 3 dc in each sp across until reaching next corner ch-sp, (3 dc, ch 2, 3 dc) in corner ch-sp; rep from * 2 more times, work 3 dc in each sp across to the starting corner ch-sp, 3 dc in this final ch-sp, hdc into top of beg ch to join rnd, turn. [3 clusters per side; 12 clusters total, 4 corner ch-sp]
Rep Rnd 3 until you have completed a total of 42 rnds or until reaching your desired size.
Finishing
Fasten off and weave in any remaining ends. Block your finished blanket to the proper dimensions to help smooth out your fabric and create crisp corners without any curling.
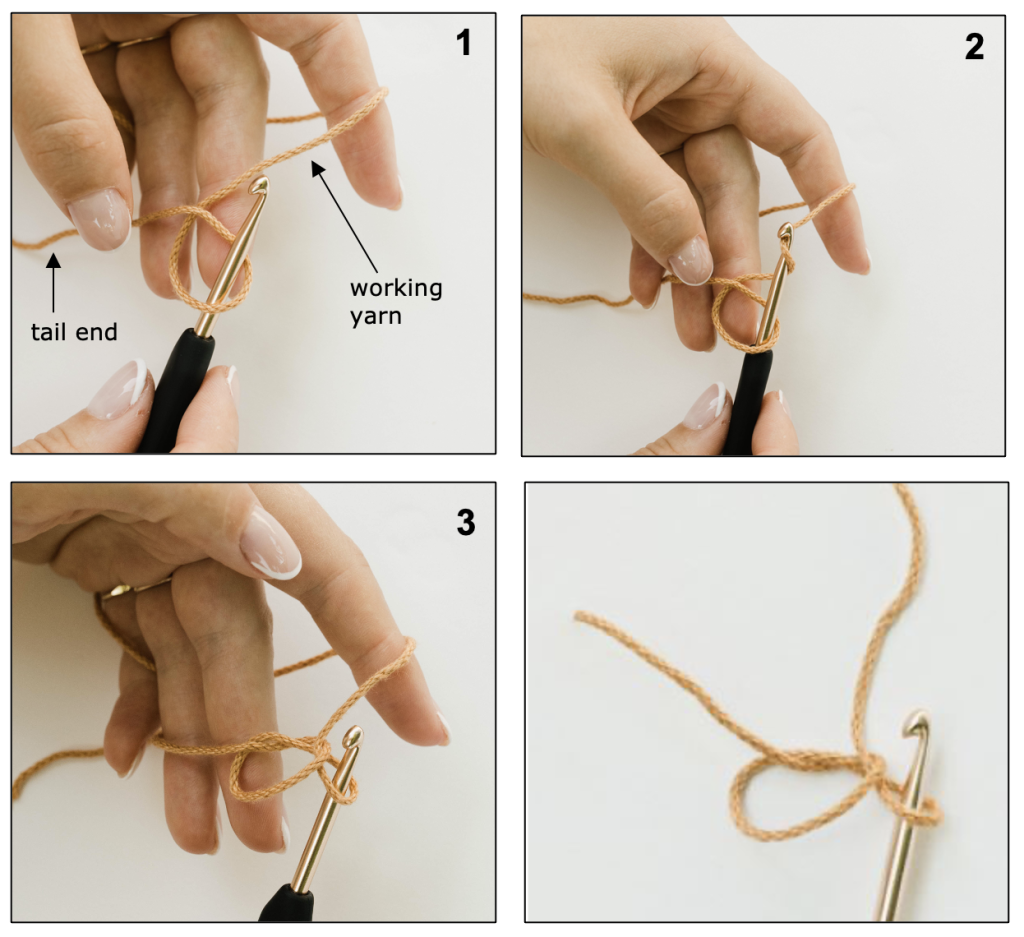
Magic Ring Tutorial
There are a few methods for making a magic ring. Here’s how I do it:
Step 1: Wrap your yarn around the hook as shown in the photo.
Step 2: Yarn over with the working yarn (the strand connected to the skein).
Step 3: Pull through the loop on your hook.
You have now created an adjustable ring into which you can crochet as many stitches as the pattern indicates.
Once you are done working into this ring, you can cinch it closed by pulling on the tail end.
Stitch Count Chart
#CarnivalCribThrow
Thanks so much for reading!
Find the inexpensive pattern PDF in these places:
On Ravelry
On Etsy
On My website
Happy making!
x
Janine
You can find my full print book, Modern Crochet Sweaters: 20 Chic Designs For Everyday Wear on the shelves of all major retailers or see purchasing options here.
For exclusive discounts on all new patterns, join the Knits ‘N Knots newsletter list here!


You May Also Like


Leave A Comment