

Hi friends!
This post contains affiliate links. This means, should you make a purchase, I will receive a small portion of the sale at no extra cost to you. All opinions are my own. View my Privacy + Disclosures Policy here. This post is sponsored by We Crochet.
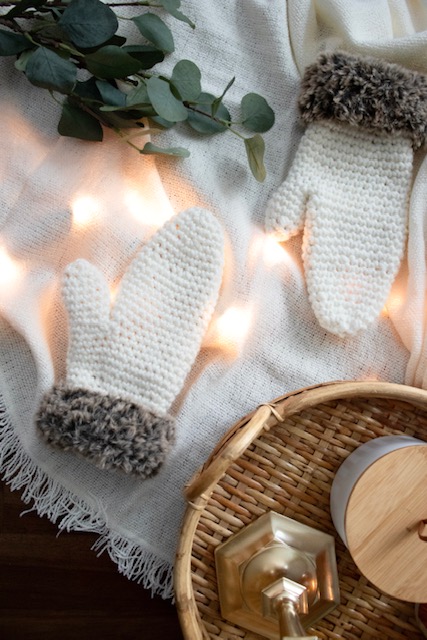
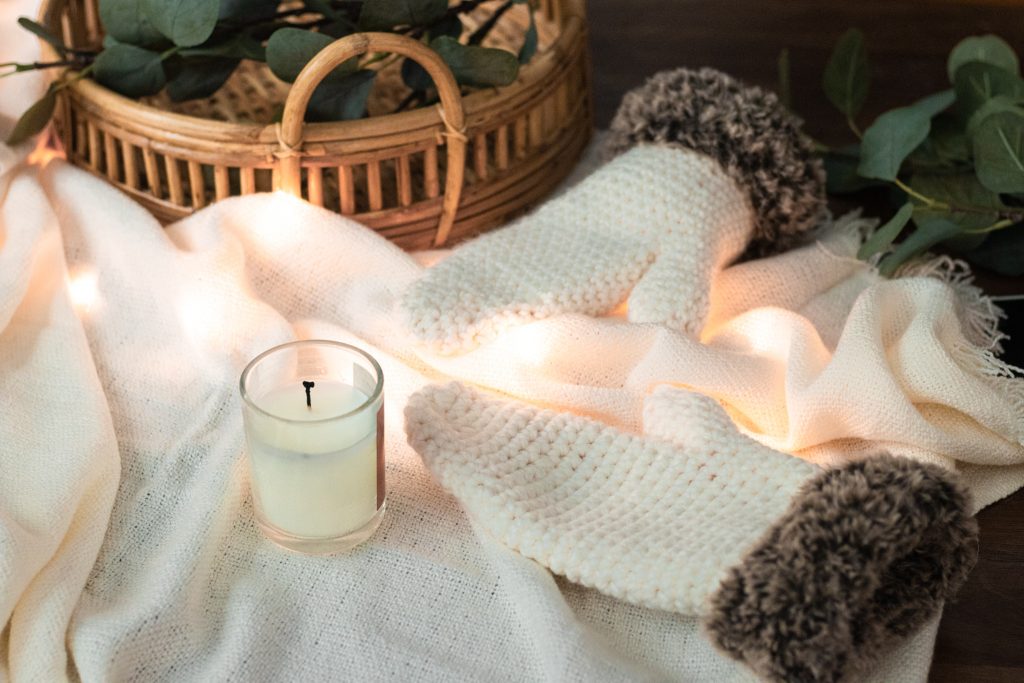
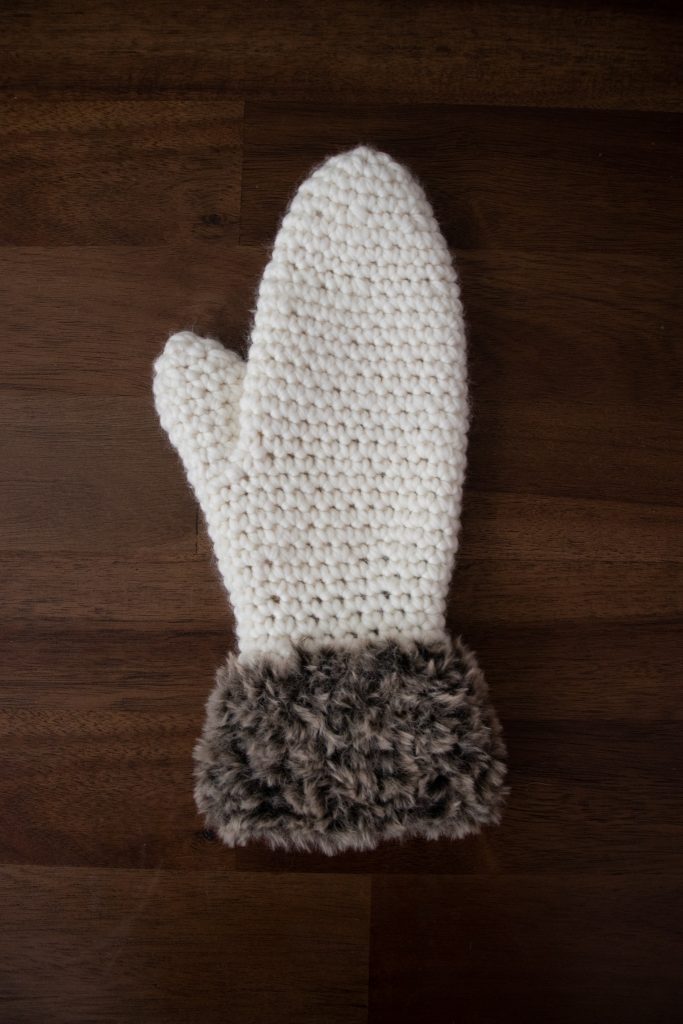
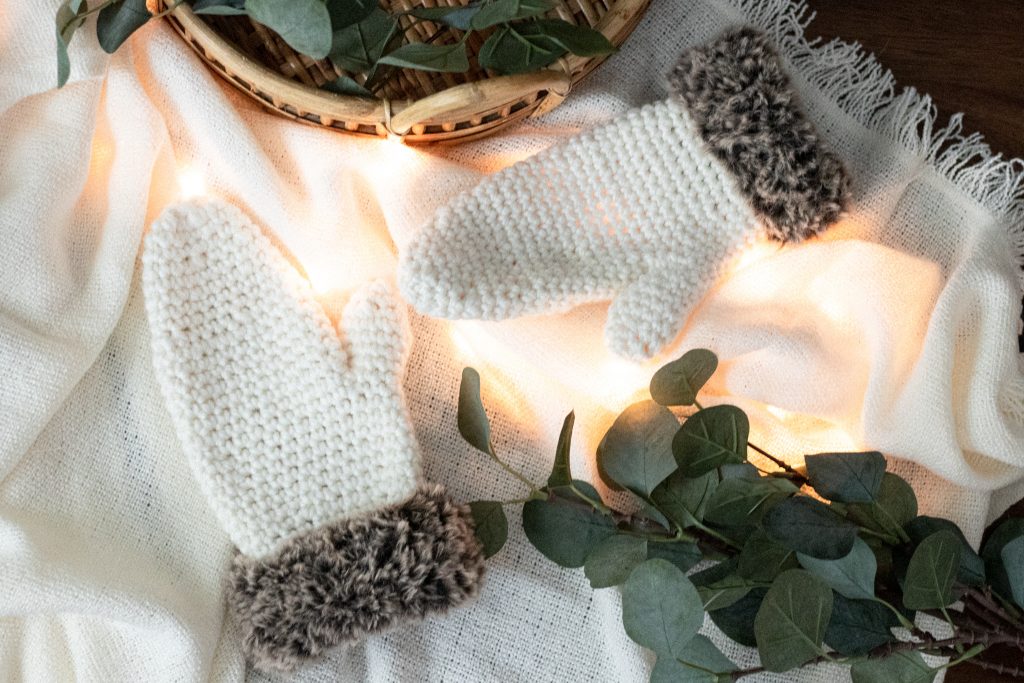
Today I’m sharing my Sugarplum Mittens pattern with you – a free pattern made with Biggo Bare yarn and Fable Fur from WeCrochet. Make sure to check out both of these yarns as they are BOTH currently on sale! Yay!
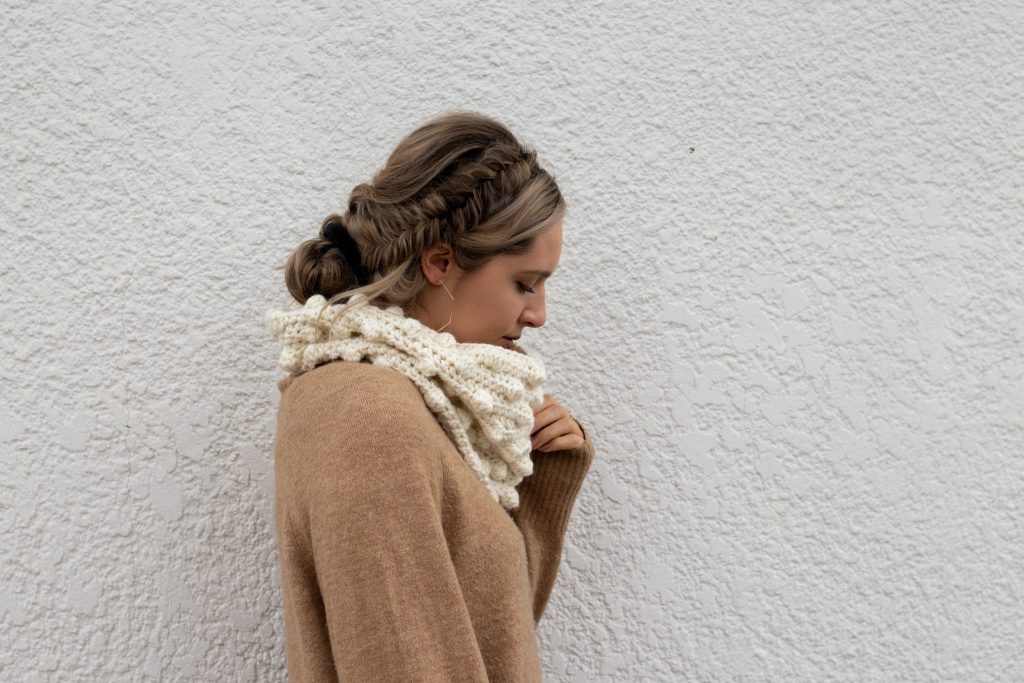
Each month I share a free pattern with you in collaboration with We Crochet. Last month was the Wolseley Cowl, a chunky cowl with bobbles galore, in case you missed it! That was a popular one and I’m so glad you guys loved it!
If you want to be notified of all new pattern releases (and get exclusive discounts on all new paid patterns), sign up below!
About
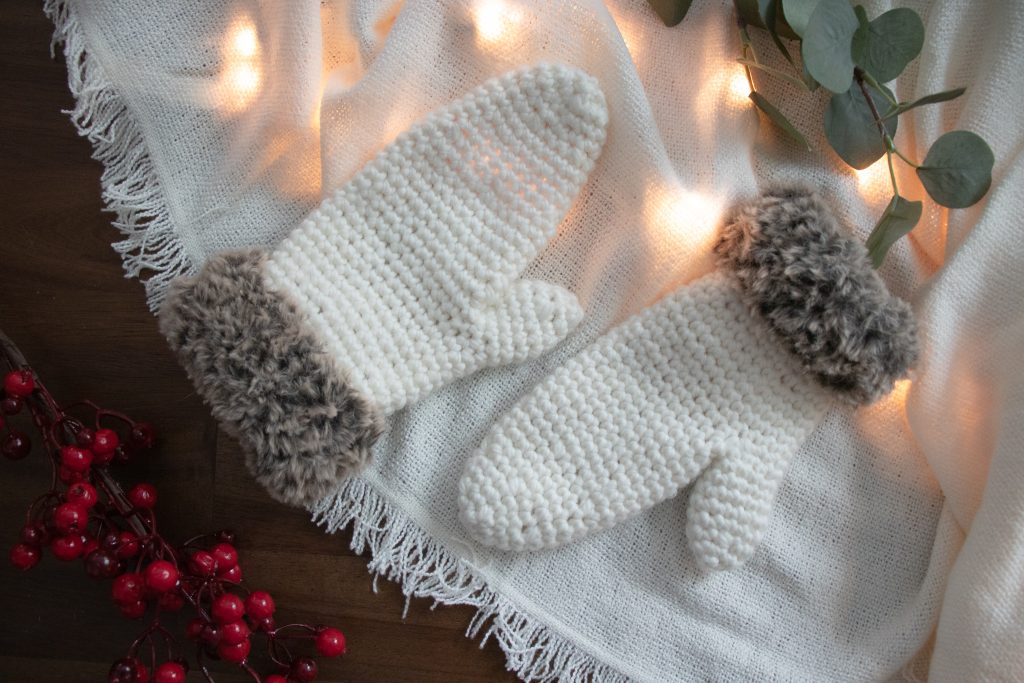
Now that the holidays are upon us, I’ve been itching to use some faux fur yarn. I don’t know about you, but I’m obsessed with organic looking, neutral textures. Combining wool and faux fur is just *chef’s kiss* to me. I have about 92368 other ideas in my head that involve faux fur and you can bet that I’m gonna be using this again in the future because it’s so fun to work with. The great thing about crocheting with faux fur is that you can’t make out any of the stitches. You might be thinking .. well doesn’t that make it harder to work with? No! Because this means you can place the stitches wherever looks right and get on with your life. As long as you work the correct number of stitches in every round, you can place your stitches wherever feels right to you, because nobody will ever know. *No one’s gonna know.* If you’re more of a type-A person, you can use your fingers to feel for the holes from the stitch below and be certain your stitches are uniformly placed, if you don’t like to live on the edge like I do. Lol.
I have wanted to make crochet mittens for a long time, but I honestly didn’t know how to best do this. The one thing that has helped me figure out an easy way is actually thanks to designing some top-down yoke sweaters. The separating of the yoke to create space for the sleeves is actually the exact same technique as separating the mitten “body” to create space for the thumb. A mitten is essentially a top-down yoke sweater with a thumb hole and is closed at the bottom. Now, this is about as easy as a mitten can get. More advanced patterns will have strategic placing of increases to be worked only around the thumb to create a thumb gusset, but I chose to add increases evenly around the entire mitten body because, well, it’s the easiest way and it works out just fine. By the way, click here to read all about “mitten anatomy” which is more information than you will ever want to know about mittens.
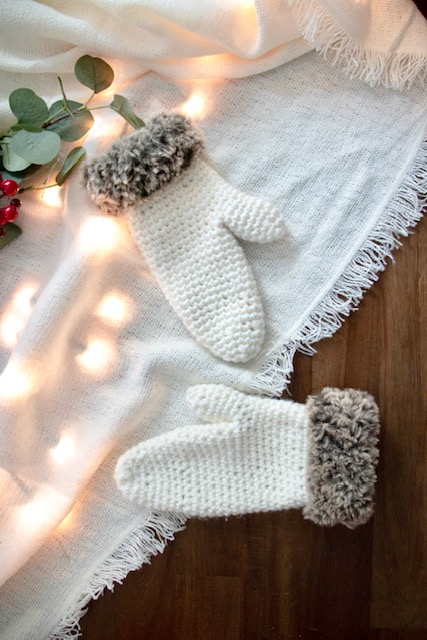
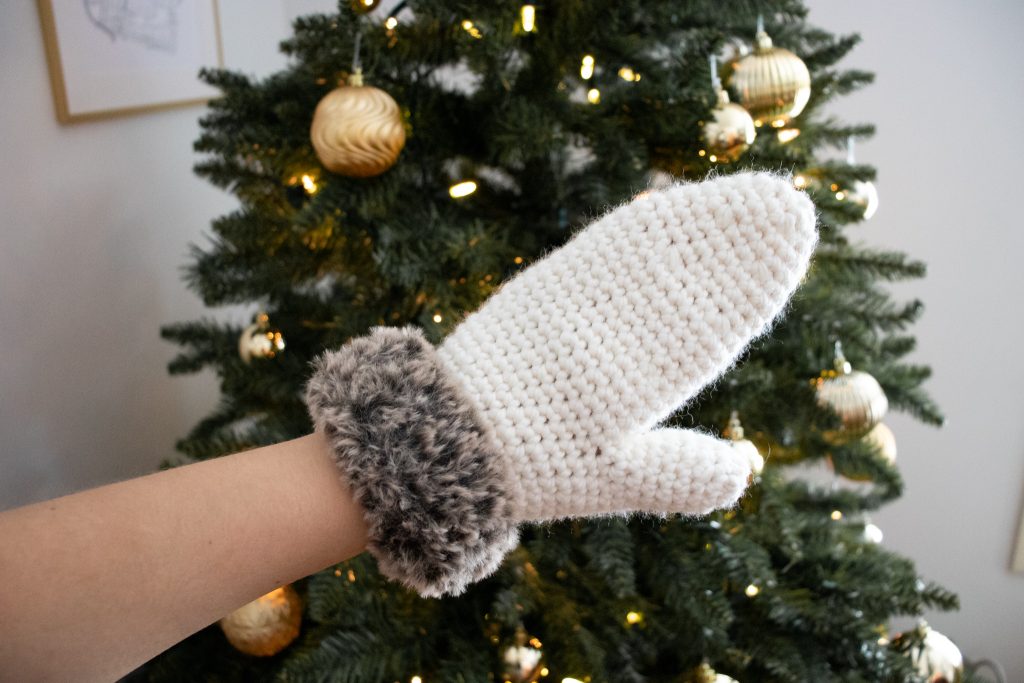
You can make these mittens in an afternoon because the bulky yarn works up so quickly. This is such a great gift idea as it’s inexpensive, quick to make, and universal! I mean, who wouldn’t want to receive these mittens? They are so stinkin’ cute. You don’t have to worry too much about sizing since they’re roomy enough for almost any woman’s hands to fit into perfectly. It’s really easy to simply add an extra stitch or two if you feel you need it – just follow the pattern as written, and then work your additional stitches to the beginning of round. This is a great stash buster project if you have bulky scraps laying around, just be sure to check gauge or follow my instructions to make sure the mitten will fit your hand. This pattern is written for an average woman’s hand, with a circumference of approximately 7-7.25″.
Materials
- Just over 1 hank of Biggo (I used the undyed, Bare colourway)
- this yarn is 25% off right now!
- Biggo also comes in 18 other beautifully dyed colourways.
- 50% Superwash Merino Wool; 50% Nylon
- 1/2 skein of Fable Fur (I used the colourway Falke)
- on sale for $3.99 per skein right now!
- Fable Fur has 15 different faux fur colourways!
- 100% Polyester
- Size I/9 (5.5 mm) crochet hook or size needed to obtain gauge
- I used the black hook from this set
- Tapestry needle
- 1 stitch marker
- Ball Winder + Swift
Gauge
4″ x 4″ (10 cm x 10 cm) = 12 sts and 13 rows in Single Crochet (worked in the round)
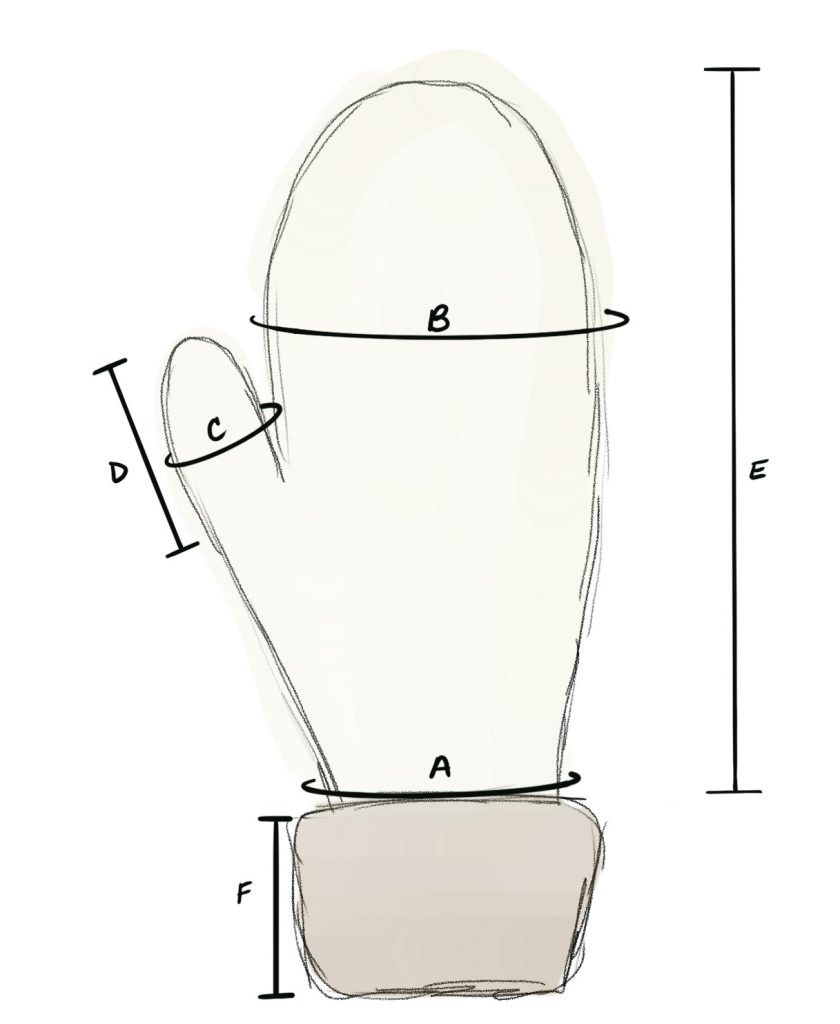
Measurements
Keep in mind these measurements will stretch out a bit after wearing.
(A) Wrist: 6.6″ (17 cm)
(B) Hand circumference: 8.3″ (21 cm)
(C) Thumb circumference: 4.3″ (11 cm)
(D) Thumb length: 3″ (8 cm)
(E) Total mitten length not including cuff: 9″ (23 cm)
(F) Faux fur cuff (unfolded): 3-4″ (8-10 cm) depending on preference
Notes
- Sizing: This mitten pattern is written for an average woman’s hand size. Adapt this pattern for larger sizes by working an additional increase round before separating for the thumb.
- Right Side: The right side is the side that faces you as you are crocheting the yoke, body, and sleeves.
- Stitch Counts: Stitch counts are written in italics at the end of each rnd. If there is no stitch count at the end of a rnd, this means the count has not changed from that of the previous rnd.
- Construction: This mitten is worked from the bottom-up, increasing from the wrist to create space for the thumb, then we separate our work to create a thumb hole. The remainder of the hand is worked until reaching the top of the mitten and decreasing to close it off. Next, we return to the thumb hole and the thumb is worked last. The cuff is worked directly onto the wrist of the mitten to your desired length, then folded over.
- It’s really easy to simply add an extra stitch or two if you feel you need it. Add a stitch or 2, then just follow the pattern as written, and then work your additional stitches to the beginning of round.
Abbreviations
- Ch: Chain
- Dc: double crochet
- FSC: Foundation single crochet
- Rep: Repeat
- Rnd(s): Round(s)
- Sc: Single crochet
- Sc2tog: Single crochet 2 stitches together
- Sk: Skip
- Sl st: Slip stitch
- St(s): Stitch(es)
PATTERN
Rnd 1: FSC 20.
Sc into 1st sc to join round and set up to work in a spiral. Don’t worry about the jog here, it will be covered up by the faux fur. Place a stitch marker in the sc you just worked. This marks the beginning of the round. Move the marker up after completing each round to mark the new beginning of round.
Rnd 2: Sc in every FSC. [20 sc]
Rnd 3: [Sc in next 4 sts, work 2 sc in next st] 4 times. [24 sc]
Rnd 4-6: Sc in each st around.
Rnd 7: [Sc in next 5 sts, work 2 sc in next st] 4 times. [28 sc]
Rnd 8-12: Sc in each st around.
Rnd 13 / Joining Rnd: Ch 4, sk next 7 sts, sc in next st and each st around. [21 sc; 4 ch]
This separates our work to create the thumb hole.
Rnd 14: Sc in each ch and each sc around. [25 sc]
Rnd 15-21: Sc in each st around.
This should be about at the tip of your pinky finger. If you need more length, work additional rnds here.
Rnd 22: [Sc in next 3 sts, sc2tog] 5 times. [20 sc]
Rnd 23-26: Sc in each st around.
Rnd 27: [Sc in next 2 sts, sc2tog] 5 times. [15 sc]
Rnd 28-29: Sc in each st around.
Rnd 30: [Sc in next st, sc2tog] 5 times. [10 sts]
Cut yarn, use tail to close mitten shut. I did this by weaving my end through each stitch with a tapestry needle and turning the mitten inside out, tying a knot on the inside of my mitten to secure it. Weave ends.
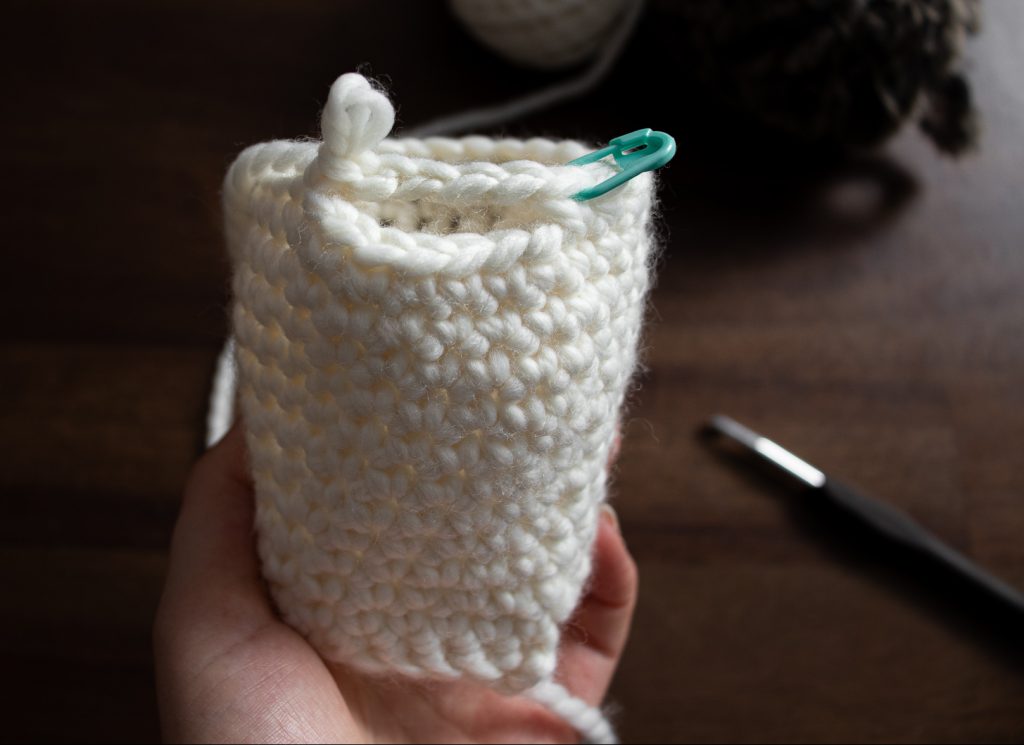
Thumb
If you look at the thumb opening, you have 7 single crochet stitches that are visible and 4 chains that you worked earlier, giving you 11 sts. We are also going to work 1 stitch on either side of the thumb, giving us a total of 13 stitches. (See photo below)
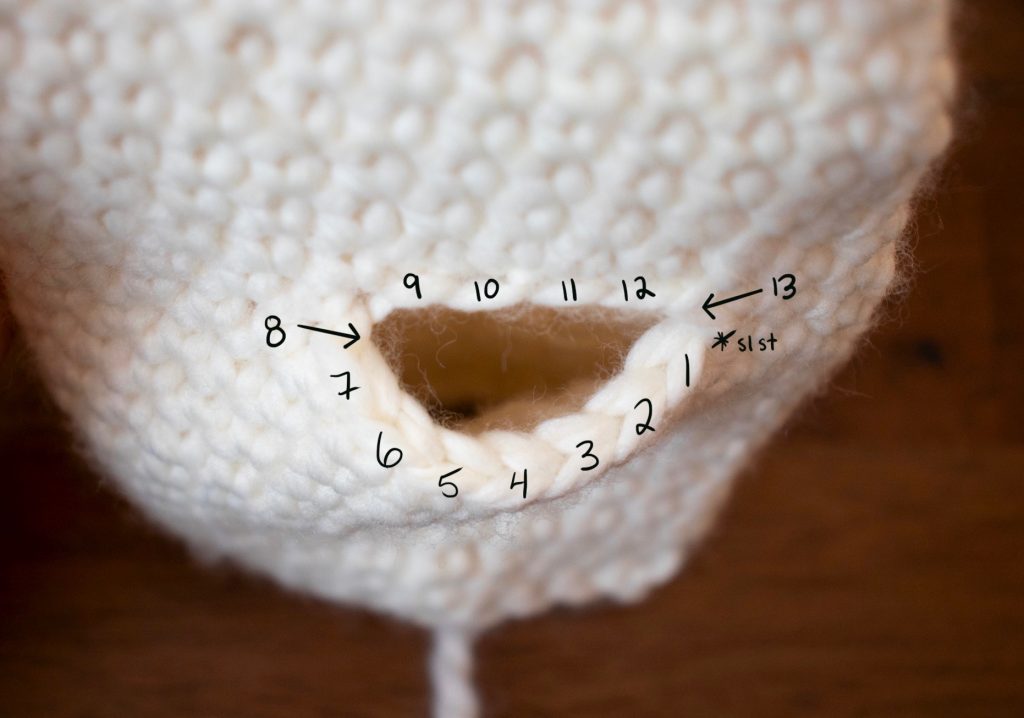
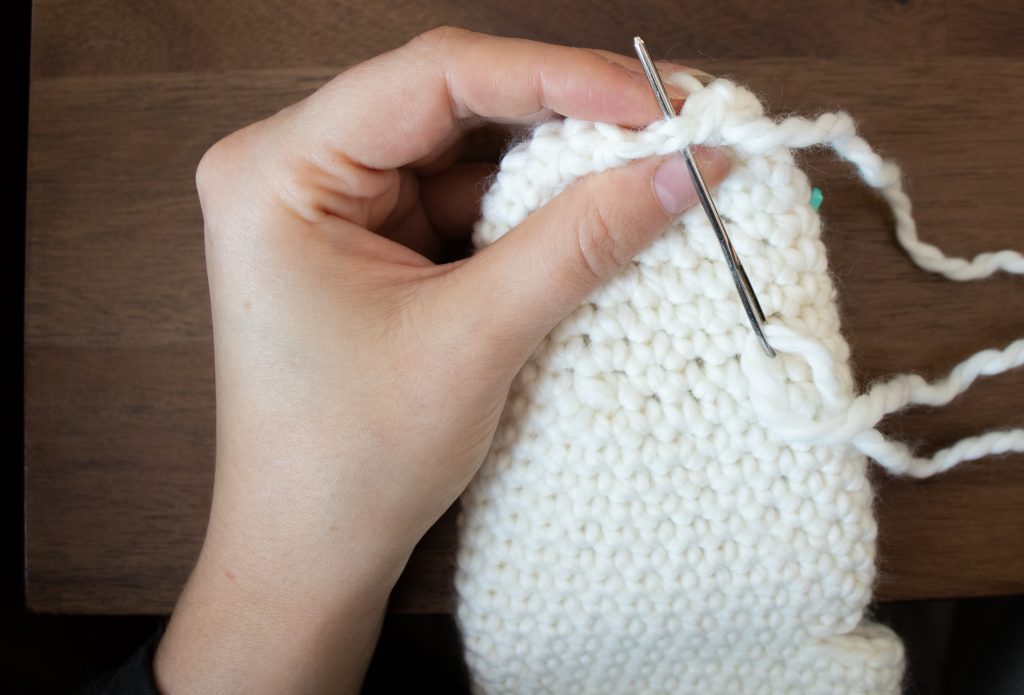
Attach yarn with sl st as shown in photo above.
Rnd 1: Sc into each stitch placement as shown above // (This is: Sc into all 7 sc, work 1 sc before the chs, sc 4 sts across the chs, work 1 sc after the ch) sc directly into first sc to join rnd and set us up to work in a spiral. [13 sc]
Rnd 2-6: Sc in each st around.
Rnd 6 should end approximately at the beginning of your thumb nail. Work additional rows for longer thumb.
Rnd 7: [Sc in next st, sc2tog] 4 times. [9 sc]
Rnd 8: Sc in each st around.
Cut yarn, use tail to close close up thumb.
Cuffs
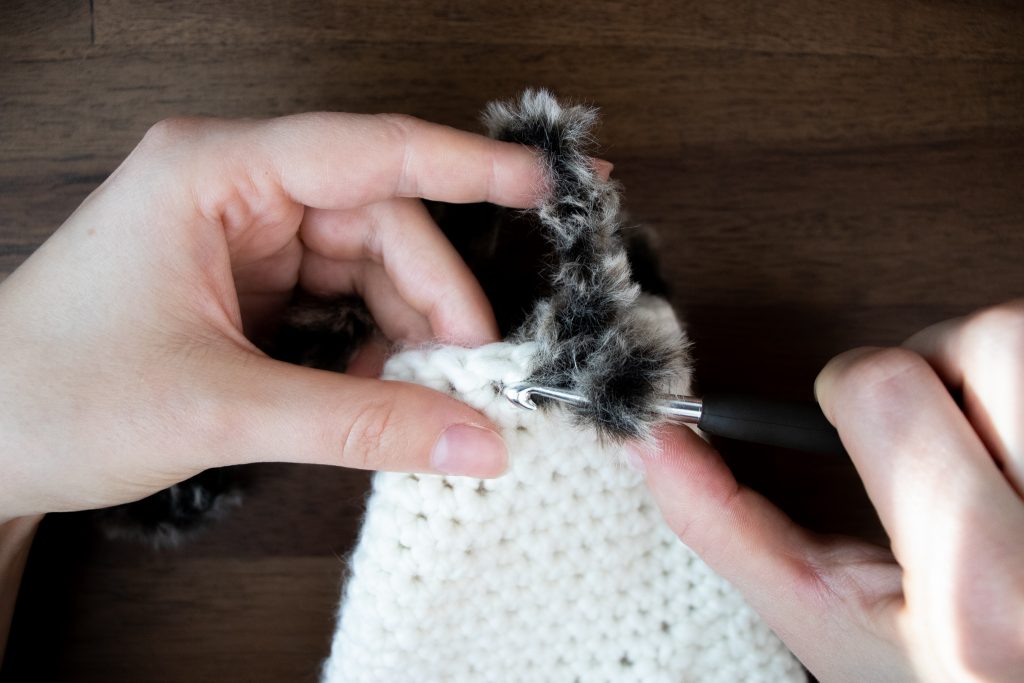
Weave in the tail end from your foundation chain. Attach your faux fur yarn with a sl st to the wrist of your mitten at any point along the opening. Make sure to insert your hook around the entire foundation stitch as shown here. Remember, after Row 1, the faux fur stitches themselves will be indistinguishable. You won’t be able to tell if your stitch is worked perfectly into the stitch below, so just place them wherever looks right to you – don’t overthink this!
Row 1: Sc around each foundation stitch to end of rnd, sl st to join. [20 sc]
Row 2: Ch 2, loosely work 20 dc around, sl st to join. [20 dc]
Row 3: Ch 2, loosely work 21 dc around, sl st to join. [21 dc]
Row 4: Ch 2, loosely work 22 dc around, sl st to join. [22 dc]
Rep Row 4 until desired cuff height. Remember this will be folded over.
When satisfied with cuff height, fasten off, weave ends. Fold cuff over.
I hope you love your new mittens! Pick up your yarn here! Make sure to tag me and use #SugarplumMittens to show off your work.
If you like free patterns, make sure to sign up for my email list above!
If you have any questions in the meantime, don’t hesitate to ask! You can reach me at knitsnknotswpg@gmail.com anytime!
Find more free patterns here.
xx
Janine
You May Also Like


Faux Fur Tree Skirt – [FREE] Crochet Christmas Tree Skirt – Knits 'N Knots
[…] month I share a free pattern with you in collaboration with We Crochet. Last month was the Sugarplum Mittens, in case you missed it! These mittens also used Fable Fur around the cuffs for a really warm, […]
11 . Dec . 2020