Hi all!
If you haven’t yet joined the Rosebud Raglan CAL (crochet along), please do so at this link here! It’s a fun Facebook group in which you can ask all the questions you may have and share your progress with everyone else who is making it at the same time! Everybody is invited and there are absolutely no dumb questions – we are all learning!
Whether this is your first sweater or your hundredth sweater, let’s all make the Rosebud Raglan together 🙂
If you post your work on Instagram, use the hashtag #RosebudRaglanCAL so I can share your work!
I’ll continue to update this post as we progress through the pattern!
If you want to be notified of all new pattern releases (and get exclusive discounts on all new paid patterns), sign up below!
Preorder my book – Modern Crochet Sweaters: 20 Chic Designs for Everyday Wear – here!
This post contains affiliate links. This means, should you make a purchase, I will receive a small portion of the sale at no extra cost to you. All opinions are my own. View my Privacy + Disclosures Policy here.
First, let’s review the timeline!
WEEK 1 [September 13-19]
- YOKE
- Working the foundation chain properly (that’s what we’re covering in this post!)
- Figure out proper stitch marker placement – whatever you do, don’t be a hero and try to skip out on using the markers haha!
- Finishing the yoke of the sweater – be sure to check the stitch count charts in the back of the pattern to be sure you haven’t accidentally missed or added any stitches!
- The yoke is actually quite a quick part of the pattern, so you likely will not need the entire week!
WEEKS 2+3 [September 20-October 3]
- BODY
- These 2 weeks will give everyone some extra time to catch up if their yarn order arrives late!
- While this section has more stitches than the yoke, there are no increases or stitch markers to worry about. This is where the mindless crocheting can happen!
WEEK 4 [October 4-10]
- FIRST SLEEVE
- One full week to work the sleeve! See the original blog post here for some customization ideas!
WEEK 5 [October 11-17]
- SECOND SLEEVE
- No sleeve island happening here!
- One full week to work the second sleeve
WEEK 6: [October 18-24]
- OPTIONAL RIBBED NECKLINE, WEAVING IN ENDS + BLOCKING!
- This final week is all about the finishing touches!
- We will go over some of this in more detail closer to Week 6!
THE FOUNDATION CHAIN
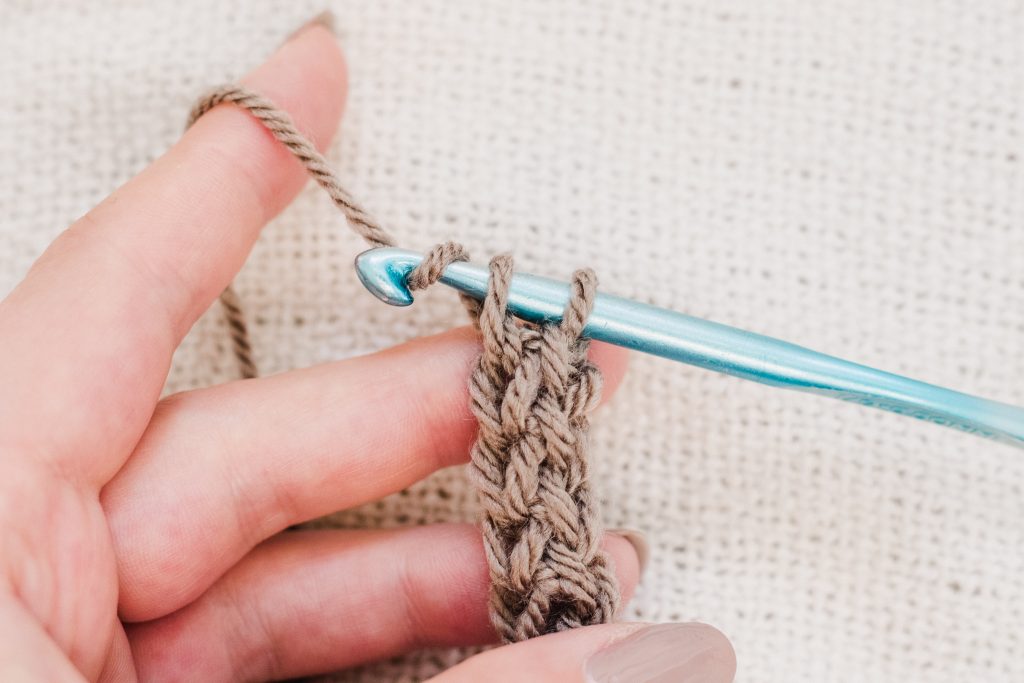
Okay, so we’re in WEEK 1 of this timeline! Let’s go over how to begin the foundation chain. I have a whole blog post on working the Foundation Single Crochet here if you want a refresher of exactly how to work this stitch!
If you’ve never worked a foundation chain, that’s ok! Just give yourself some time to practice and you’ll be amazed at what a foundation chain can do for your crochet garments. There are a couple reasons why we begin with a foundation chain opposed to a regular chain. Since we are beginning the sweater at the neckline, we want this neckline to be stretchy so that we can comfortably pull it over our heads, but also so that when we wear it, the neckline won’t feel rigid and push up against our collarbone or throat. We want this neckline to be nice and stretchy, so a foundation chain is our best bet. A foundation chain has a stretch that is similar to that of your crocheted fabric, which is exactly what we want here.
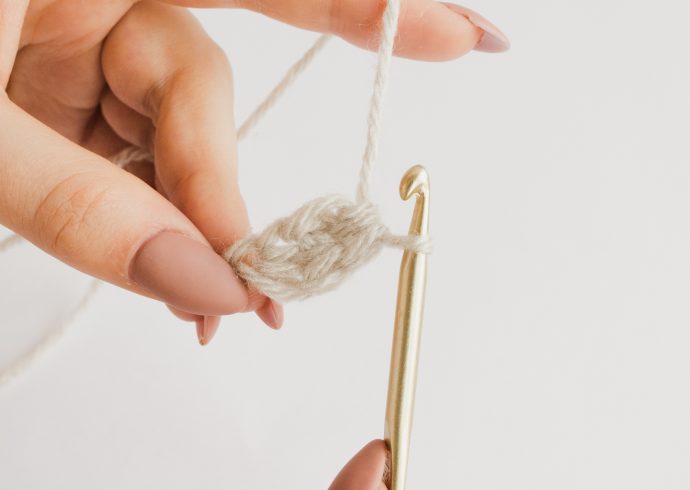
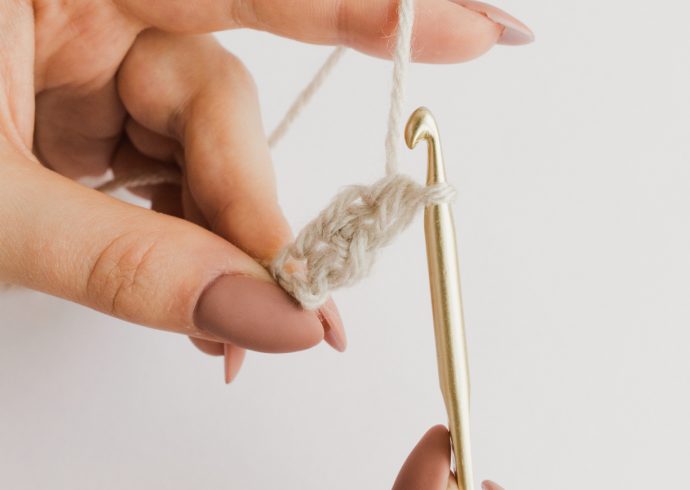
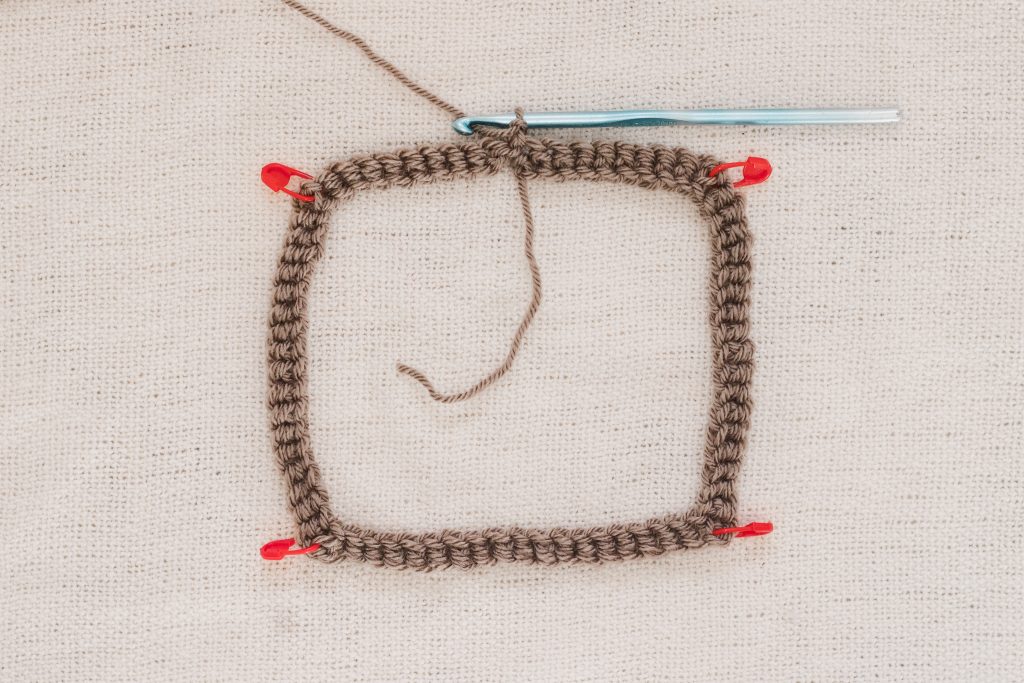
The first thing you will be instructed to do is work either 9 or 11 FSC (foundation single crochet), depending on the size you are making. In the photos below, I worked 9.
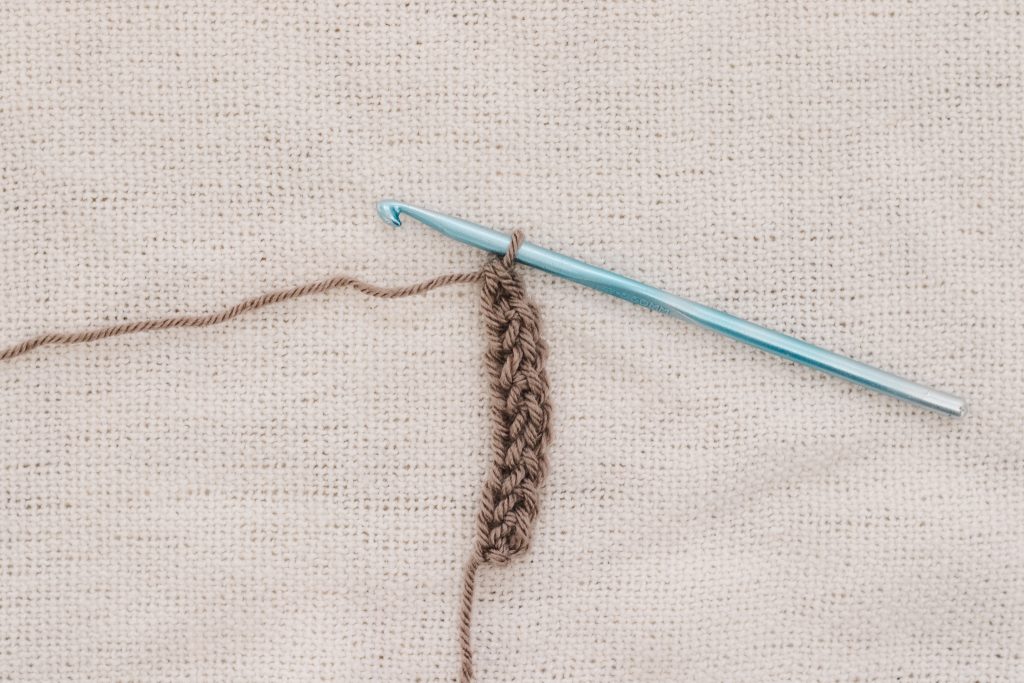
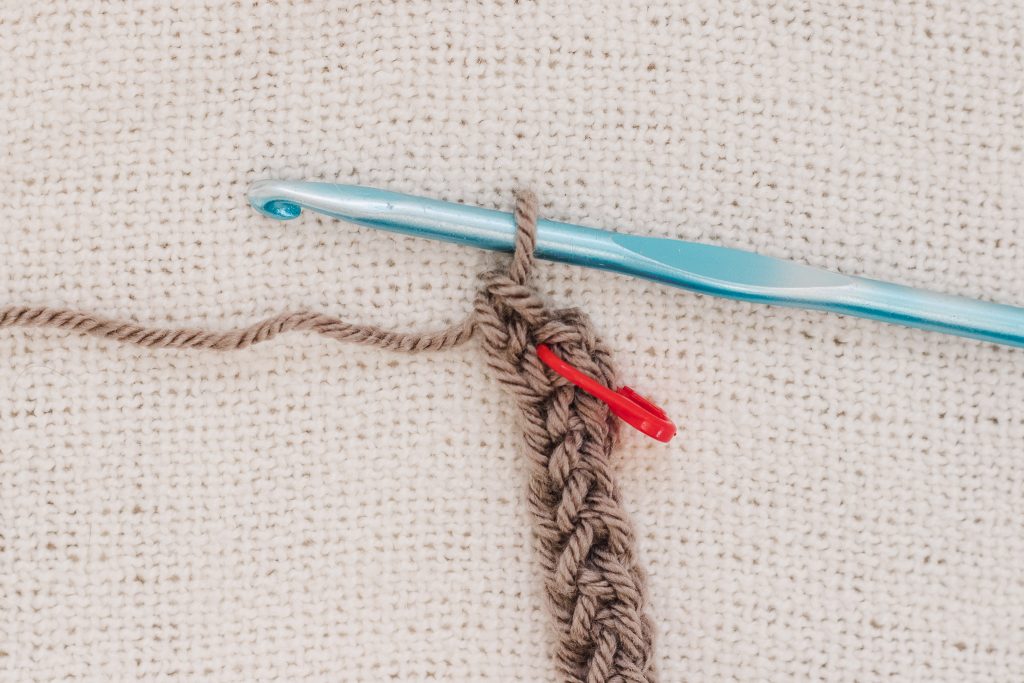
This first red stitch marker denotes one of your back-shoulders. This will be a “corner” of your yoke, into which you will work the increases. If it doesn’t make sense yet, don’t worry, it will soon. Now we just have 3 more corners to make!


One last tip:
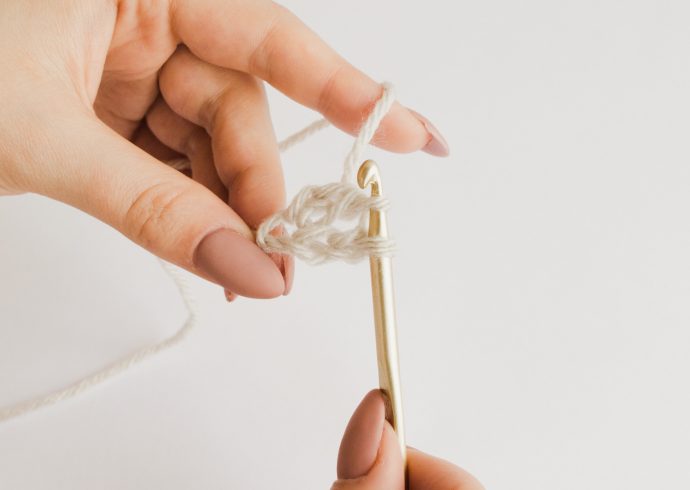
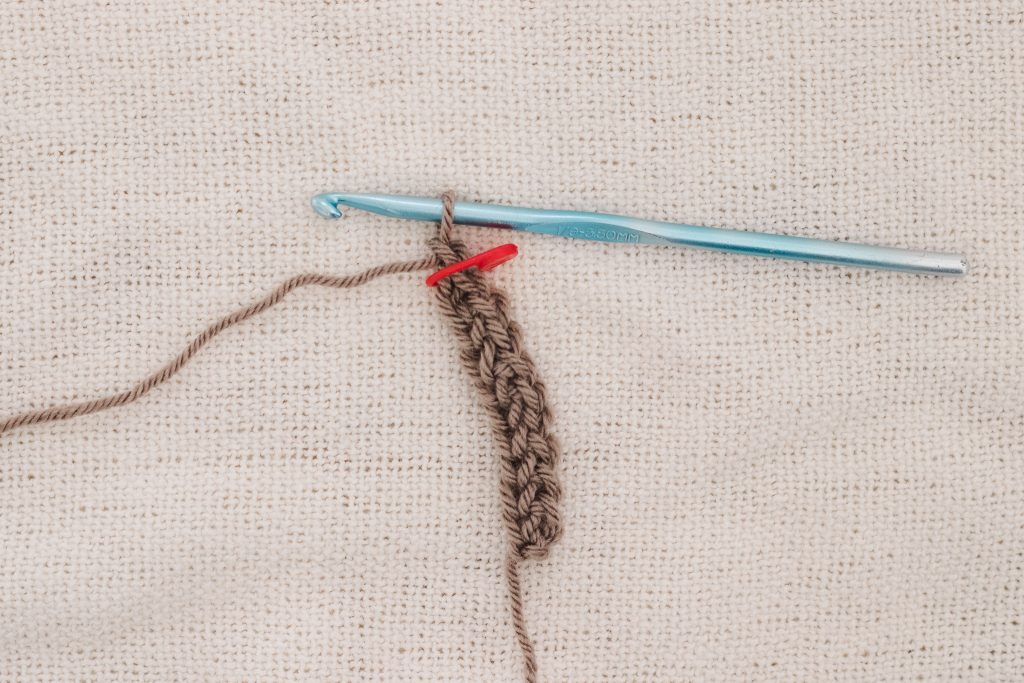
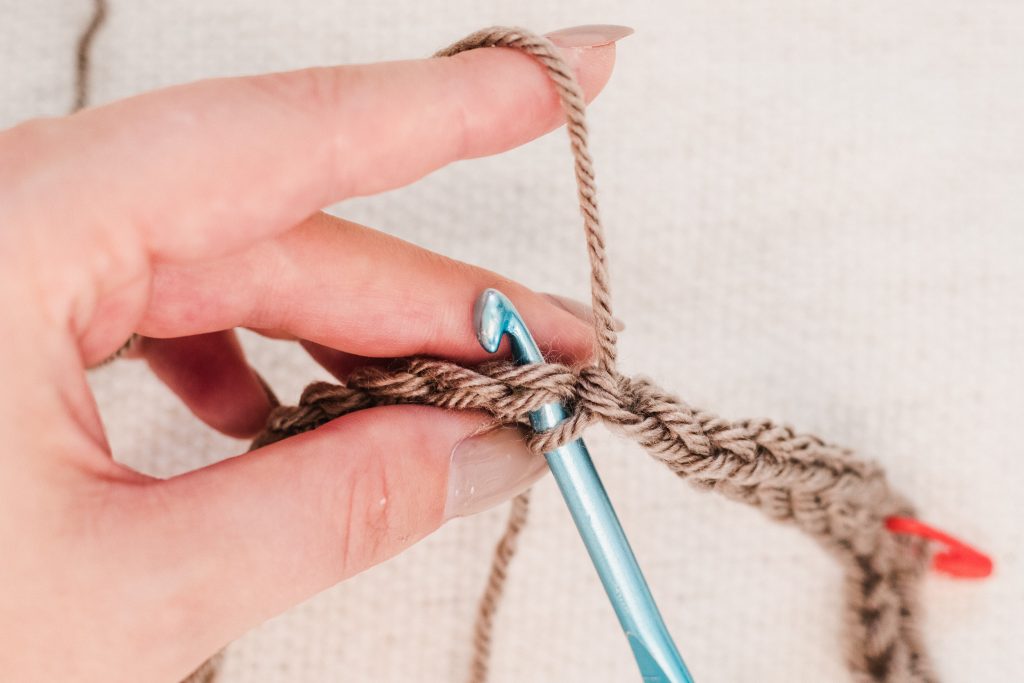
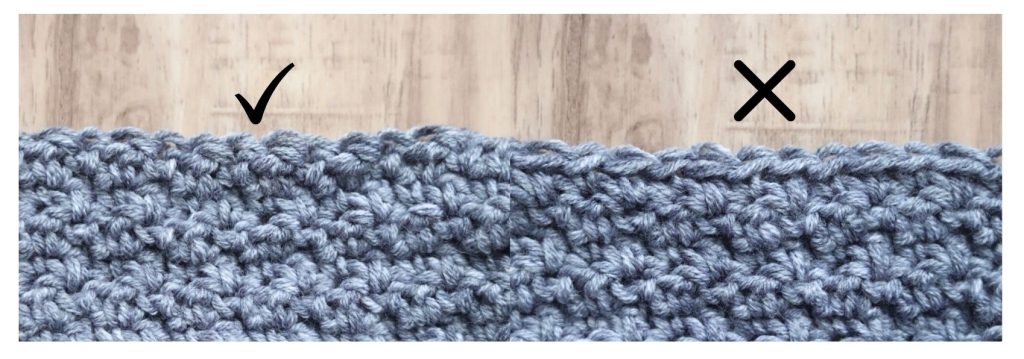
If you find that your foundation chain is too tight or uneven, try manipulating the chain portion of your FSC. Do so by inserting your hook into the previous FSC, yarn-over and draw a loop through the stitches, then lift this loop higher to work a looser chain. This is the loop that determines how tight your foundation chain will be. See photo below!
THE REST OF THE YOKE
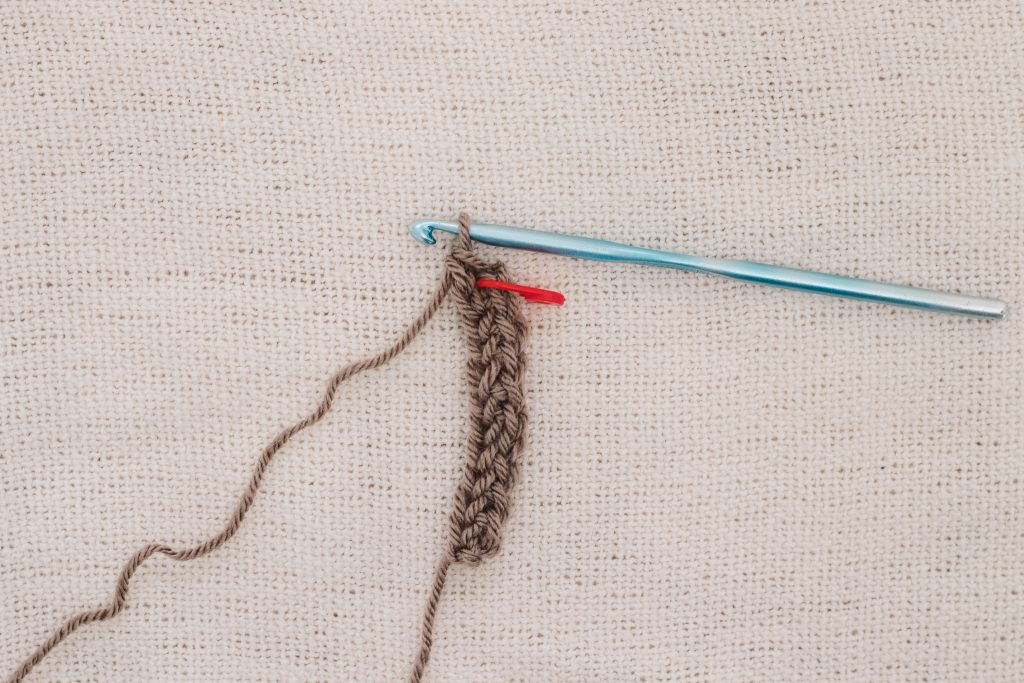
Now that you’ve completed the foundation chain, you’re ready to begin Round 2!
As you work through the yoke, keep these 4 things in mind:
- Use the stitch markers – don’t skip these because the placement of the stitch marker is crucial to keeping your stitch counts correct!
- Compare your work to the stitch count chart in the back of the pattern every few rows. If you’re feeling like you might make a mistake, check these counts every single row!
- Turn your work after each round. No matter how many times I write it in a pattern, I know there are always people who miss this instruction haha. Make sure to turn your work after each round!
- There are different kinds of increases throughout the yoke (especially in the first few rows) – sometimes you will work 2 additional stitches into each corner (adding 8 sts per round), and sometimes you will work only 1 additional stitch into each corner (adding 4 sts per round). This was thoughtfully designed to give you the best fit and eliminate any underarm puckering. It creates kind of an S-curve to your increases. Make sure to pay very close attention to the instructions for the corner increases since they are not all worked the same.
This pattern had 30+ testers so you can be sure the pattern is as correct as possible. If you’re having trouble, please use the stitch count charts to check your work because these charts will tell you exactly where you went wrong! These stitch count charts are like the Rosebud Raglan bible and you will find them to be immensely helpful!
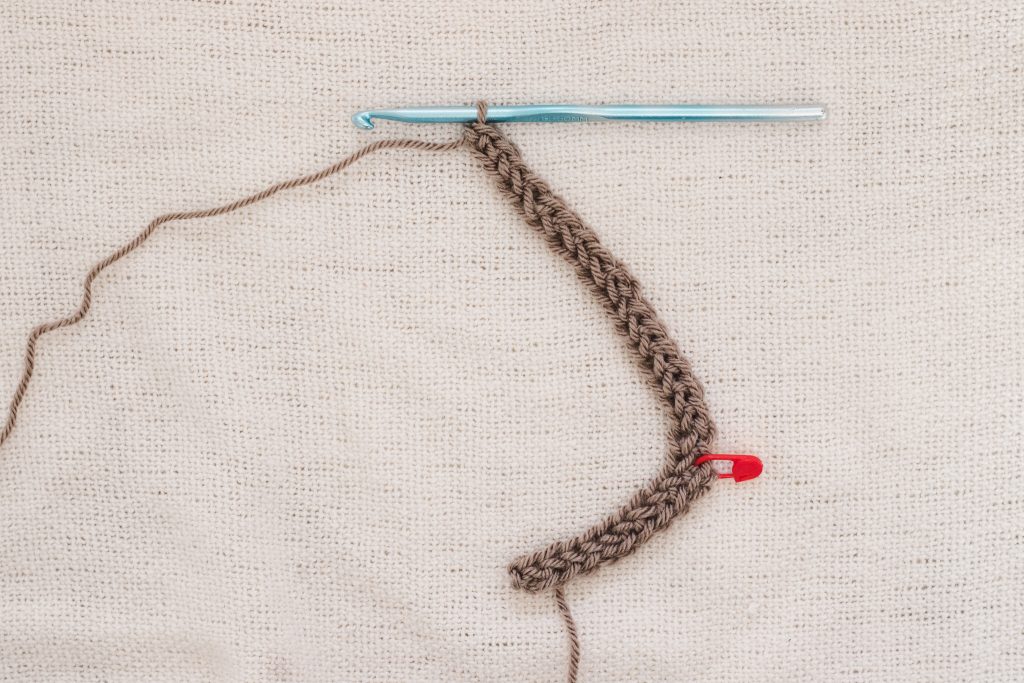
Once you’ve completed your last row of the yoke before Separating for the body and sleeves, do not remove the stitch markers.
THE SLEEVES
Make sure you are working with the correct side facing you.
The first round of the sleeves is perhaps the most “difficult” part of the pattern, but once you’ve established your first round, it gets much easier!
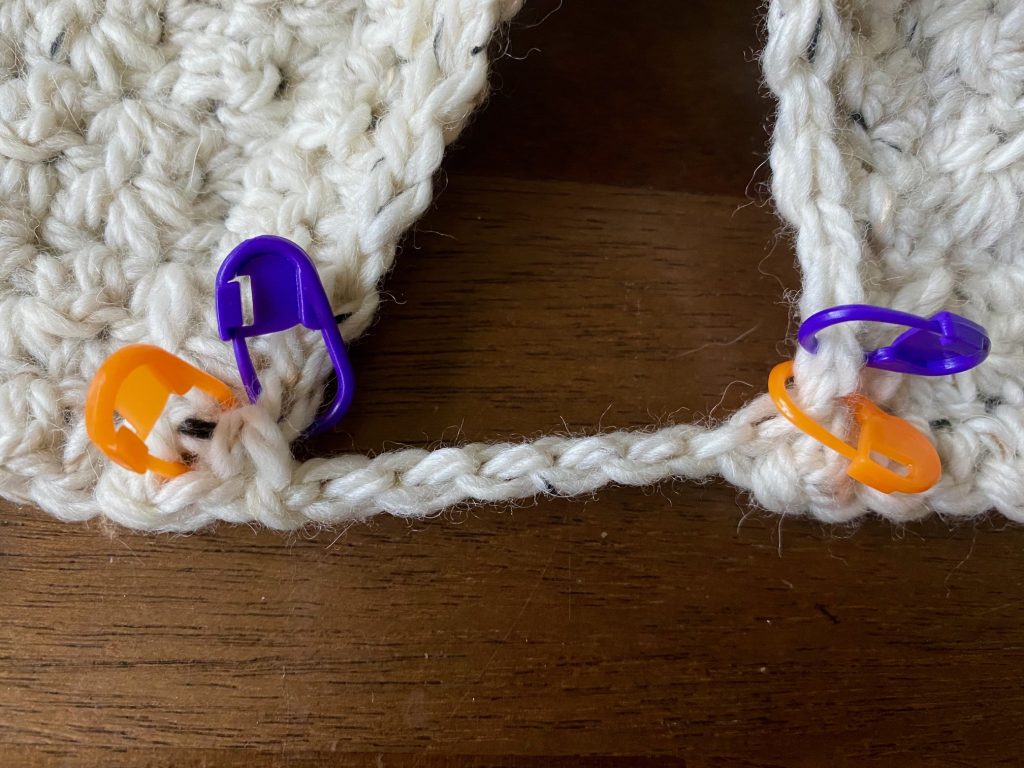
On Page 8 of the PDF pattern (or at the end of the Separating Rounds), you are instructed to move your stitch markers from the corner ch-sp to the first and last sleeve stitch from the yoke. You will be moving the marker over a very small distance, just from the corner ch-sp to the adjacent sleeve stitch. The first and last sleeve stitches are shown below with the purple markers. Two sets of stitch markers are used in the photo below to demonstrate this movement – you will be moving from the placement of the orange marker to the placement of the purple marker.
Then, once you’ve moved to the location of the purple marker, you can double check your work by counting each of the sleeve stitches, including your marked stitches. You should have the same number of sleeve stitches as the last Stitch Count Checkpoint, just before your Separating Round, which is 34 (36, 38, 40, 48) (52, 56, 56, 54) stitches.
Quick description of Round 1: When you work the first sleeve round, you will be working into each of these original sleeve stitches, and adding a specified number of stitches in between your markers. Since you want to begin and end our rounds in the center of the underarm, you will attach yarn in the center, then work a few stitches before the marker, then work all the existing sleeve stitches, then work more stitches after the second marker, finishing at our original starting point.
To begin Round 1: Join new yarn at the center of the underarm with a slip stitch. In the photo above, the body has not yet been worked, however the placement is still the same. Using the above photo as a reference, you would join your yarn in the approximate center of the chains shown. Chain 1.
You will begin crocheting toward the leftmost purple marker. To determine which stitch you will work first, read Rnd 1 very carefully. You will work 4 (4, 5, 5, 5) (4, 5, 7, 8) stitches in pattern before the first marker. In order to determine which stitch you will work first, you must refer to your first marker, and use this stitch to figure out whether you will need to begin your round with a single crochet or a double crochet. If you’re unsure, try beginning with a single crochet, and if your stitch pattern won’t work once you reach your marked stitch, go back and begin with a double crochet instead. It’s either one or the other, so if one doesn’t work, try the other.
Then, you will work into your marked stitch, and continue working in pattern up to and including your next marked stitch. Then, work 4 (4, 5, 5, 5) (4, 5, 7, 8) stitches evenly to the end of the round, and join with a slip stitch. Now your round is complete, and you can turn your work, chain 1, and begin working in the opposite direction.
Follow the instructions for your size to determine where your decrease rounds will be placed. The rounds you have just completed are included in the total round counts provided.
#RosebudRaglan
#RosebudRaglanCAL
Thanks for reading! I hope you found this helpful. If you have any other questions, feel free to ask them in the group or leave a comment here! I’m more than happy to help 🙂
Read the original Rosebud Raglan post here.
Get the pattern:
- Find the pattern on Ravelry here.
- Use code PATTERN10 for 10% off
- Find the pattern on my website here.
- Find the pattern on LoveCrafts here.
- Find the pattern on Etsy here.
Pre-order my new book, Modern Crochet Sweaters: 20 Chic Designs For Everyday Wear!
x
Janine
For exclusive discounts on all new patterns, join the Knits ‘N Knots newsletter list here!
You May Also Like