
Hellooo crochet friends!
I’ve got something special for you today xo
Click here to go straight to the *brand new pattern* or continue reading for more info + a pattern coupon code!
This post contains affiliate links. All opinions are my own. Any purchases made will help support Knits ‘N Knots blog content.
About
I crocheted my first basket a few years ago after learning how to crochet a flat circle. This has been one of my all-time favourite projects to make and one of my top sellers at craft shows! I have been asked to write up the pattern for a while now, and I think I’m finally ready to let this baby out into the world! (lol)
Like a lot of my patterns, I named it after something special to me at this point in my life. I recently moved to Red Deer, Alberta, and the word “Livingston” is connected to our move in a special little way. I thought naming this basket the “Livingston Basket” would be a great way to remember this time in my life every time I see this pattern being worked up 🙂
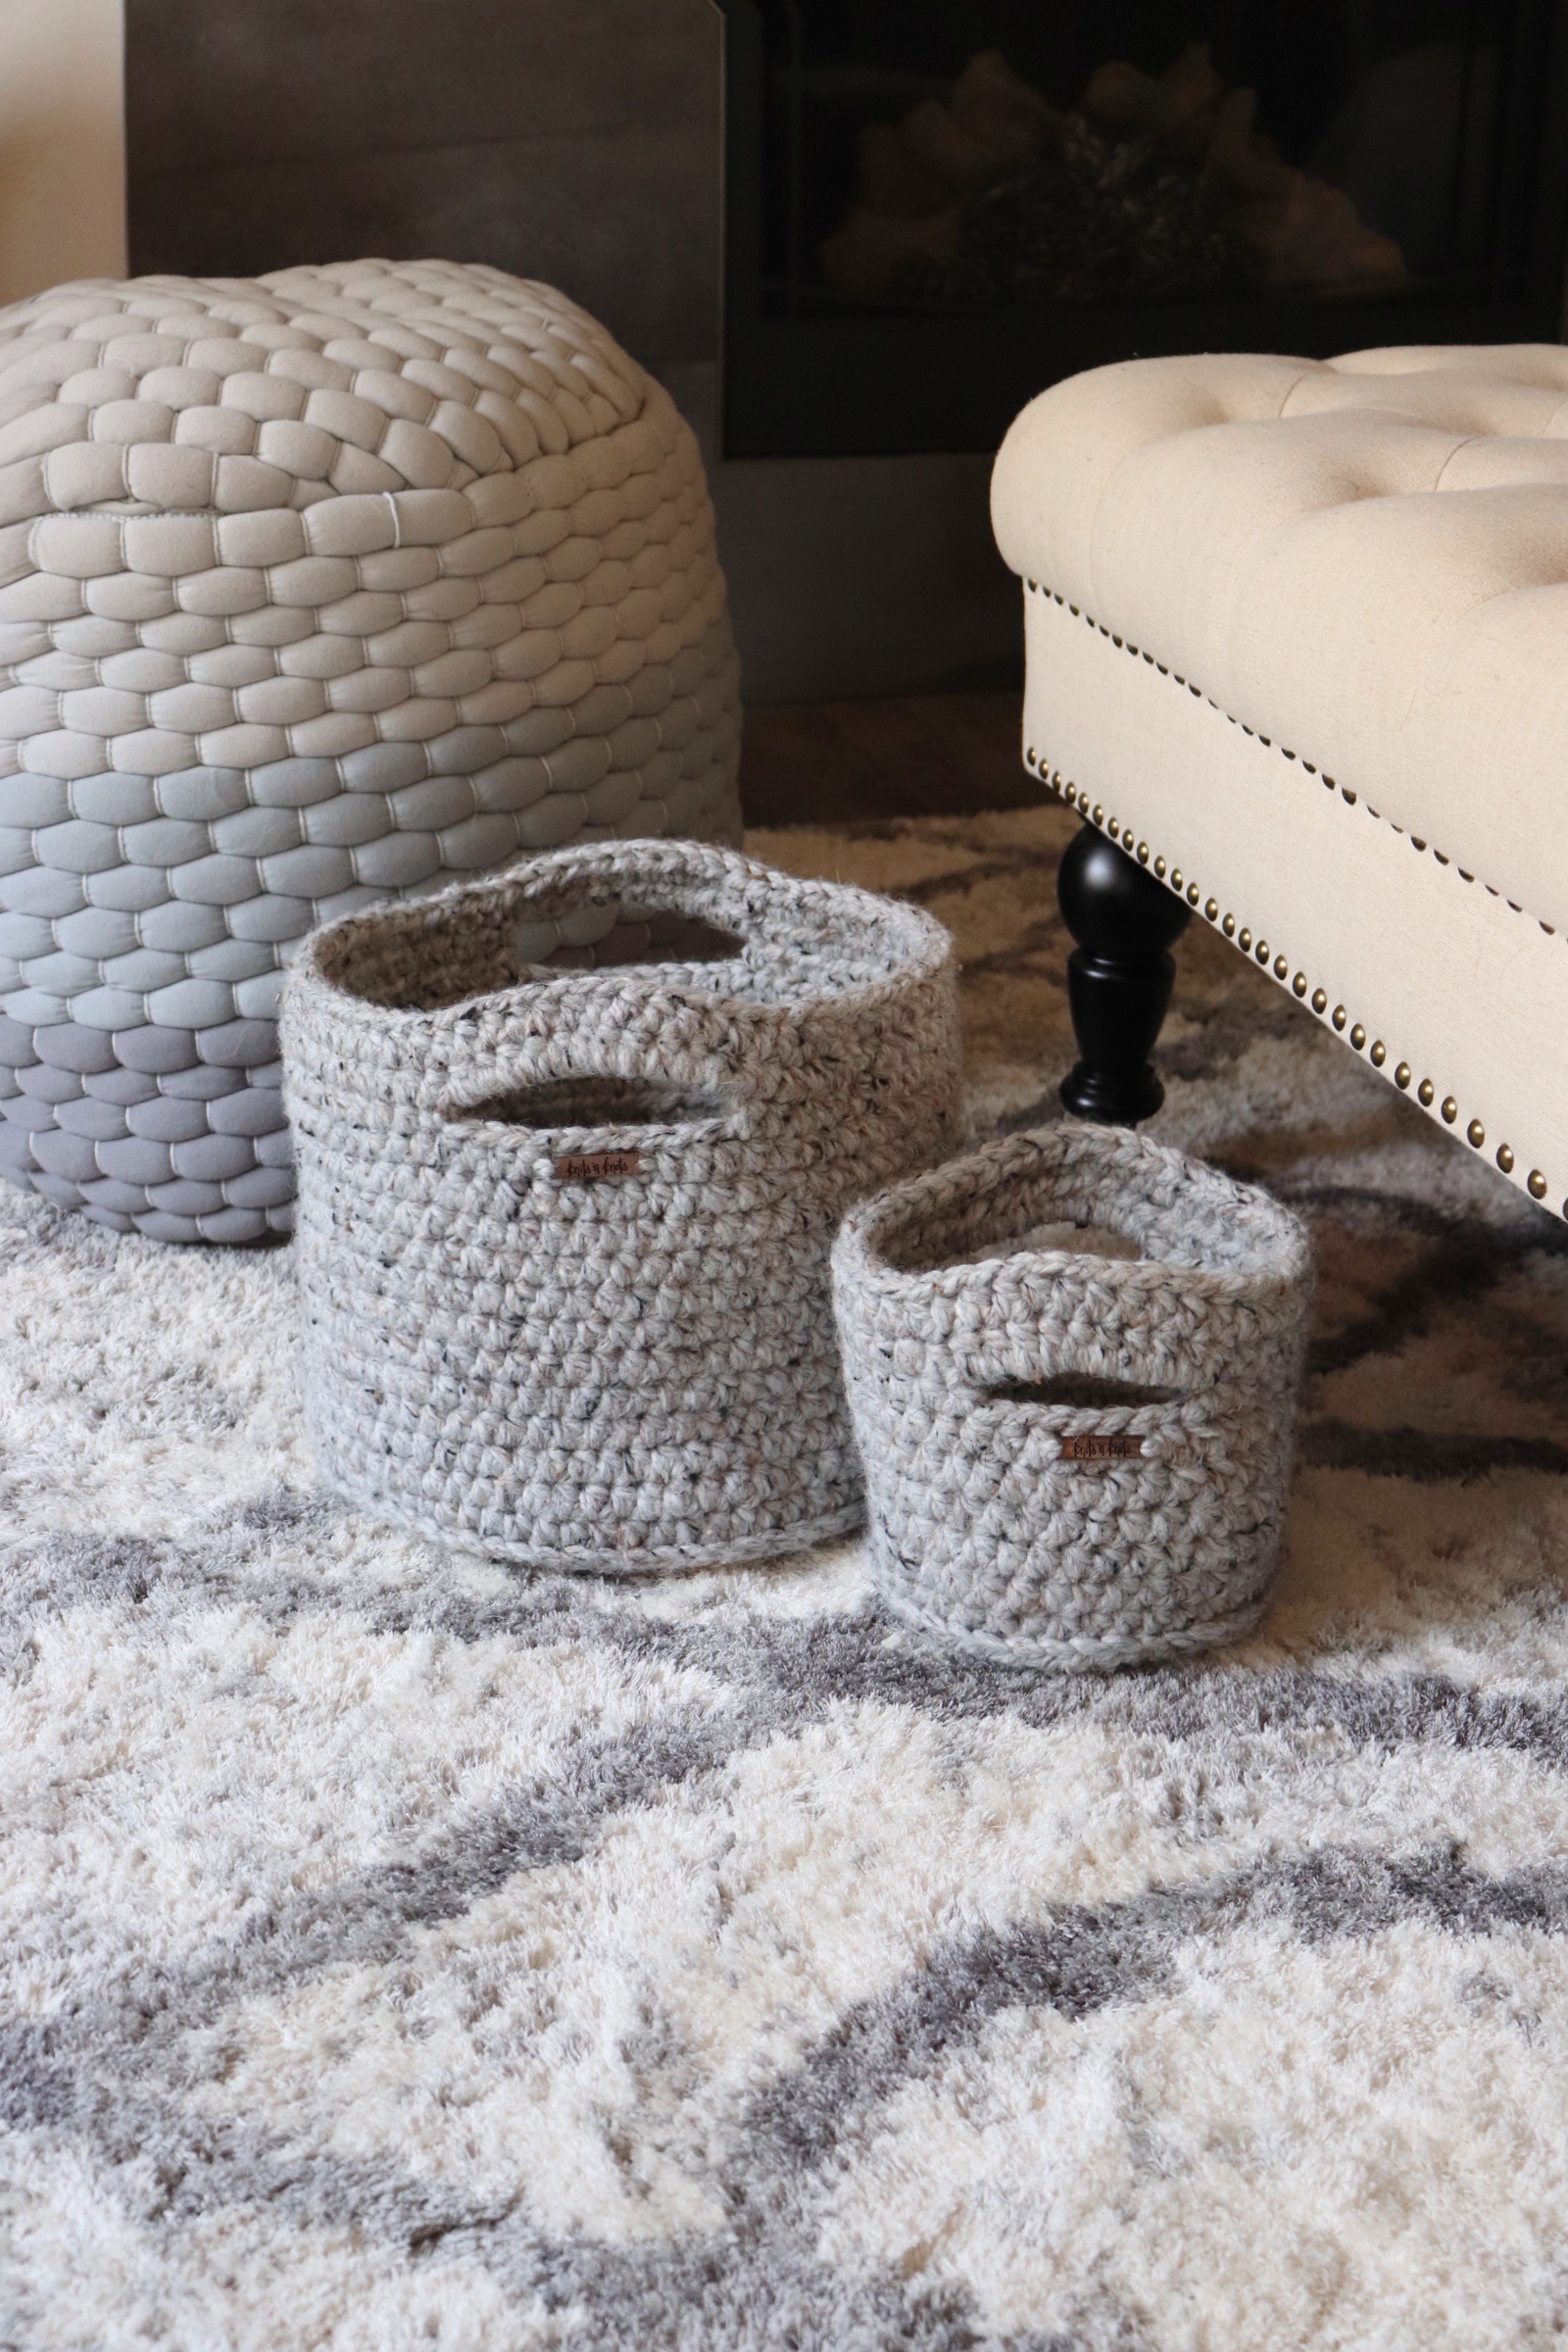
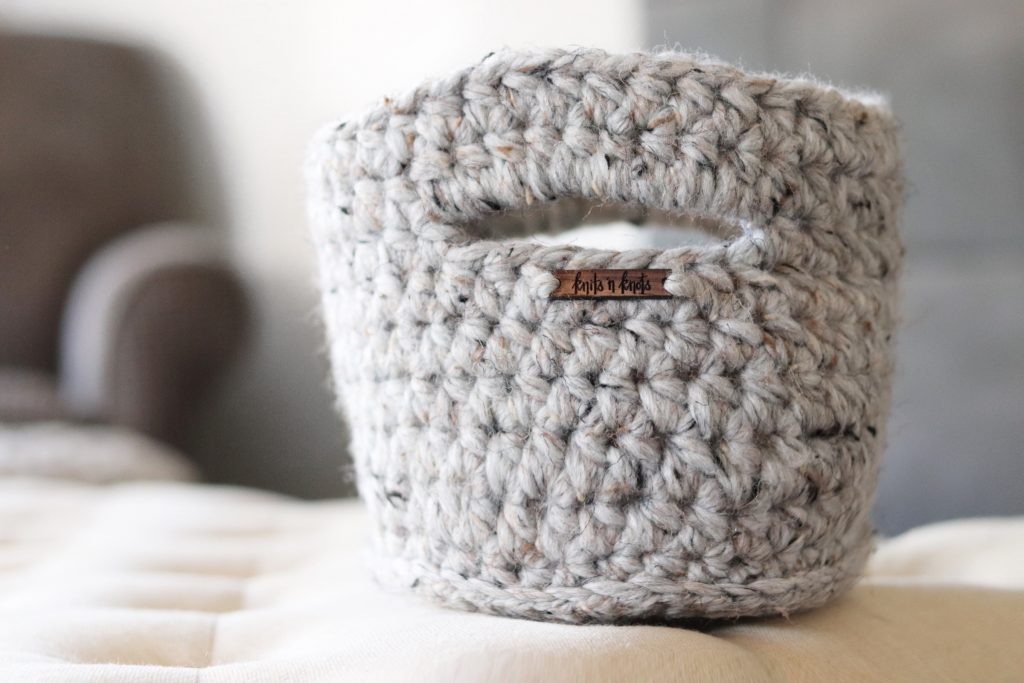
I used Lion Brand Wool-Ease Thick and Quick (the OG chunky yarn, am I right?) double stranded with a small hook to get the sturdiness that a basket requires. It’s a workout to make these things, let me tell ya. But it’s so worth it. These would honestly look cute in any room of your house. I use my large one beside my couch to hold yarn while I’m working (I use it like a yarn bowl LOL), I have another one on my dresser, another one in my bathroom on the shelf to organize my hair products, and another one on my beside table. The rest are in my yarn room to store – you guessed it – my yarn. My boyfriend is basically surrounded by yarn anywhere he looks (sorry not sorry).
Not only do they look cute, but they’re functional. This is something you can make and actually use in your home. Sometimes, I find myself wanting to crochet things but not really having an intended use in mind, I just want to make the thing because it’s fun. Here, you can make the thing, and USE the thing. Brilliant.
You can make it in any colour, any size, you can customize it to exactly what you want. Choose the colour that matches your living room, or choose a colour that makes you happy. Whatever suits you. I can’t wait to see what you choose!
Construction
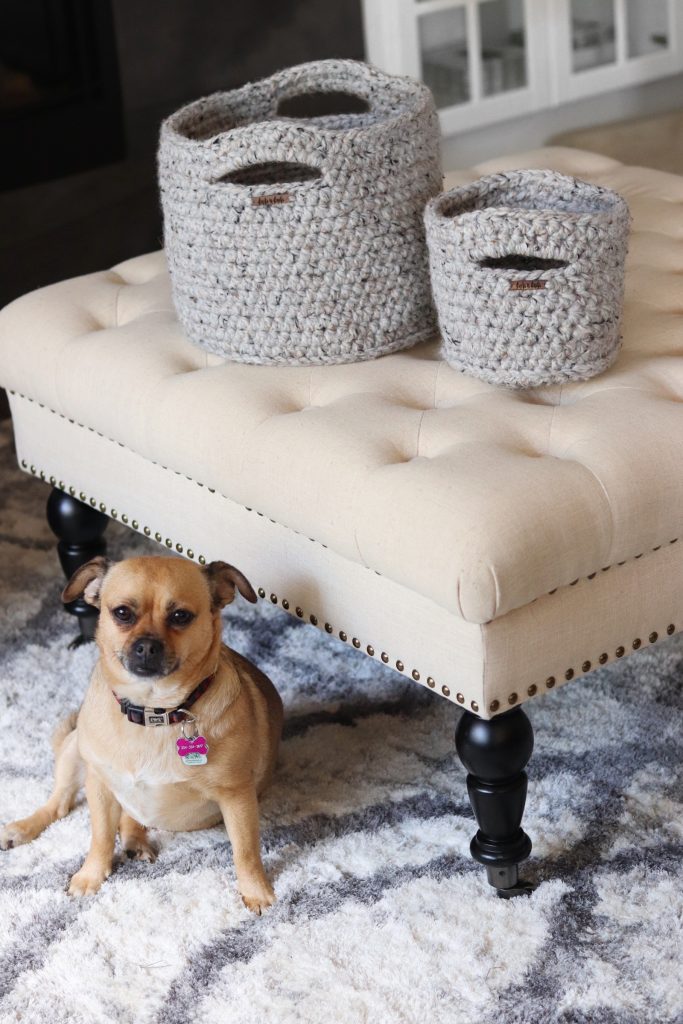
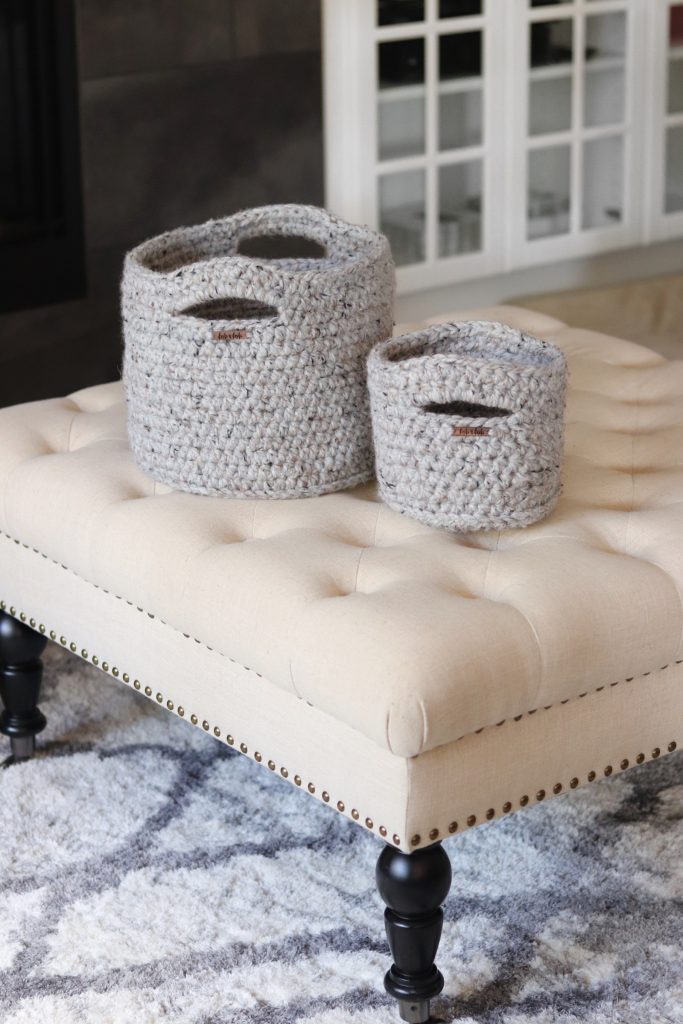
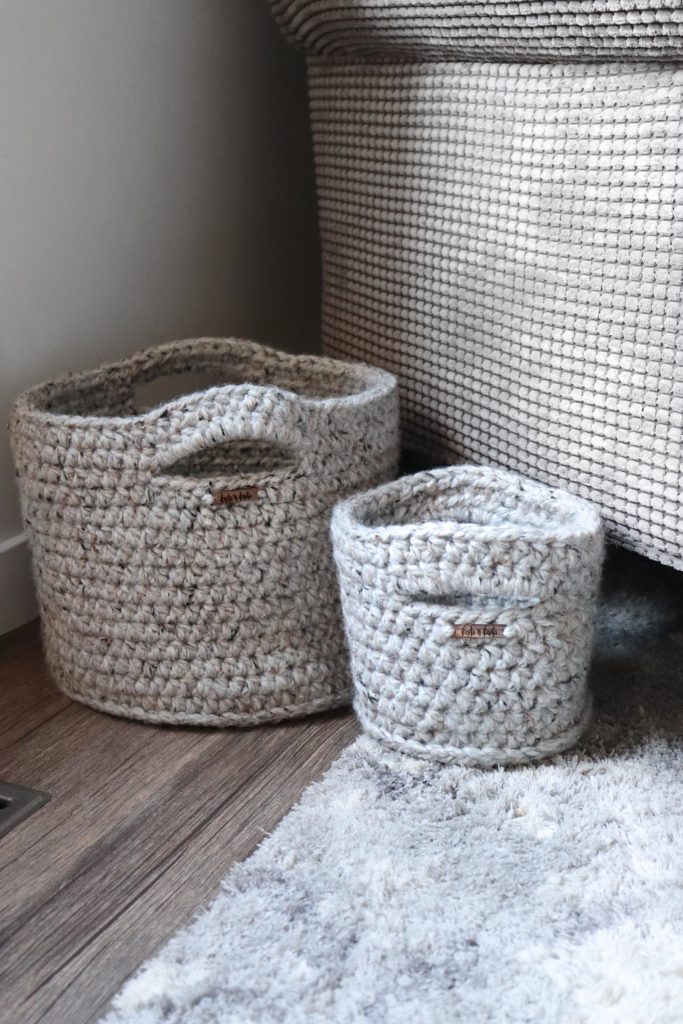
I was originally going to write up the mini basket and leave it at that, but I thought you guys would enjoy the instructions for a larger one as well. It is really easy to adjust the size and figure it out for yourself; all you have to do is create the handles equal distances apart, but I thought I’d do the math for you! So now you can follow the pattern for the mini basket or the larger basket. I also included how to finish it off if you don’t want handles.
It’s easy to adjust the size by adding or subtracting rows for the base or for the height. You really can make this project as large or as small as you’d like. You could add a second colour as well to make it a two-tone basket. Or, you could hold two differently coloured strands together to give a variegated look.
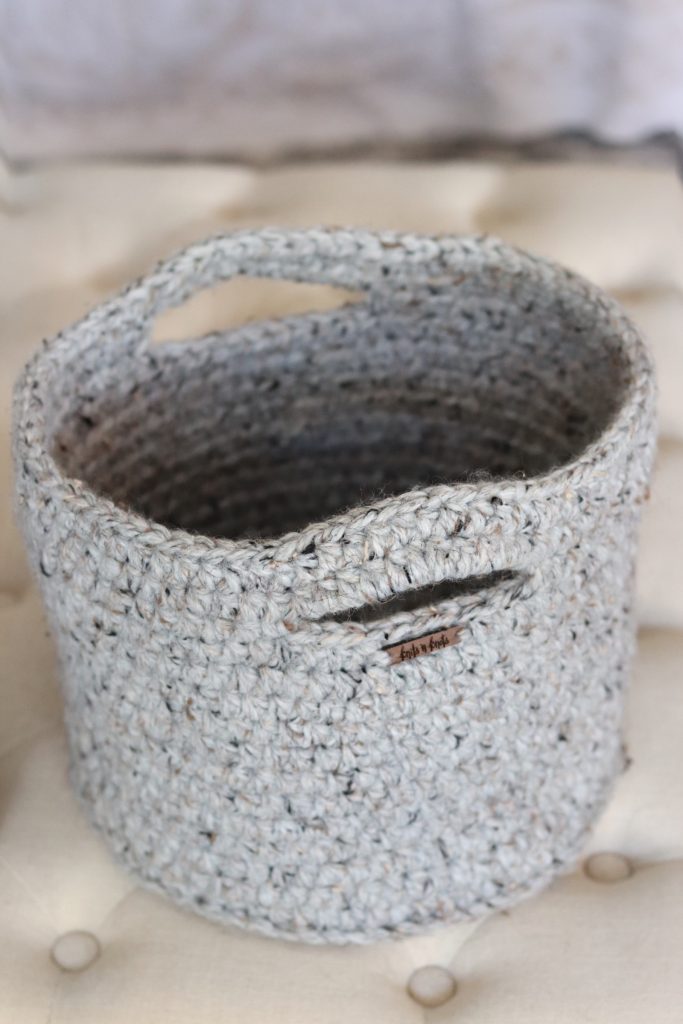
To make this bottom-up basket, the base is crocheted first. We then flip it over, attach new yarn and create the walls of the basket, then work the handles. US crochet terms are used, and the skills required are: hdc, skipping stitches, working into a chain space, working in the 3rd loop of a hdc stitch, using stitch markers to work in a spiral.
The entire basket is worked double stranded, and is seamless. It’s nice to have a seamless basket because then you can have any side of it facing the room, and it always looks amazing!
Yarn
I used Lion Brand Wool-Ease Thick and Quick, one of my all-time faves. This yarn really is incredible. You’ll need 2 skeins (159yds) for the small basket and 4 skeins (424yds) for the large basket. I chose the colour “grey marble”.
Tip: Different colourways have different thicknesses. For example, the “fisherman” colourway is thinner than the “grey marble” colourway, and the basket made in fisherman will be slightly smaller than the one made in grey marble. Just so you’re aware! To accommodate for this, you can work 1 extra round for the base and 1 extra round in height to reach the given measurements if desired.
Substitutions: If you’re wanting to sub in a new yarn, I would play around with the gauge until you get something as sturdy as you can possibly get. To make it sturdier, you can either increase the number of strands you’re working with, size down your hook, or both. This way, you can use any yarn you like. As long as it’s sturdy enough and isn’t floppy, you’ll be good!
You can find the pattern in these places:
On my website here.
On Ravelry here.
On Etsy here.
(Use the code “PATTERN10” for 10% off all patterns)
I can’t wait to see your WIPs! Make sure to tag me @knitsnknotswpg and use the pattern hashtag #LivingstonBasket and #knitsnknots so that everyone can see your projects!
Happy crocheting,
Janine xo
You May Also Like


