Light It Up Yoke – Knitting Pattern for Christmas Sweater with Embroidered Lights!
Hi everyone!
This post includes everything you need to know about the Light It Up Yoke – a whimsical Christmas sweater knit seamlessly from the top-down with an embroidered string of lights around the yoke! Knit in my favourite budget-friendly worsted weight yarn: Lion Brand Wool-Ease!
Get the Lion Brand Knitting Kit here!
Before we begin, here are some quick links for you:
- Find the PDF version on Ravelry here, on Etsy here, on my website here.
- Add your finished project to Ravelry here.
- Shop the recommended yarn, Lion Brand Wool-Ease, here!
- Get the full Lion Brand Knitting Kit here!
- For any questions about this pattern, please email knitsnknotswpg@gmail.com and I’ll get back to you asap!
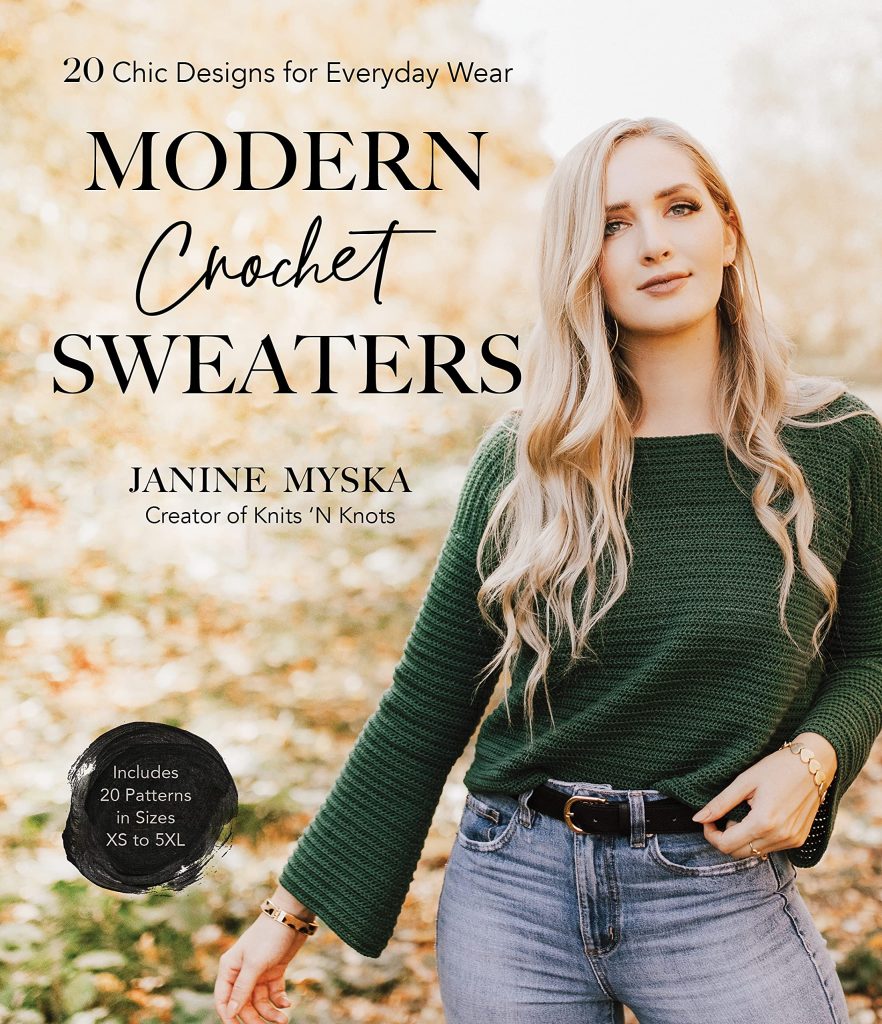
Shop my new book – Modern Crochet Sweaters: 20 Chic Designs for Everyday Wear – here!
If you want to be notified of all new pattern releases (and get exclusive discounts on all new paid patterns), sign up below!
This post is sponsored by Lion Brand and contains affiliate links. This means, should you make a purchase, I will receive a small portion of the sale at no extra cost to you. All opinions are my own. View my Privacy + Disclosures Policy here.
About
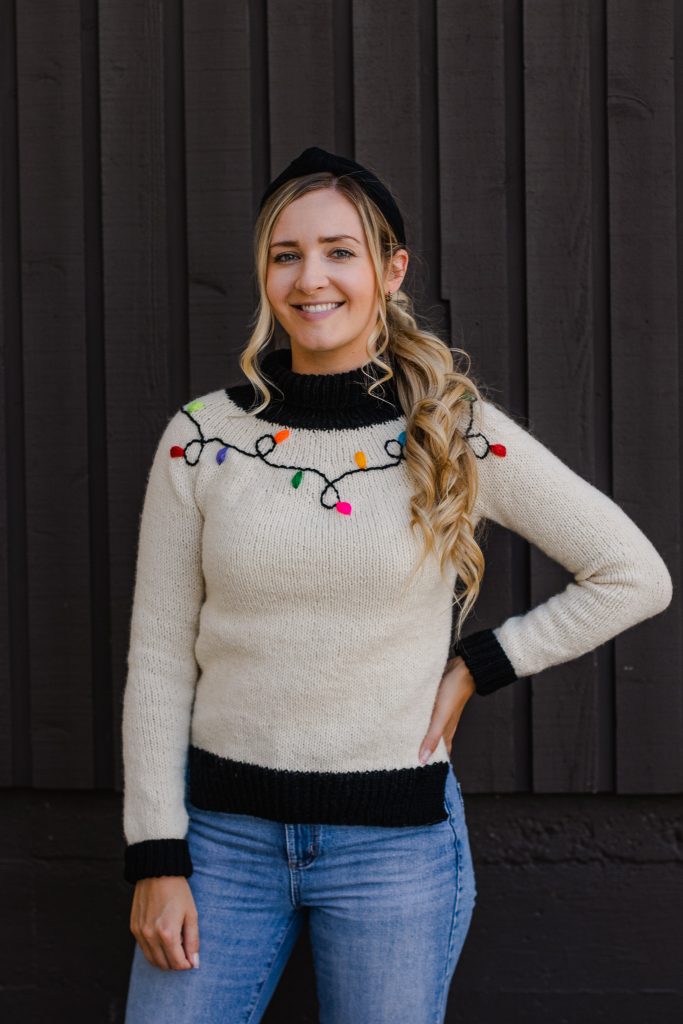
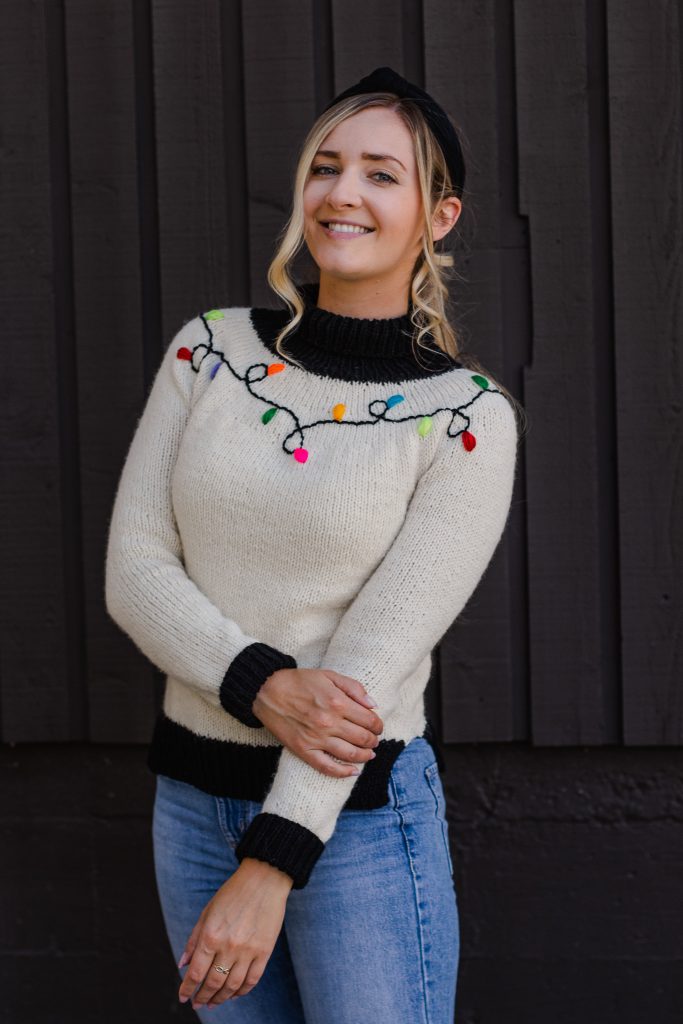
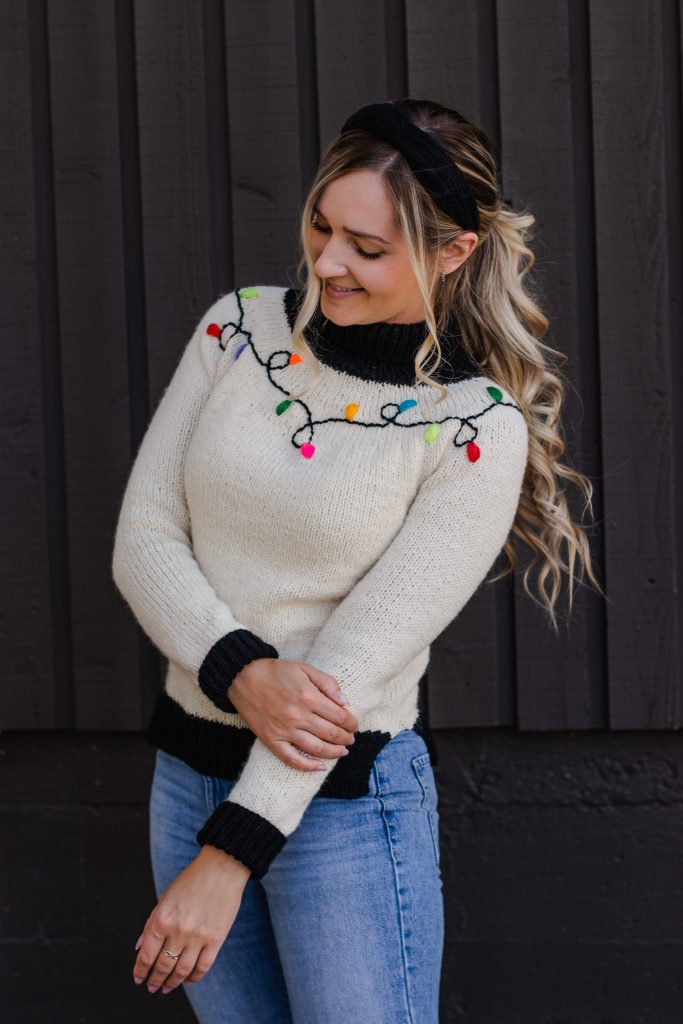
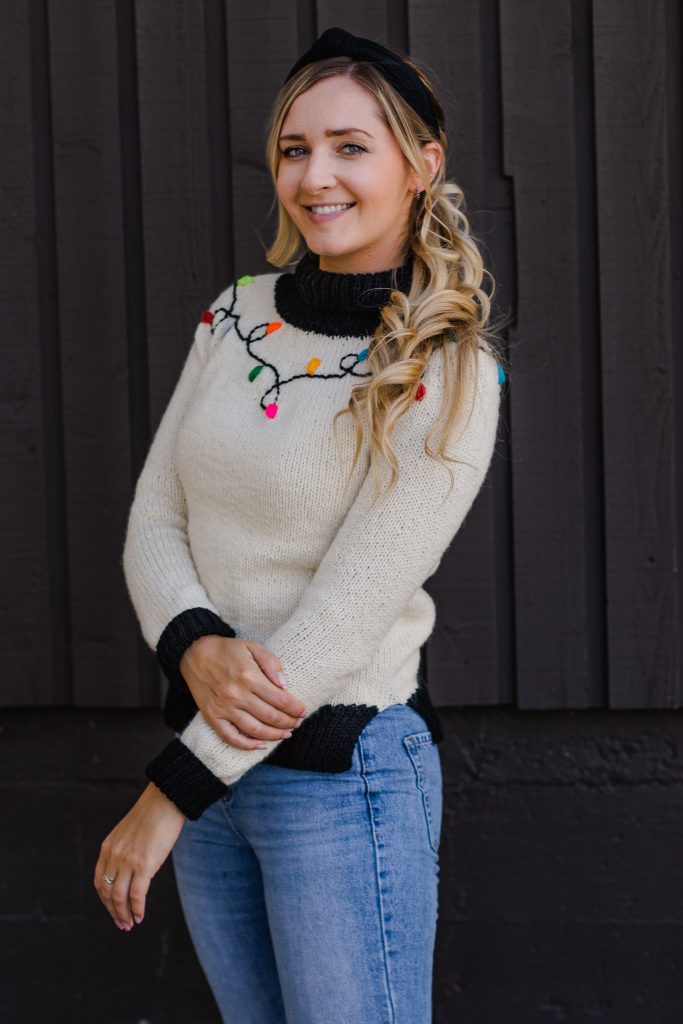
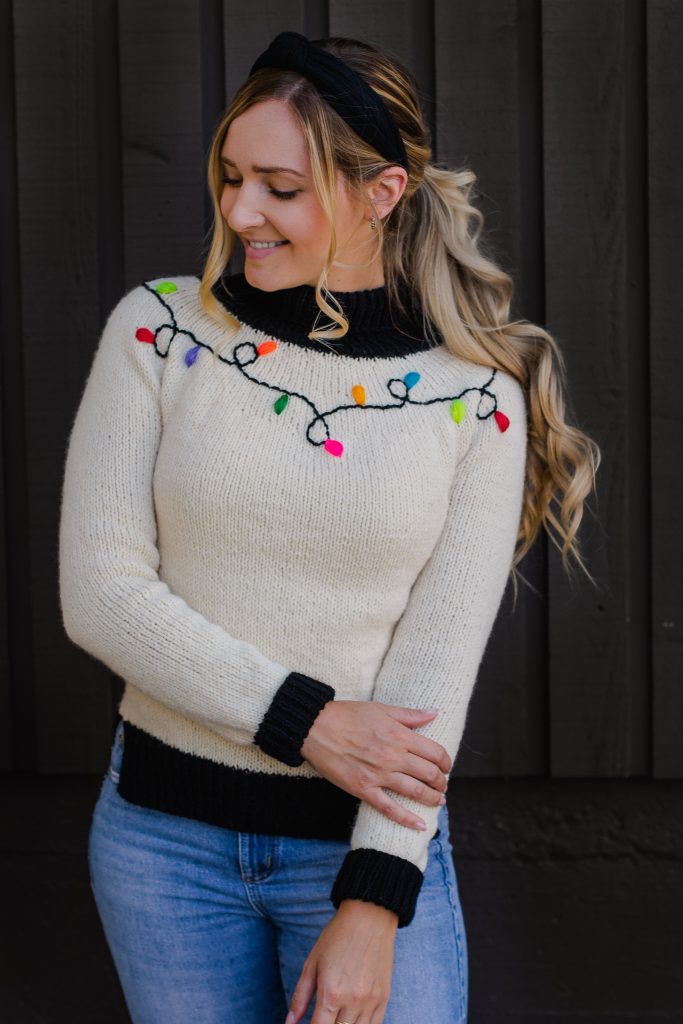
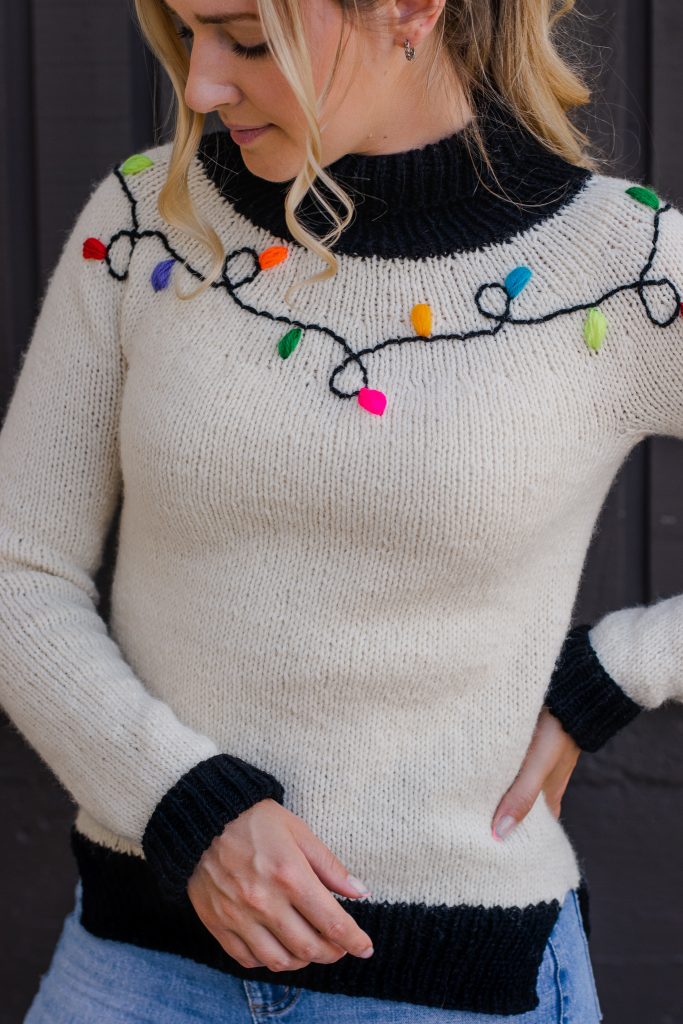
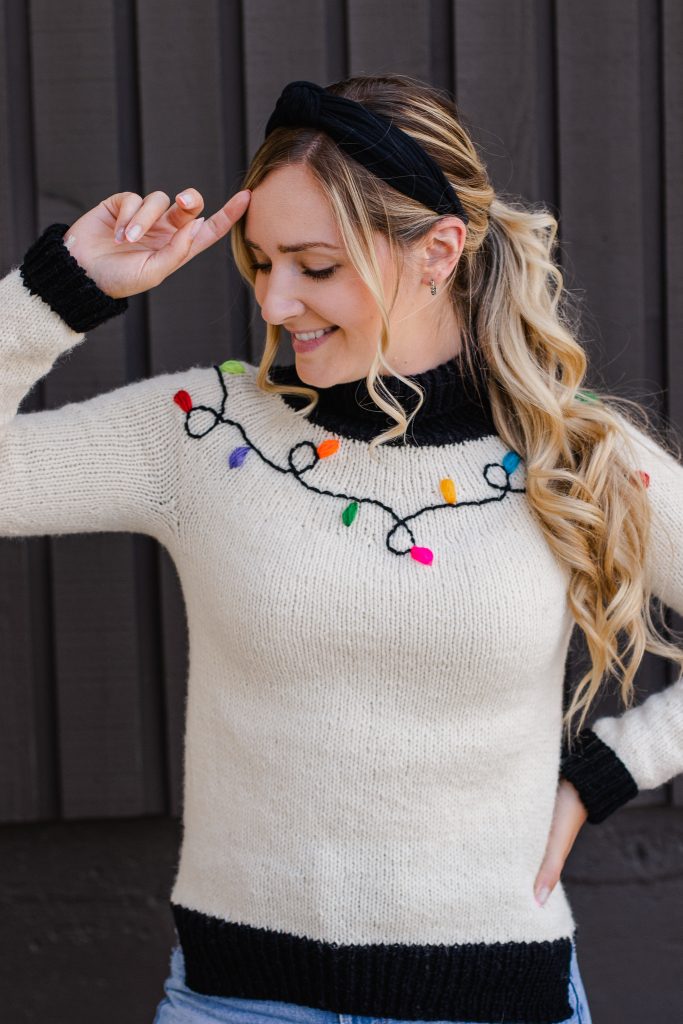
Designed for Lion Brand’s 2022 Countdown to Christmas promotion, the Light It Up Yoke is a circular yoke sweater that is knit seamlessly from the top-down featuring a turtleneck and an embroidered string of lights around the yoke. I used Black for the neckline, cuffs, and split-hem as well as the curly strand of lights, and Fisherman for the rest. I’ve had this idea in my sketchbook for quite a while as a “one day” design, but when I decided to take part in Lion Brand’s 2022 Countdown to Christmas promotion, I figured this would be the perfect project to finally design!
Materials
Yarn for Main Sweater: Worsted—Lion Brand Wool-Ease in 2 colorways: Fisherman and Black
- 80% Acrylic, 20% Wool
- 197 yds (180 m) per 3 oz (85 g) skein
- Find this yarn on lionbrand.com or visit yarnsub.com to find comparable substitutes.
Yardage Required:
4 (4, 4, 5, 5) [6, 6, 7, 7] skeins of Main Color (Fisherman), or
- 650 (675, 775, 825, 925) [1050, 1150, 1275, 1375] yds
- 594 (617, 709, 754, 846) [960, 1052, 1166, 1257] m
and
1 (2, 2, 2, 2) [2, 2, 2, 2] skein(s) of Accent (Black) or
- 190 (210, 215, 235, 250) [300, 315, 350, 365] yds
- 174 (192, 197, 215, 229) [274, 288, 320, 334] m
Yarn for Lights: DK—1 package of Lion Brand Bonbons in Crayons; package comes with 8 mini skeins, each skein consisting of the following:
- 100% Acrylic
- 28 yds (26 m) per 3 oz (10 g) skein
- Find this yarn on lionbrand.com or opt to use any category #3, light, DK weight yarn in 8 different colorways for the lights.
- If substituting the yarn for the lights, all sizes will need approximately 24 yds (22 m) total of scrap yarn, equivalent to 3 yds (3 m) used from each mini skein.
Notions: Tapestry needle, distinct stitch marker to mark BOR, scrap yarn for placing work on hold (I recommend using a contrasting color), several stitch markers to help with placing the lights.
Needles Required: Size U.S. 9 (5.5 mm) or size needed to obtain gauge with the following suggested cord lengths:
- 12-16” (30-40 cm) cord for turtleneck, yoke, and upper sleeves
- 32-40” (80-100 cm) cord for body, or cord long enough to accommodate all body sts for your size
- 8-9” (20-23 cm) circulars, DPNs, or your preferred method of smaller circumference knitting for the lower sleeve and cuffs. You can also use the magic loop method to complete the sleeves using a longer cord length, if preferred.
Gauge
4 x 4″ (10 x 10 cm) = 16 sts and 22 rows in stockinette, worked in the round
Abbreviations
Written in U.S. terms
BOR: beginning of round
K: knit
k2tog: knit 2 stitches together (right-slanting decrease)
- Insert your right needle into the next 2 sts knitwise, treating them as 1, and knitting them together.
P: purl
PM: place marker
rem: remaining
rep: repeat
RLI: right lifted increase
- Insert your needle into the right leg of the stitch below the first stitch on your left needle and knit this stitch (without slipping any stitches off your left needle).
rnd: round
RS: right side (the knit side)
sm: slip marker
ssk: slip slip knit (left-slanting single decrease)
- Slip 1 st knitwise onto right needle, slip 1 more st knitwise onto right needle (this essentially twists the orientation of two stitches), then slide them both back to your left needle. Insert right needle through the back loops of both slipped sts and knit them together.
stockinette: this means to K all RS rows and P all WS rows
st(s): stitch(es)
WS: wrong side (the purl side)
DS: double stitch (German Short Rows)
- Making a DS on the purl side: With the purl side facing you and with yarn in front, slip 1 stitch purlwise from your left needle to your right needle. Pull your yarn over top of your right needle to the back of your work. Your slipped stitch should now look like 2 stitches – or a double stitch. Bring yarn in between your two needles to the front of your work so you can purl your next stitch.
- Making a DS on the knit side: With the knit side facing you and with yarn in front, slip 1 stitch purlwise from your left needle to your right needle. Pull your yarn over top of your right needle to the back of your work. Your slipped stitch should now look like 2 stitches – or a double stitch. Keep yarn in the back of your work so you can knit your next stitch.
Pattern Notes
Skill Level: Intermediate
Sizing: This sweater is written in nine sizes as follows: XS (S, M, L, XL) [2X, 3X, 4X, 5X]. Make sure to follow the numbers for your size only.
Stitch Counts: Stitch counts are listed below each row/rnd in italics. If no stitch count is given, there has been no change since the previous row/rnd. If only one number is provided, it applies to all sizes.
- An “x” indicates that particular instruction does not apply to your size.
Construction: The turtleneck is knit first in your contrasting color. Then, you will switch to your main color and work a few German Short Rows for a better-fitting neckline, then you will begin increasing until reaching your specified length before splitting your yoke into four quadrants: 1 front, 1 back, and 2 sleeves. You will knit the remainder of the body in the round while your two sleeves are on hold, then you will knit the sleeves. Once your sweater is complete, you will block it. Lastly, once dry, you will embroider the curly strand of colored lights!
German Short Rows: This pattern uses short-row shaping in the back-neck. The short rows essentially create a crescent shape of additional stitches within your fabric to help shape your work without affecting the total number of stitches on your needles. In this pattern, the short rows help create additional fabric near the back-neck so that the front of the sweater doesn’t rise up and push on your throat. The short-rows allow for more fabric in the back of your sweater, allowing the front to sit a little bit lower. (You are welcome to substitute wrap and turns or any other short-row method in place of the German Short Rows if you prefer.) If it is your first time working German Short Rows, be sure to watch the video linked below.
Helpful Links:
#LightItUpYoke
Thanks so much for reading!
To shop the full Lion Brand Light It Up knitting kit here!
Find the pattern in these places:
On Ravelry
On Etsy
On my website
In the Light It Up Lion Brand Knitting Kit
Shop my other Lion Brand kits here!
x
Janine
If you also crochet, you can find my full print book, Modern Crochet Sweaters: 20 Chic Designs For Everyday Wear on the shelves of all major retailers or see purchasing options here!
For exclusive discounts on all new patterns, join the Knits ‘N Knots newsletter list here!
