Hi all!
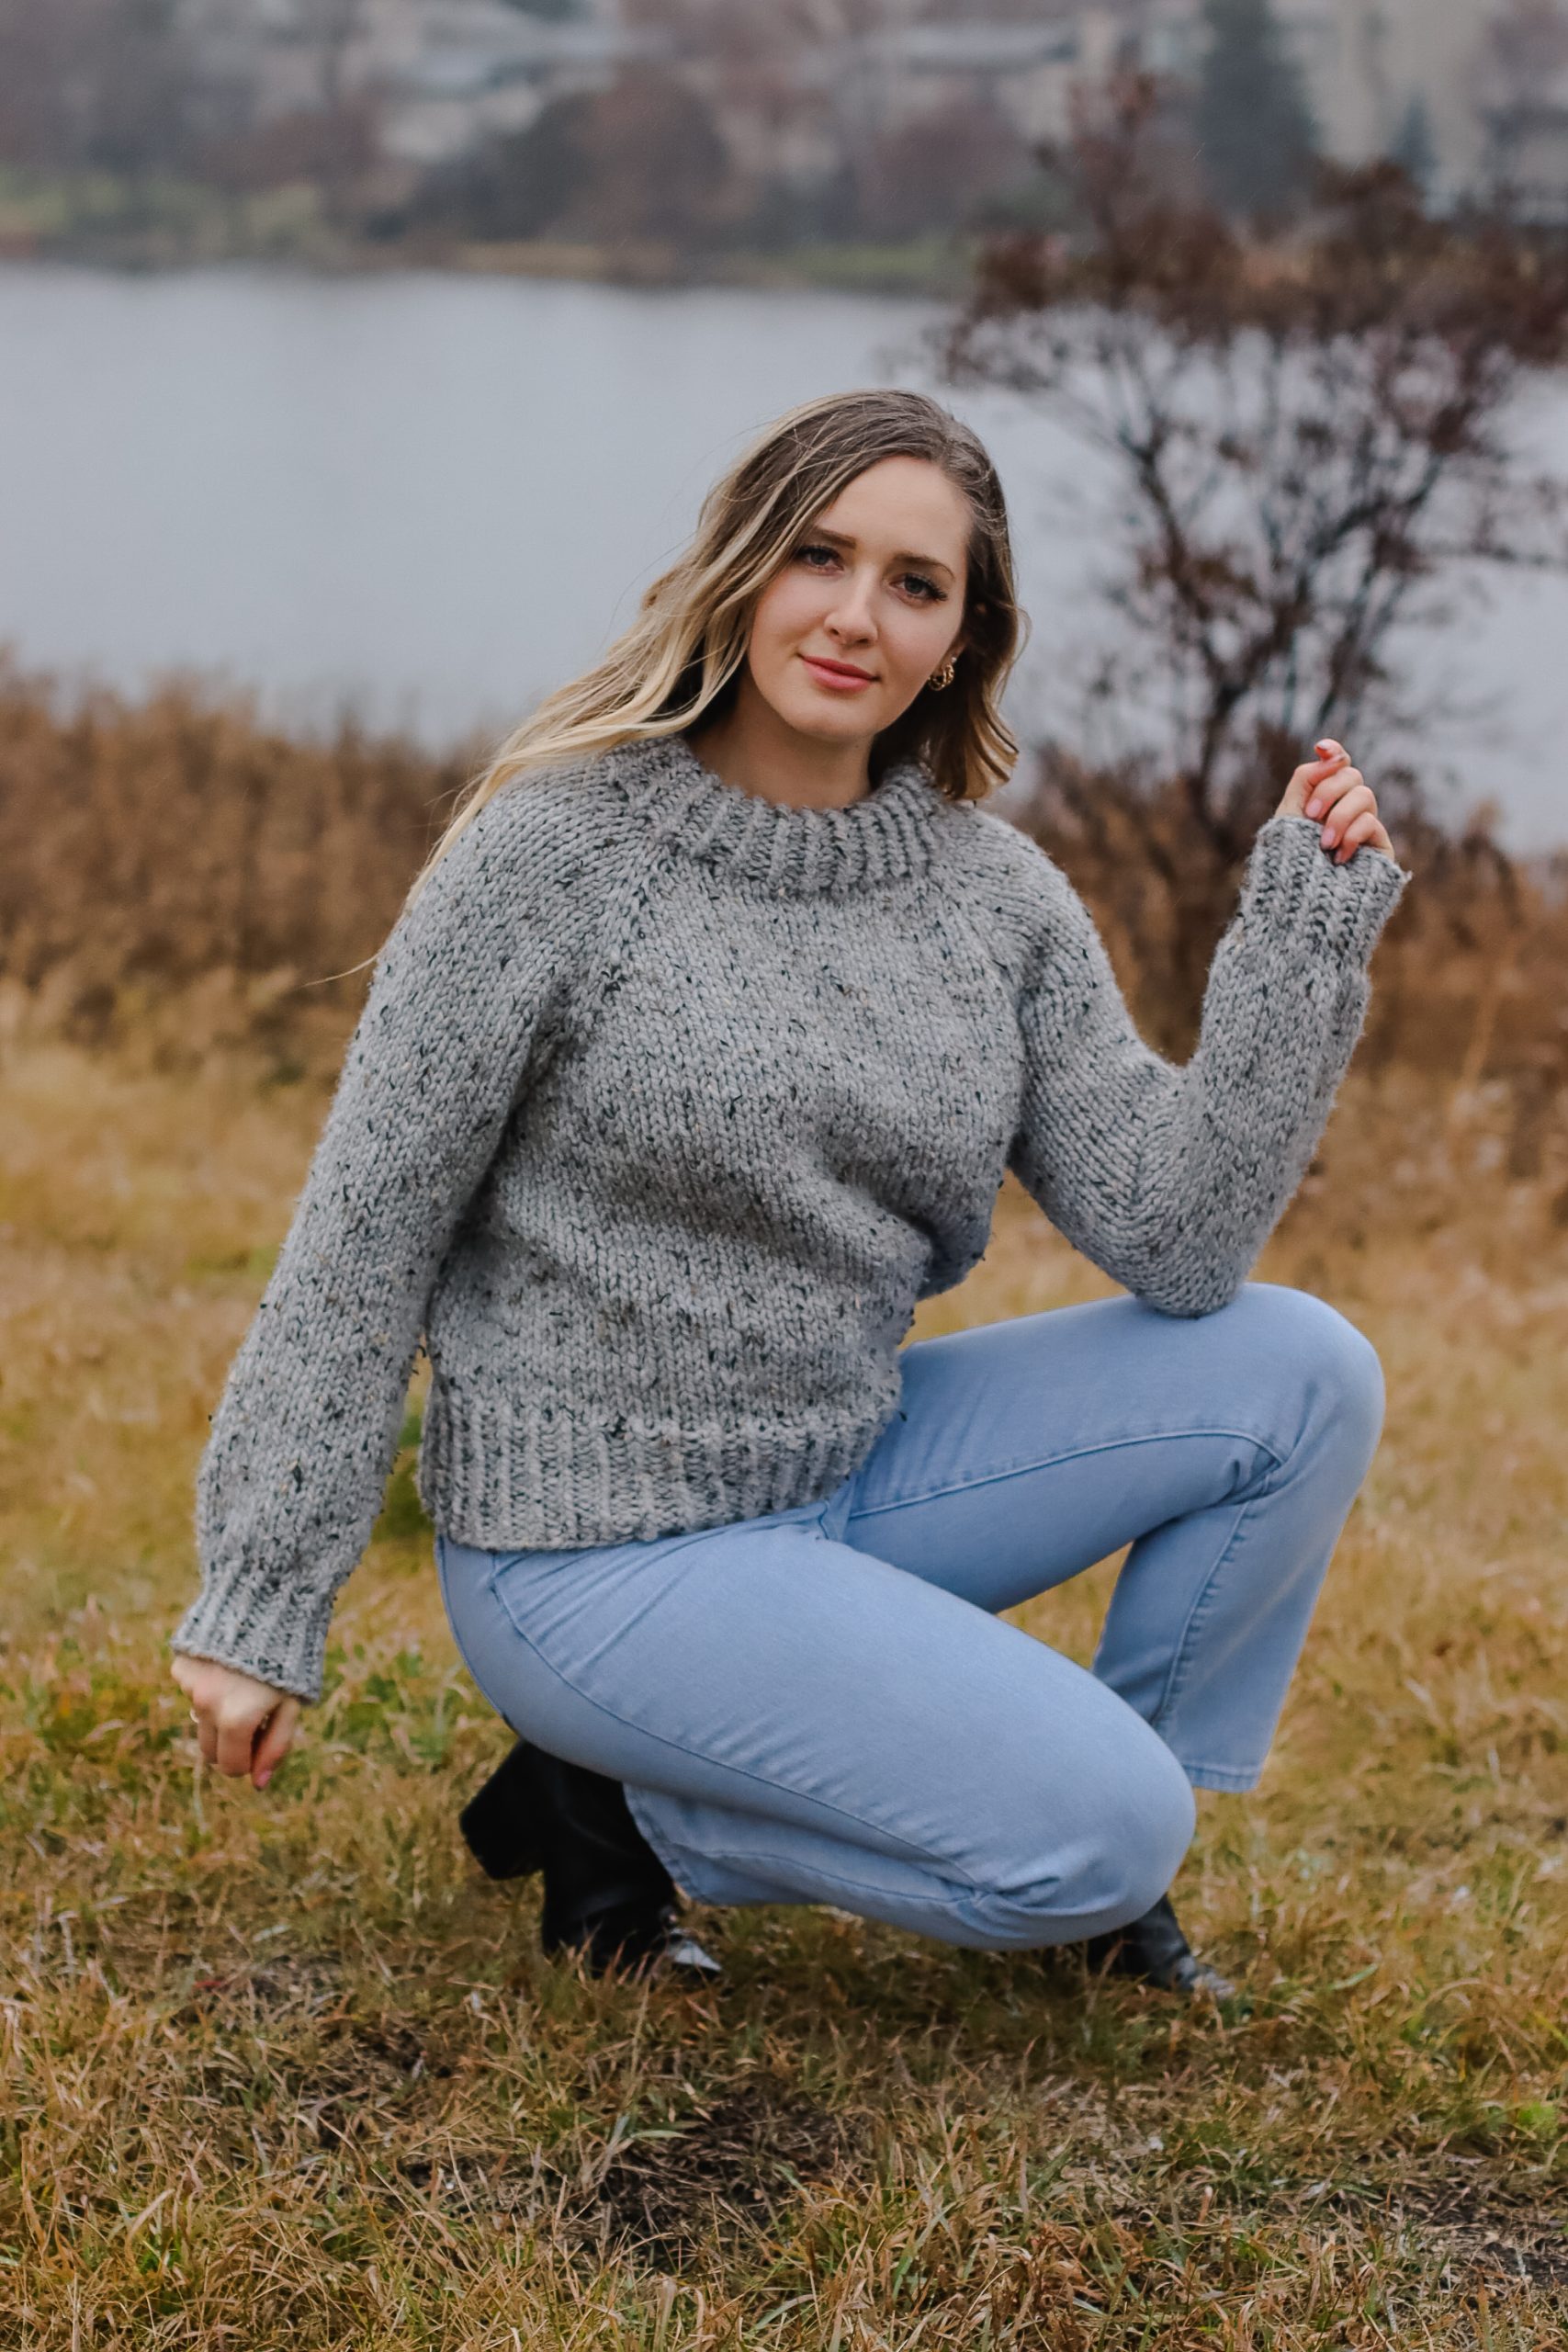
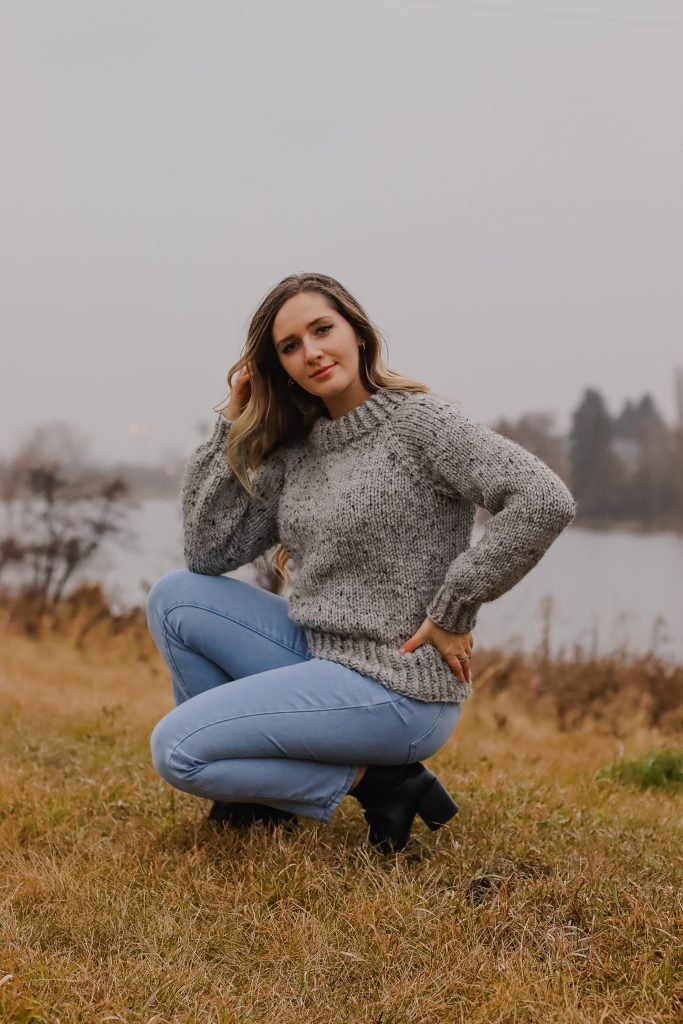
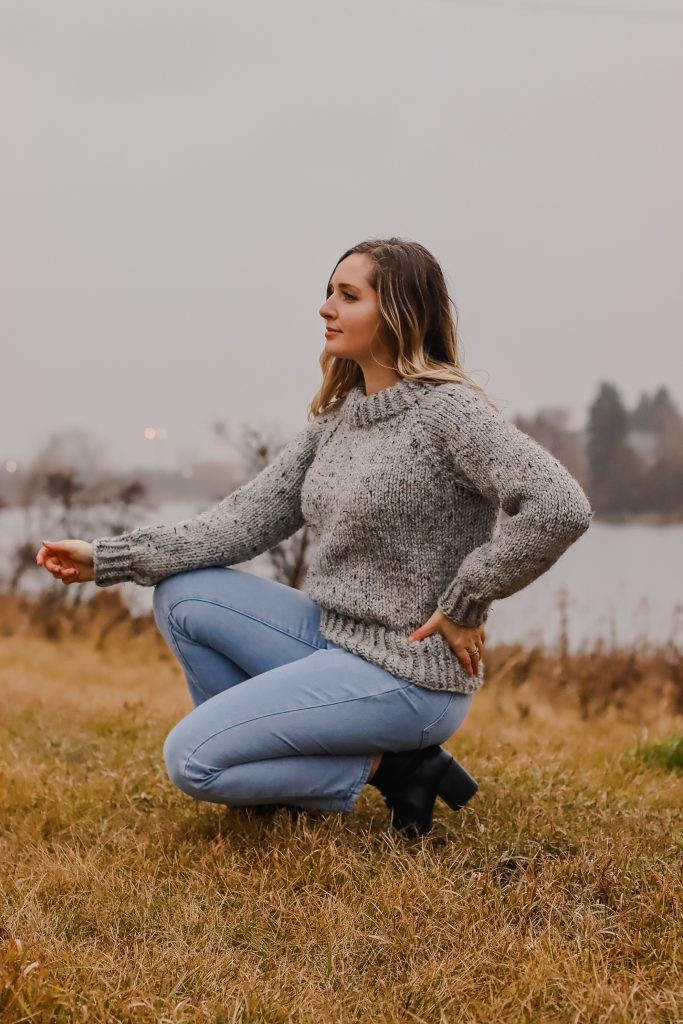
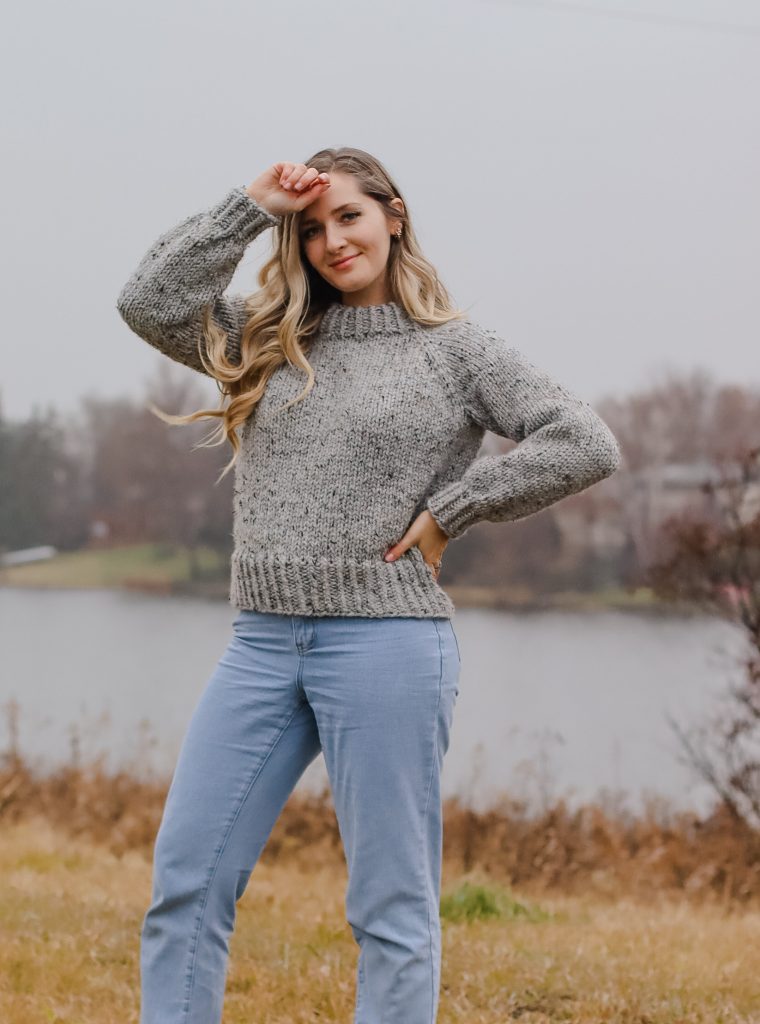
This post includes everything you need to know about the Hazy River Raglan, a chunky top-down raglan sweater made with everyone’s favourite chunky yarn – Lion Brand Wool-Ease Thick and Quick! <3
Get the Lion Brand Kit here (comes with yarn + free PDF pattern)!
Before we begin, here are some quick links for you:
- Find the PDF version on Ravelry, Etsy, and my website.
- Add your finished project to Ravelry here!
- Shop the recommended yarns, Lion Brand Wool-Ease Thick & Quick, here.
- Shop the full Hazy River Raglan knit kit here (comes with all yarn required + free copy of the PDF pattern)!
- For any questions about this pattern, please email knitsnknotswpg@gmail.com and I’ll get back to you asap!
Shop my new book – Modern Crochet Sweaters: 20 Chic Designs for Everyday Wear – here!
If you want to be notified of all new pattern releases (and get exclusive discounts on all new paid patterns), sign up below!
This post contains affiliate links. This means, should you make a purchase, I will receive a small portion of the sale at no extra cost to you. All opinions are my own. View my Privacy + Disclosures Policy here.

About
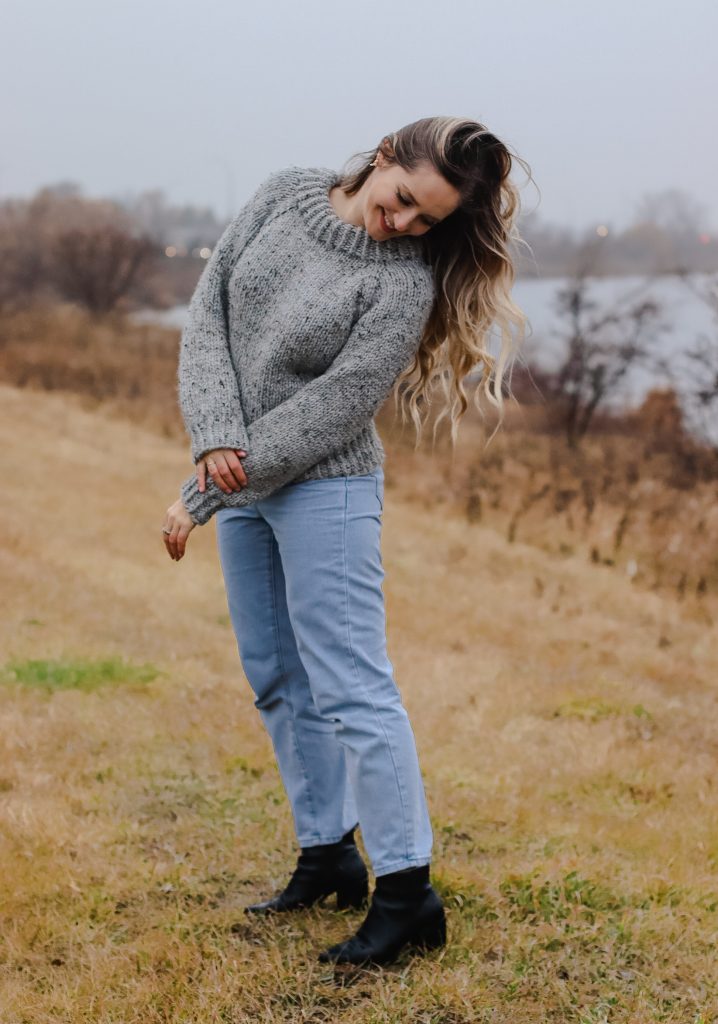
The Hazy River Raglan is a chunky stockinette sweater with a few intermediate elements: a folded, twisted-rib on the neckline and some fun short-rows at the top of the yoke to create a dip in the front neckline for a great-fitting, comfortable sweater. Use this pattern to make yourself a warm, winter wearable or to make a relatively quick gift for loved ones during the holidays!
Materials
Yarn: Super Bulky—Lion Brand Wool-Ease Thick and Quick in Grey Marble
- 80% Acrylic, 20% Wool
- 106 yds (97 m) per 6 oz (170 g) skein (for the regular sized skein, not the “bonus bundle”, though this large skein will work too – just be sure to get the correct total yardage for your size)
- Find this yarn on lionbrand.com or visit yarnsub.com to find comparable substitutes.
Important Yarn Note: Different colorways of this yarn contain varying yardage. Double check you have the correct total yardage before beginning rather than only looking at the number of skeins required.
Yardage Required:
6 (6, 7, 7, 8) (9, 10, 10, 11) skeins, or
- 550 (575, 650, 700, 775) (850, 975, 1015, 1075) yds
- 503 (526, 595, 640, 709) (777, 892, 928, 983) m
If substituting Wool-Ease Thick and Quick, choose any similar, category #6, super bulky weight yarn that matches gauge. Always swatch before beginning to ensure you are happy with the resulting fabric.
Notions: Tapestry needle, 8 fixed stitch markers plus 1 distinct stitch marker to mark BOR, scrap yarn for placing work on hold (I recommend using a contrasting color)
Main Gauge Needle: Size U.S. 15 (10 mm) or size needed to obtain gauge
Ribbing Needle: Size U.S. 11 (8 mm) or size that is 2 mm smaller than main gauge needle
with the following suggested cord lengths:
- 12-16” (30-40 cm) cord for neckline ribbing, yoke, and upper sleeves
- 32-40” (80-100 cm) cord for body, or cord long enough to accommodate all body sts for your size
- 8-9” (20-23 cm) circulars, DPNs, or your preferred method of smaller circumference knitting for the lower sleeve and cuffs. You can also use the magic loop method to complete the sleeves using a longer cord length, if preferred
Gauge
4 x 4″ (10 x 10 cm) = 9.5 sts and 14 rows in stockinette with Main Gauge (larger) Needle, worked in the round
Abbreviations + Terms
Written in U.S. terms
BOR: beginning of round
k: knit
k1tbl: knit 1 stitch through the back loop (the back leg of the stitch)
k2tog: knit 2 stitches together (right-slanting decrease)
- Insert your right needle into the next 2 sts knitwise, treating them as 1, and knitting them together.
m1l: Find the bar between your left and right needle. Insert your left needle from front-to-back, lifting this bar onto your needle. Insert your right needle through the back leg of this stitch and knit it off your left needle. (left-leaning increase)
m1r: Find the bar between your left and right needle. Insert your left needle from back-to-front, lifting this bar onto your needle. Insert your right needle from left to right through the front leg of this stitch and knit it off your left needle. (right-leaning increase)
P: purl
PM: place marker
rem: remaining
rep: repeat
rm: remove marker
rnd: round
RS: right side (the knit side)
sm: slip marker
ssk: slip slip knit (left-slanting single decrease)
- Slip 1 st knitwise onto right needle, slip 1 more st knitwise onto right needle (this twists the orientation of two stitches), then slide them both back to your left needle. Insert right needle through the back loops of both slipped sts (from right to left) and knit them together.
st(s): stitch(es)
WS: wrong side (the purl side)
Pattern Notes
Skill Level: Intermediate
Sizing: This sweater is written in nine sizes as follows: XS (S, M, L, XL) (2X, 3X, 4X, 5X). Make sure to follow the numbers for your size only.
Stitch Counts: Stitch counts are listed below each row/rnd in italics. If no stitch count is given, there has been no change since the previous row/rnd. If only one number is provided, it applies to all sizes.
- An “x” indicates that particular instruction does not apply to your size.
Construction: You will begin with the neckline of the yoke, working four points of increase until reaching your specified length before joining at the underarms to create space for the sleeves and the body. Your rectangular yoke is comprised of four sides or four quadrants: 1 front, 1 back, and 2 sleeves. You will place the sleeve stitches on hold while you knit the body, and then you will pick up your sleeve stitches and knit both sleeves. Lastly, you will work the neckline to your desired height! The neckline is worked last by picking up stitches to avoid stretching out over time.
Short Rows: This pattern uses short-row shaping in the back-neck. In this pattern, you will work flat in back-and-forth rows while also casting on the stitches for the front neckline edge. These short rows help create additional fabric near the back-neck so that the front of the sweater has a bit of scoop for a better fit, allowing the front to sit a little bit lower.
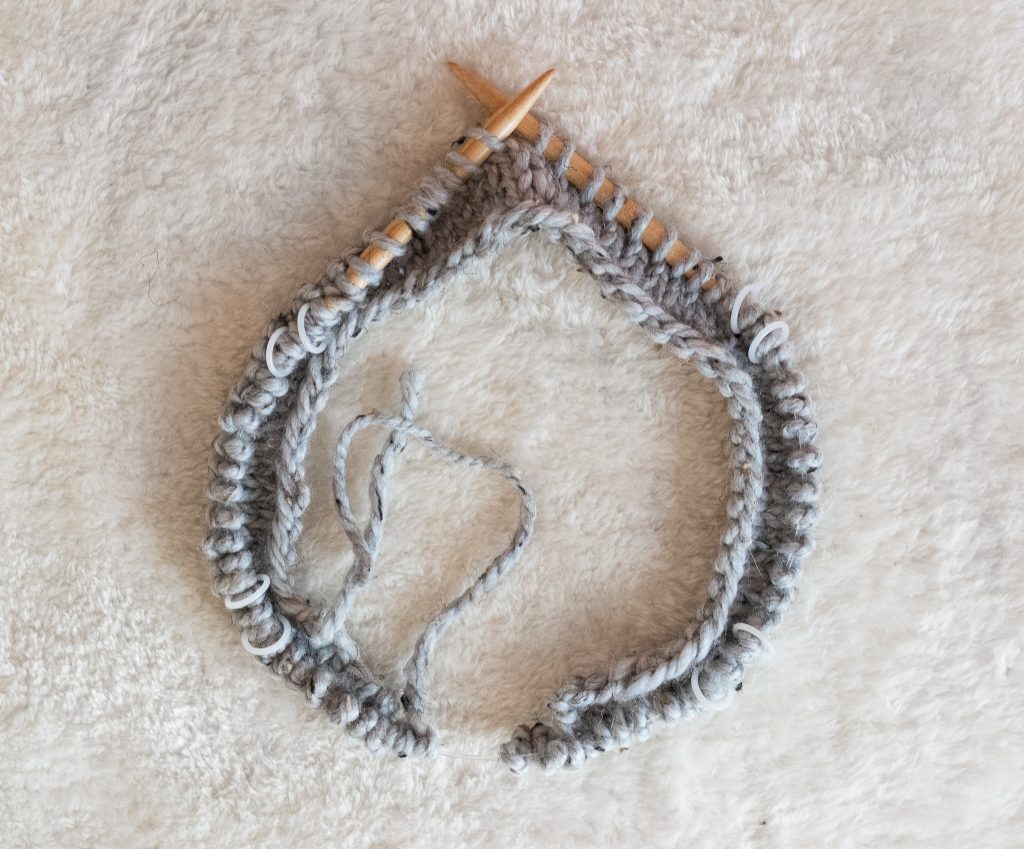
Short Rows
This pattern begins with short-rows knit back and forth to create additional space for the back-neck. After knitting several rows, you will join your work in the round and continue knitting in a spiral to create the rest of your sweater. You can see in the photo below how there are more stitches stacked on one another near the needle tips, and fewer stitches as you make your way to the bottom of the photo. The gap shown below will become the center-front of your sweater. This technique is used so that your sweater will not rise up in the front or push on your throat, but lay nice and comfortably as you wear it.
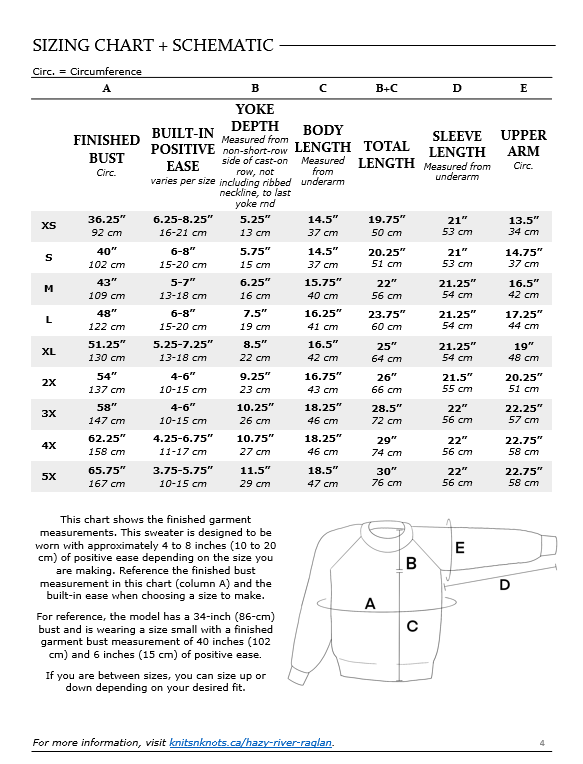
How to Choose What Size To Knit
Below is a screenshot from the sizing page of the PDF pattern. This sweater is designed ot have a varying amount of positive ease, depending on the size you are making. Reference the finished garment bust measurement (Column A) and the built-in positive ease (Column B) when choosing a size to knit. You don’t have to necessarily follow the recommended sizing and you can choose to size up or down for your desired fit.
#HazyRiverRaglan
Thanks so much for reading!
Shop the full Hazy River Raglan knit kit here (comes with all yarn required + free copy of the PDF pattern)!
Find the pattern in these places:
On Ravelry
On Etsy
On My website
For free in the Lion Brand kit!
x
Janine
You can find my full print book, Modern Crochet Sweaters: 20 Chic Designs For Everyday Wear on the shelves of all major retailers or see purchasing options here!
For exclusive discounts on all new patterns, join the Knits ‘N Knots newsletter list here!
You May Also Like