Hey guys!
Ok – let me preface this post by saying I have NEVER made earrings before.. this was my first pair! I am no expert – I just managed to make something cute on a whim and thought I would share it with you in case you wanted to do the same! Let me show you exactly how I made them, and you won’t believe how DEAD SIMPLE it is! I’m sure you’ll feel all inspired to play around with your own earring styles because this is such a fun, quick, and easy project that you can actually get a lot of use out of!
Also.. this may be the cutest gift idea of all time.
And a good item to stock your spring/summer market booths with.
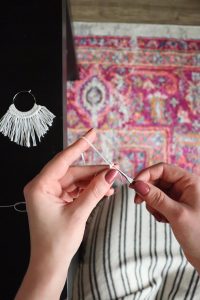
The only thing you need to know for these earrings is how to single crochet.
I crocheted around a pair of sterling silver earrings that I found on Amazon.ca here. (For US citizens, click here for the same link on Amazon.com.) This pack comes with 22 earrings, or 11 pairs. I wanted to get more than 1 pair so I could experiment with different styles! Feel free to get the same ones or shop around for whatever shape and size you like.
Materials
- 1.3mm crochet hook
- Any white crochet thread – you can find this anywhere yarn is sold (I used Creative World DMC Baroque 100% crochet cotton, super mercerized)
- Hoop earrings (I used these ones) (Click here for US link)
- Scissors + thin tapestry needle for weaving ends
Tutorial
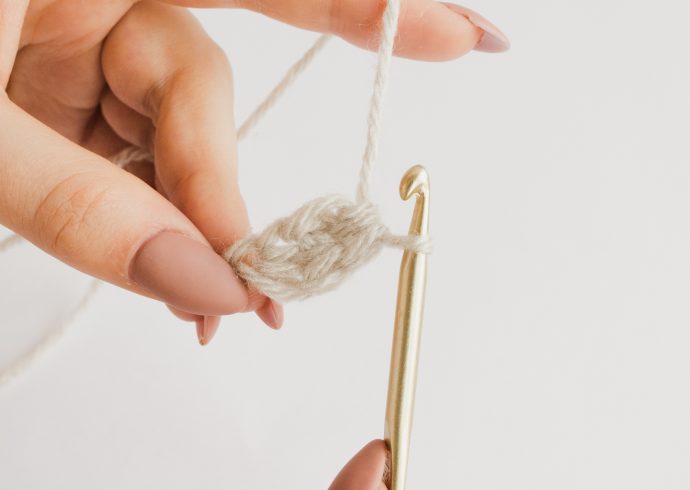
Step 1: Make a slip stitch around the earring to join the yarn to the earring.

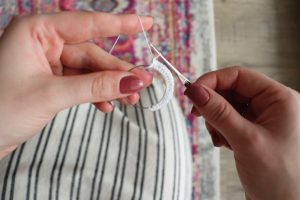
Step 2: Single crochet around the earring until you have 20 stitches around the earring.
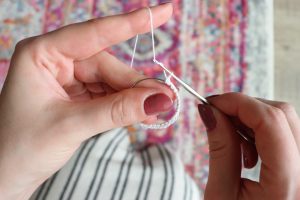
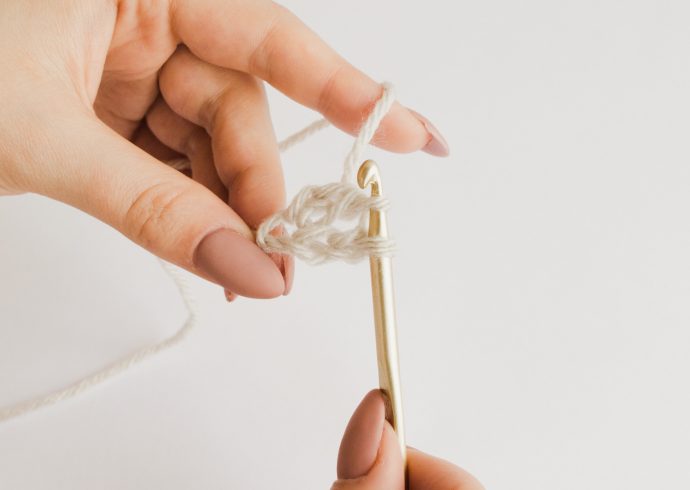
Step 3: Chain 1, work 2 single crochets in the first stitch, then 1 single crochet in each stitch until you reach the last stitch, and work 2 single crochets in the very last stitch. You should have 22 stitches.
Step 4: Cut yarn, weave in ends!
Step 5: To make the fringe, wrap yarn around object measuring approx. 5″ a total of 44 times. (I use the short edge of my phone, you can also use your hand!) Remove the yarn from the object, and cut through all strands with your scissors in the same spot (doesn’t matter where you choose) so that each strand will be the same length. You should have 44 strands.
Step 6: Insert your hook through any stitch, grab 2 strands of fringe with your hook at the center of the strands and pull them through so that it looks like you pulled up a double stranded loop. Yarn over with the ends of the strands, and pull through the loop on your hook. Pull tight.
Repeat step 6 for each single crochet stitch from step 3.
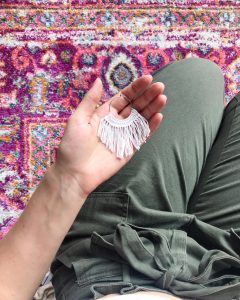
Cut the fringe into whatever shape you like! They could all be the same length, short or long, or angled like mine so that the shortest fringe is on the outside and the longest fringe is in the center of the earring.
Voila! It’s really that easy.
I can’t wait to see what your finished earrings look like! Make sure to tag me on Instagram (@knitsnknotswpg) and use the hashtag #KnitsNKnotsEarrings so everyone else can see your work 🙂
Janine xo
You May Also Like