Hi everybody,
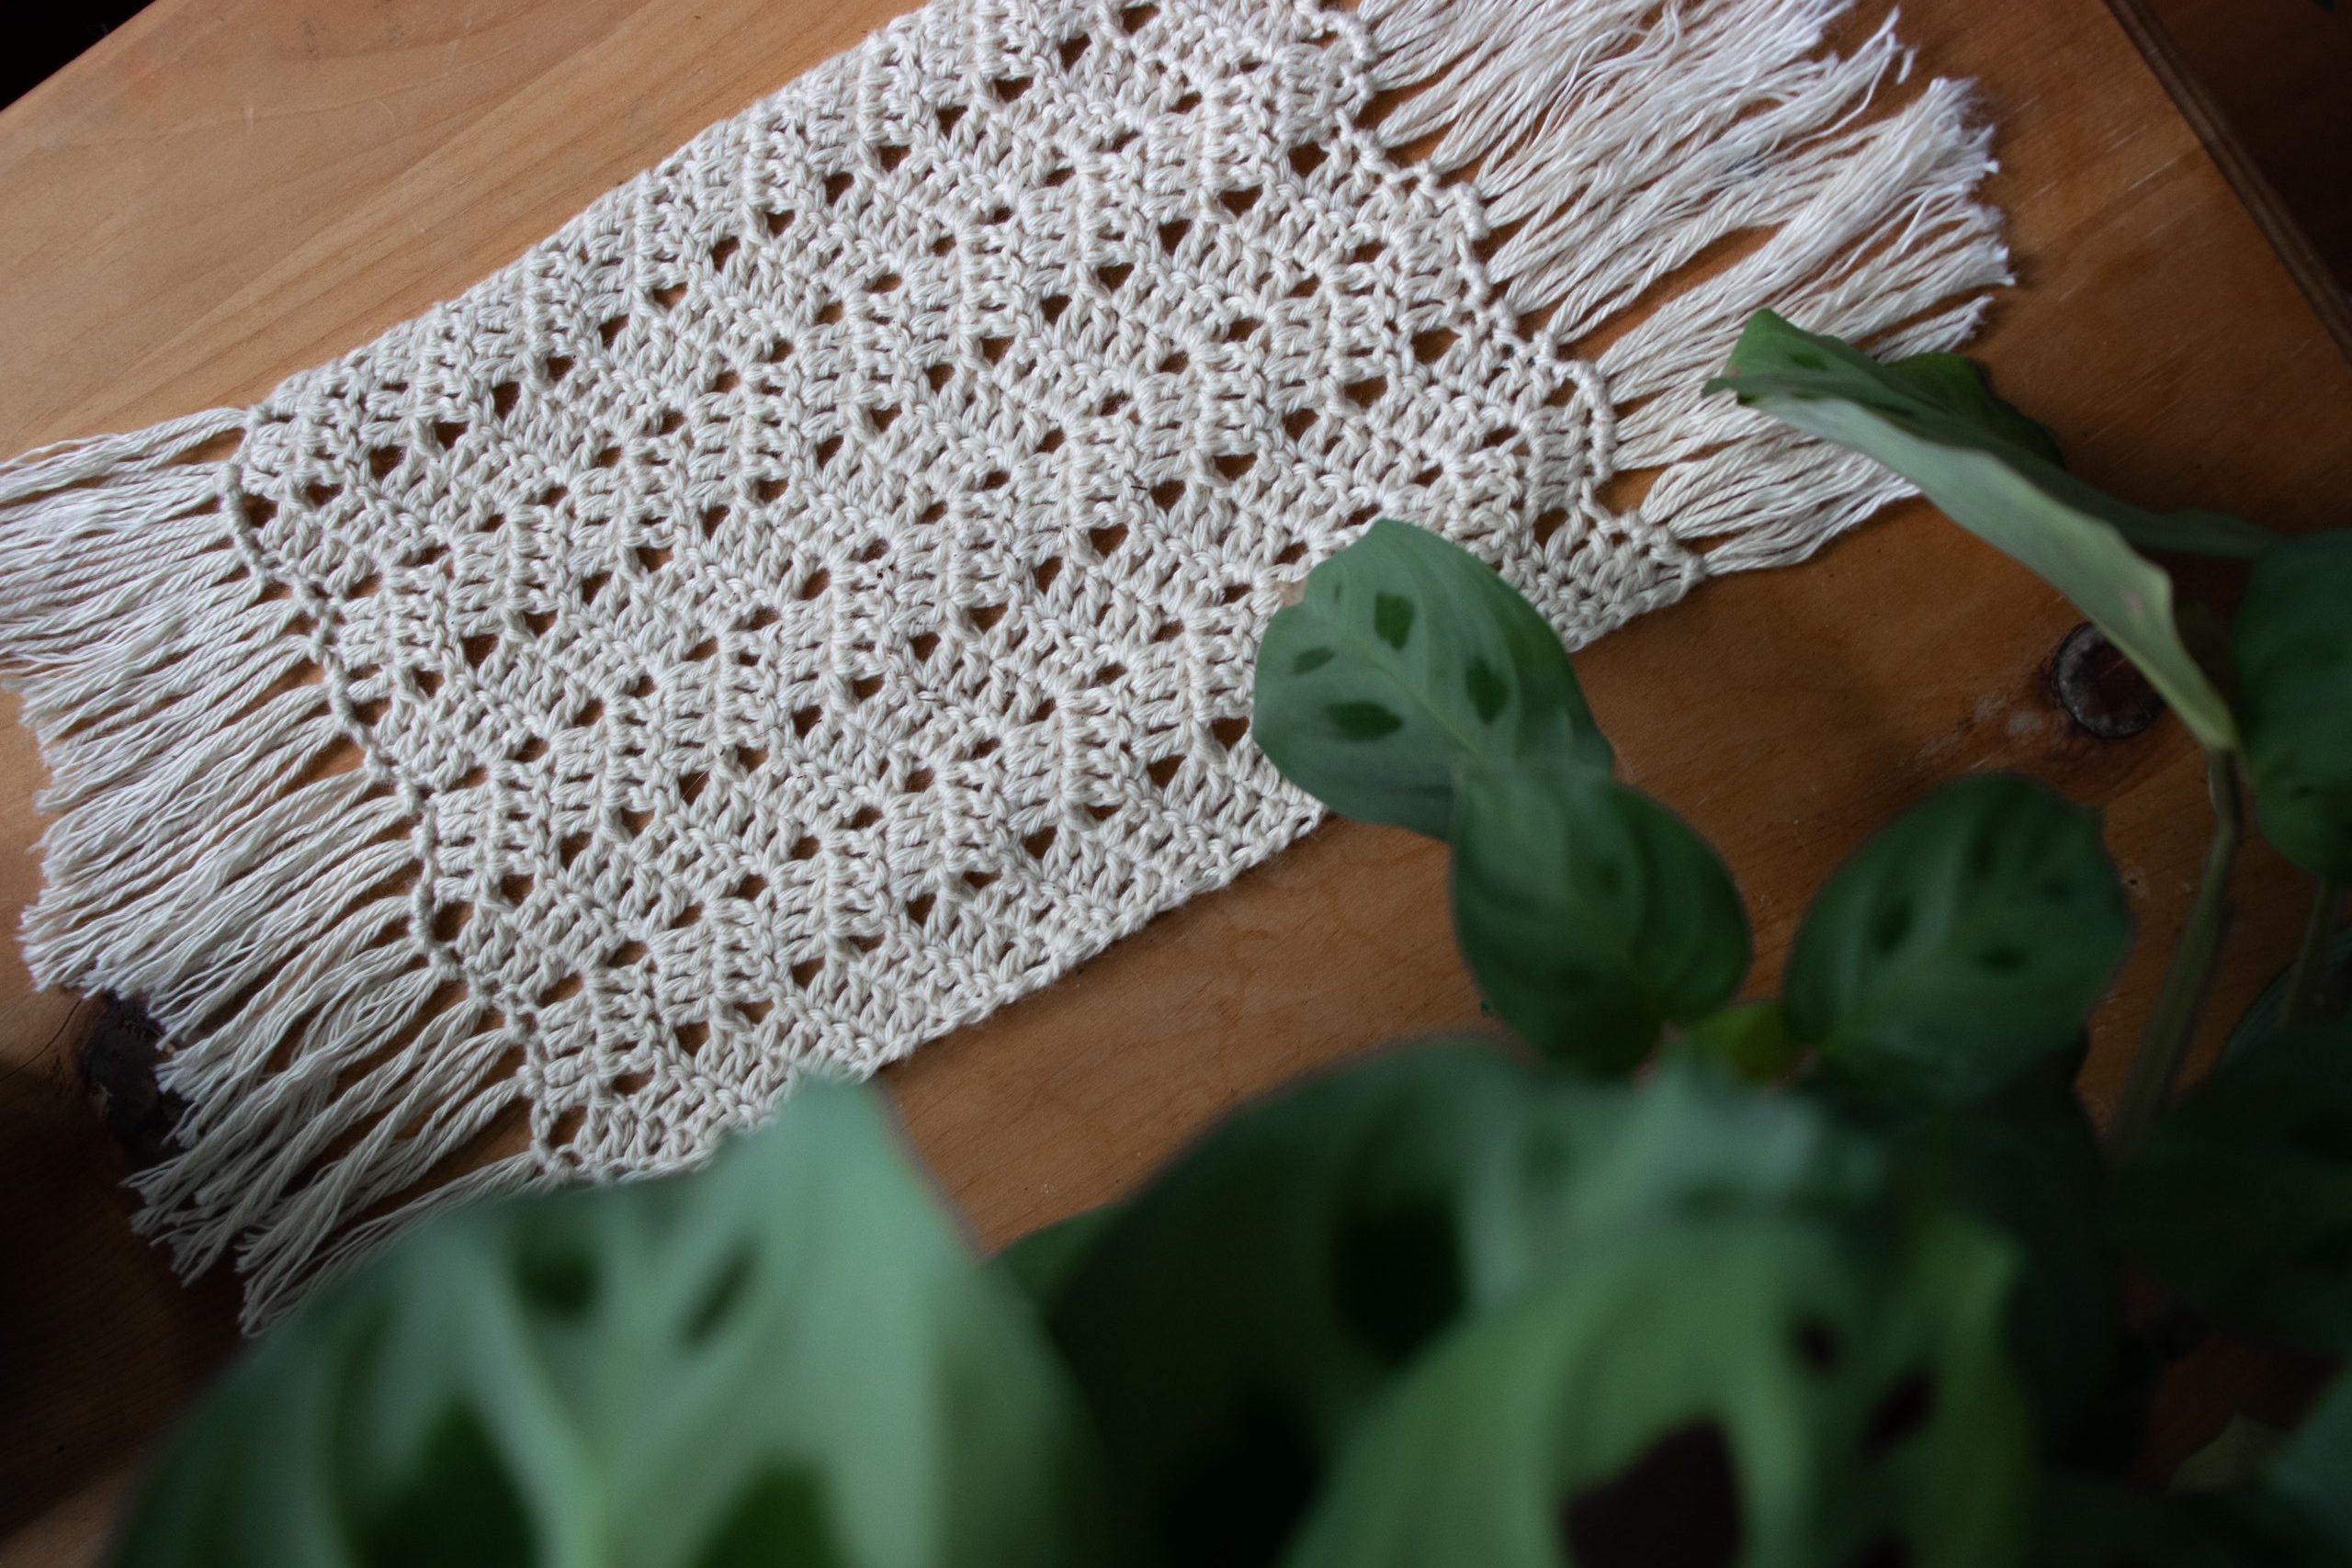
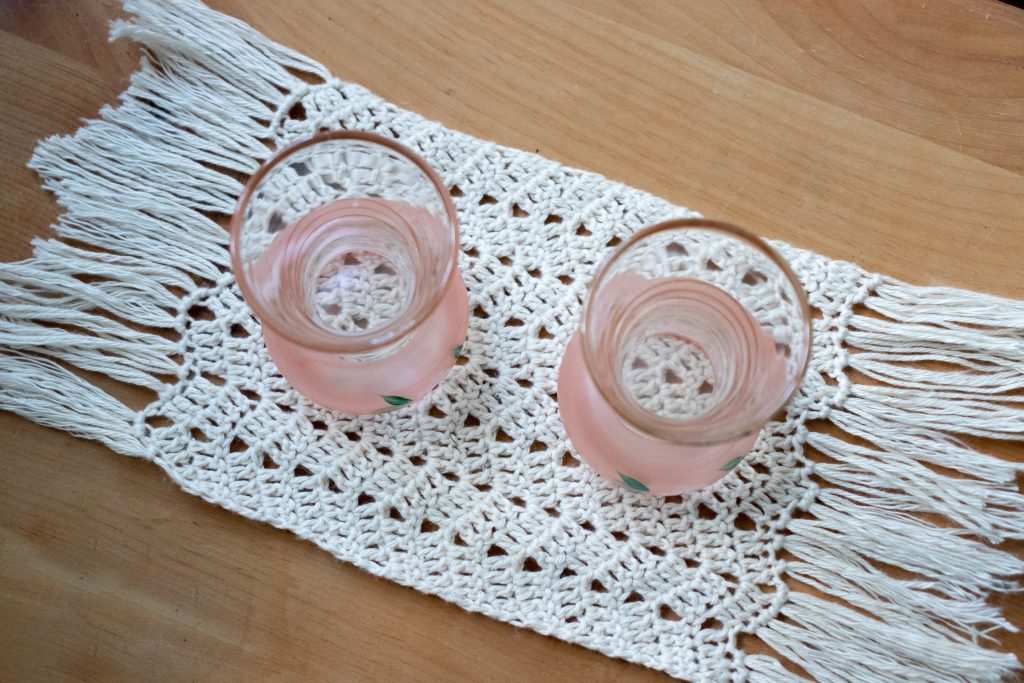
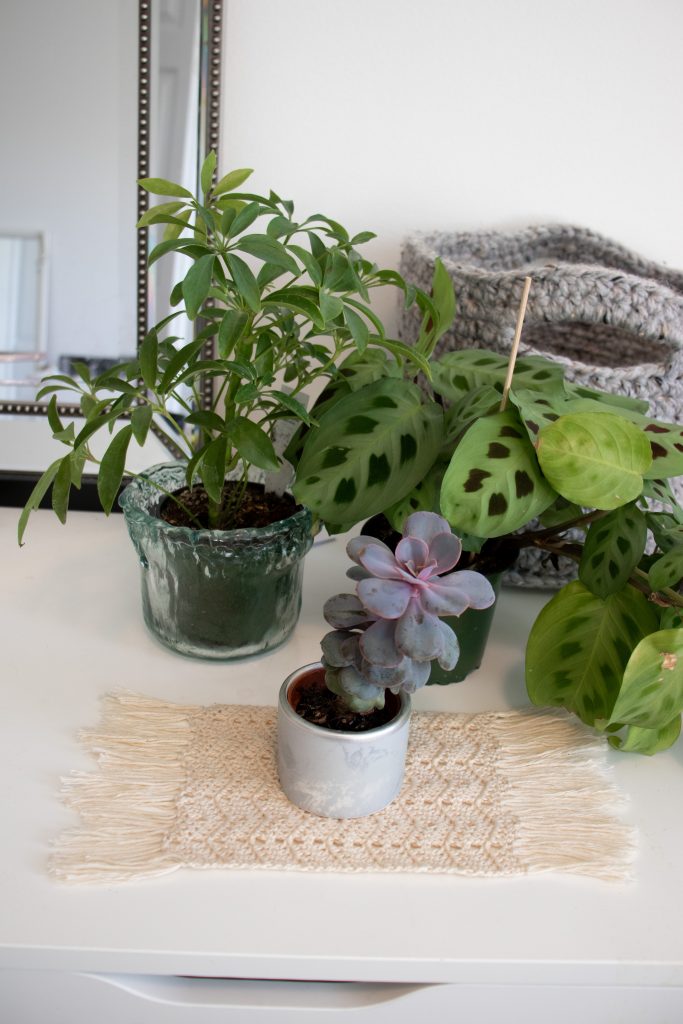
I’ve been so busy with the new house that I *almost* forgot to share June’s free pattern with you! Introducing the Ripple Plant Rug – a cute lil’ free pattern for a “plant coaster” if you will! You can use it under your plants, you can use it as a regular coffee coaster, or you could even make it longer and use it as a table runner!
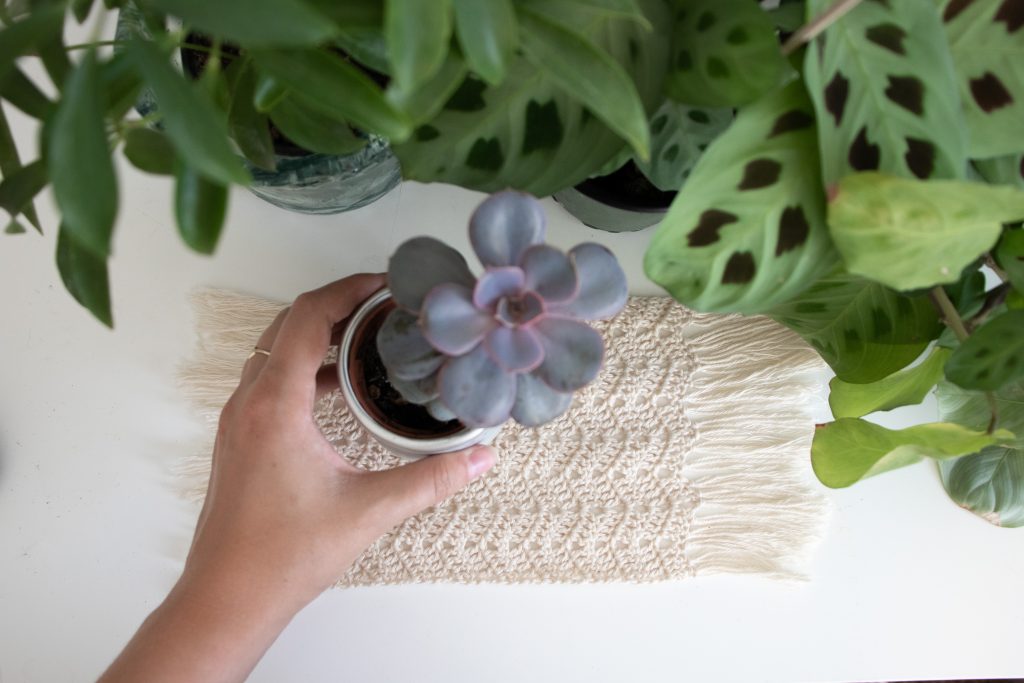
Last month, I made the Easy Hanging Planter Basket that mimics macrame. I decided to stick with the plant theme for this month and make a decorative rug for my plants since I have about 8301693 plants at home and I’m always looking for ways to style them on shelves. I love the look of little coasters or rugs underneath them – so here I’ve made the Ripple Plant Rug!
Before we begin, here are some quick links for you:
- Use the pattern hashtag #RipplePlantRug on Instagram to show off your makes!
- Shop WeCrochet Comfy Fingering Yarn here!
- Shop my WeCrochet exclusive summer “Cool Crochet for Warm Summer Days” pattern bundle here (5 patterns for $9.99)
- For any questions about this pattern, please email knitsnknotswpg@gmail.com and I’ll get back to you asap!
Preorder my book – Modern Crochet Sweaters: 20 Chic Designs for Everyday Wear – here!
If you want to be notified of all new pattern releases (and get exclusive discounts on all new paid patterns), sign up below!
This post contains affiliate links. This means, should you make a purchase, I will receive a small portion of the sale at no extra cost to you. All opinions are my own. View my Privacy + Disclosures Policy here.

About
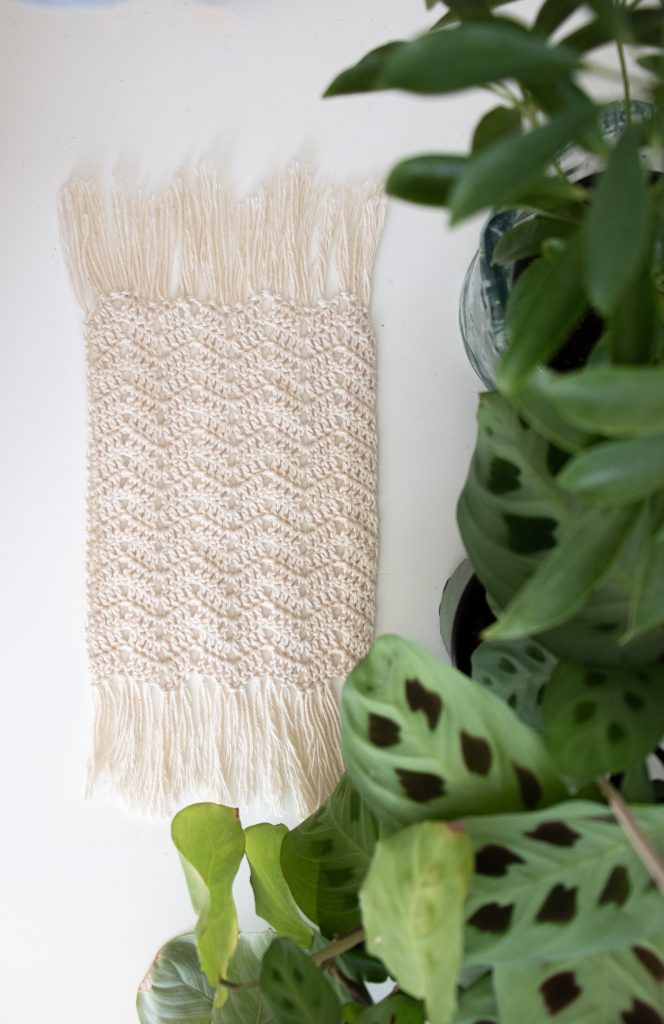
This is a beginner-friendly pattern that is not only easy to make, but easy to modify. You can make it longer simply by adding more rows, or wider by adding sts to your beginning chain in multiples of 10. You can add any length of fring that you like, or none at all! I tried to cut the fringe in a wavy pattern to match the waves in the fabric, but you can keep it straight if you want. I also used a clean, wire-bristle pet brush to brush out the fringe in order to give it that boho-vibe. You can do this if you wish but it will still look cute as-is!
Of course, you can also use this as a regular coaster for coffee, candles, whatever you like.
Materials
Here’s what you’ll need to make your own Ripple Plant Rug:
- Yarn: 13g or 60yds of Comfy Fingering Weight from WeCrochet in Ivory (1/4 of a skein)
- You can make 4 of these with just 1 skein! Each skein is only $3.99.. just sayin’!
- Hook: 3.25mm crochet hook or size required to obtain gauge
- Optional: Clean brush or comb to brush out the fringe
Yarn substituting: You can follow this pattern using any yarn you like. For similar results, use a fingering weight yarn with a cotton component. Gauge isn’t important unless you are wanting to make a Ripple Plant Rug with the exact dimensions listed below.
Dimensions
Length: 7.5″ [19 cm] (not including fringe)
Width: 5.5″ [14 cm]
Gauge
4 x 4″ [10 x 10 cm] = 21 sts x 9.5 rows in double crochet
Abbreviations (US Terms)
ch: Chain
ch-sp: Chain-space
dc: Double Crochet
rep: Repeat
sk: Skip
st(s): Stitch(es)
PATTERN
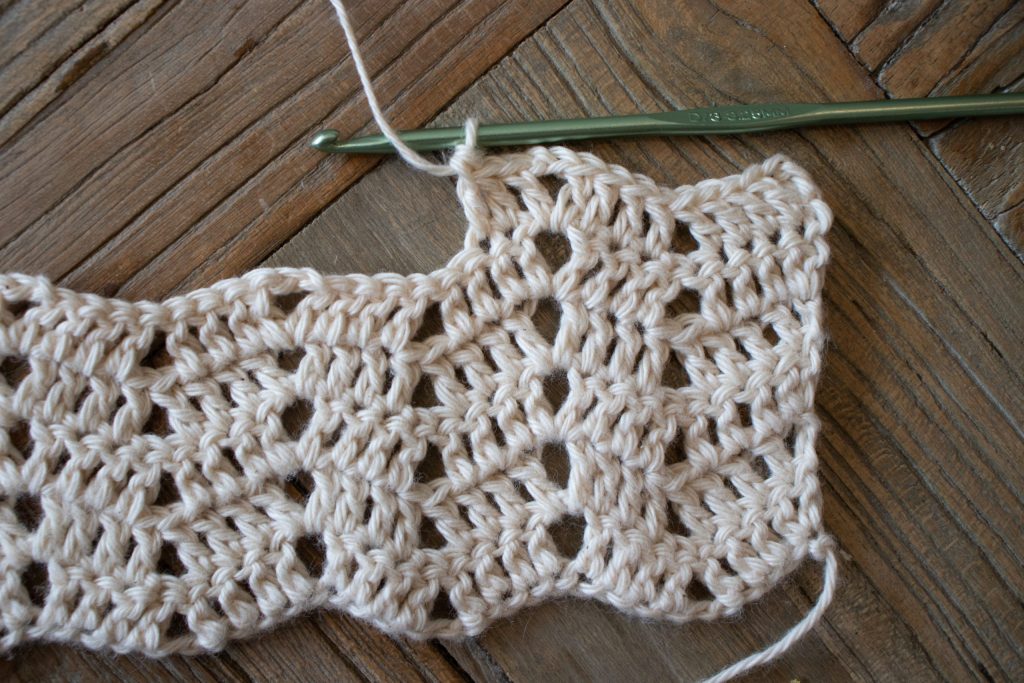
Ch 43.
For wider (or narrower) rug, add (or subtract) sts for a multiple of 10+3. For example ,working 23, 33, 53, or 63 sts will all work.
Row 1: Dc in 4th ch from hook (these 3 skipped ch count as 1 dc), dc in next 3 ch, sk next 2 ch, *dc in next 4 ch, ch 2, dc in next 4 ch, sk next 2 ch; rep from * to last 4 ch, dc in next 3 ch, 2 dc in last ch, turn.
Row 2: Ch 3 (counts as 1 dc here and throughout), dc in first dc, dc in next 3 dc, sk next 2 dc, *dc in next 3 dc, (dc, ch 2, dc) in next ch-sp, dc in next 3 dc, sk next 2 dc; rep from * to last 4 dc, dc in next 3 dc, 2 dc in last dc, turn.
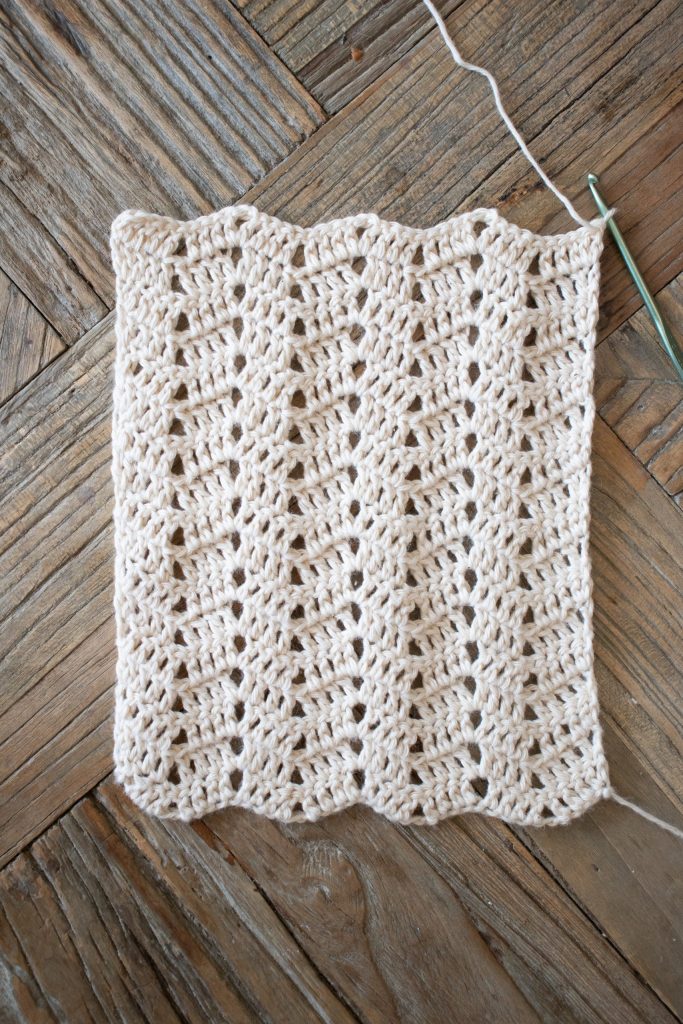
Rep Row 2 until desired length. (Sample shown has a total of 17 rows completed).
Fringe
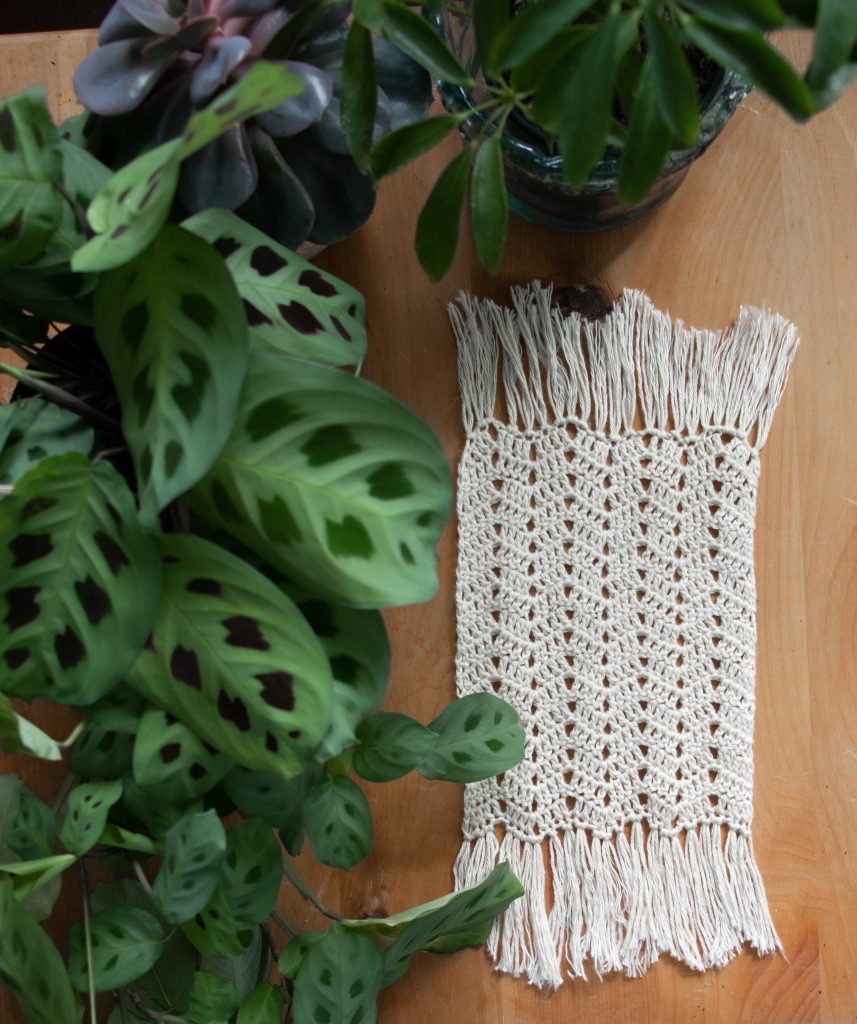
To add fringe, cut strands of yarn to approx. double your desired fringe length. I doubled the strands for fuller-looking fringe, but you can do them single-stranded if you prefer.
To attach fringe, insert your hook through a stitch along one of the wavy edges of your Ripple Plant Rug and grab 2 of the strands of fringe in the center, essentially folding them in half with your hook. Pull the loops up through the stitch towards you, then yarn over with the ends of the fringe and pull the ends all the way through. Tighten. Make sure you have the same side of your Ripple Plant Rug facing you for the entirety of this process since the fringe looks different on both sides.
Repeat for approx. every second stitch along both wavy edges of your Ripple Plant Rug. When completed, add more strands to any spots that look empty if desired. (At first, I tried adding my fringe to every single stitch, but it ended up looking a little too intense for me, so I added a few here and there.)
Tip: When completed, block or lightly steam for neater looking fringe.
Use a brush or comb to comb out the strands, separating the plies. Trim to desired length.
For help with fringe, refer to this video.
#RipplePlantRug
That’s it! Hope you love your new Ripple Plant Rug!
Here are some other free patterns you might like – the Faux Fade Wrap, Chasing Summer Tank, the Easy Hanging Planter, and the Teulon Tank!
I can’t wait to see your WIPs! Make sure to tag me @knitsnknotswpg and use the pattern hashtag #RipplePlantRug so that everyone can see your projects!
Happy crocheting,
x
Janine
You May Also Like