

Hi everyone!
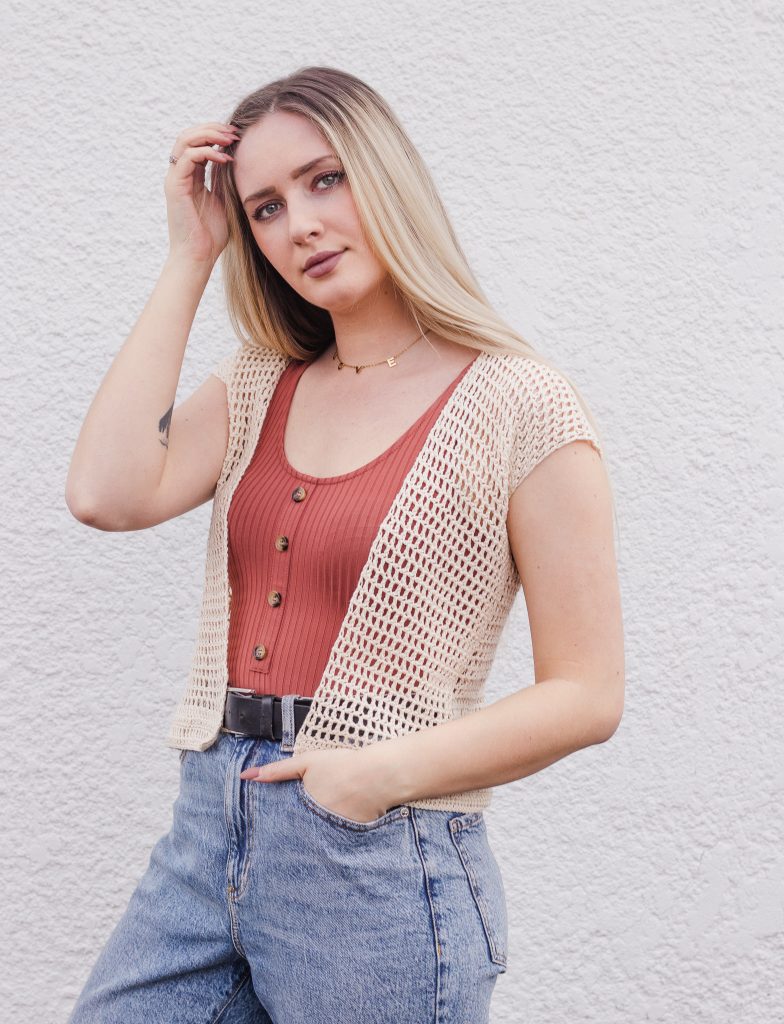
Today I’m sharing a new FREE pattern with you – the Linden Cardigan!
Find an inexpensive PDF pattern on Ravelry, my website, and Etsy.
This post contains affiliate links. This means, should you make a purchase, I will receive a small portion of the sale at no extra cost to you. All opinions are my own. View my Privacy + Disclosures Policy here. This post is sponsored by We Crochet. Each month I share a free pattern with you in collaboration with We Crochet. Last month was the Hazeldell Wrap in case you missed it!
If you want to be notified of all new pattern releases (and get exclusive discounts on all new paid patterns), sign up below!
About
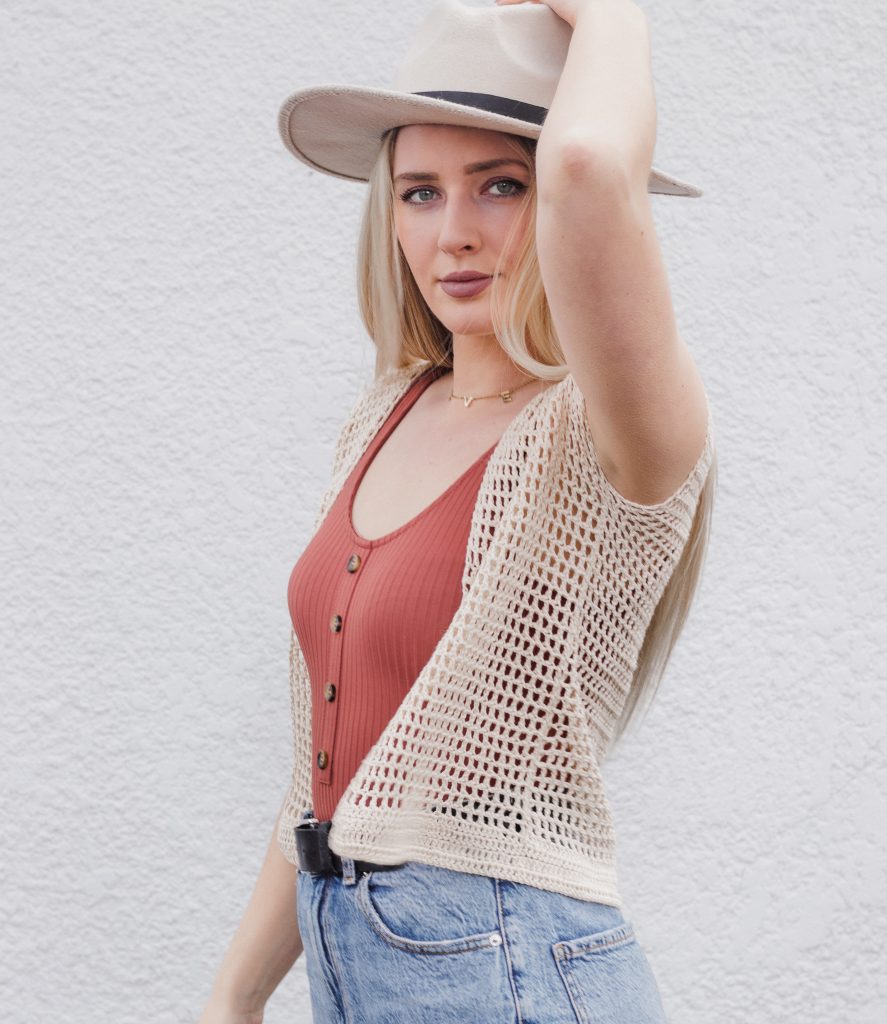
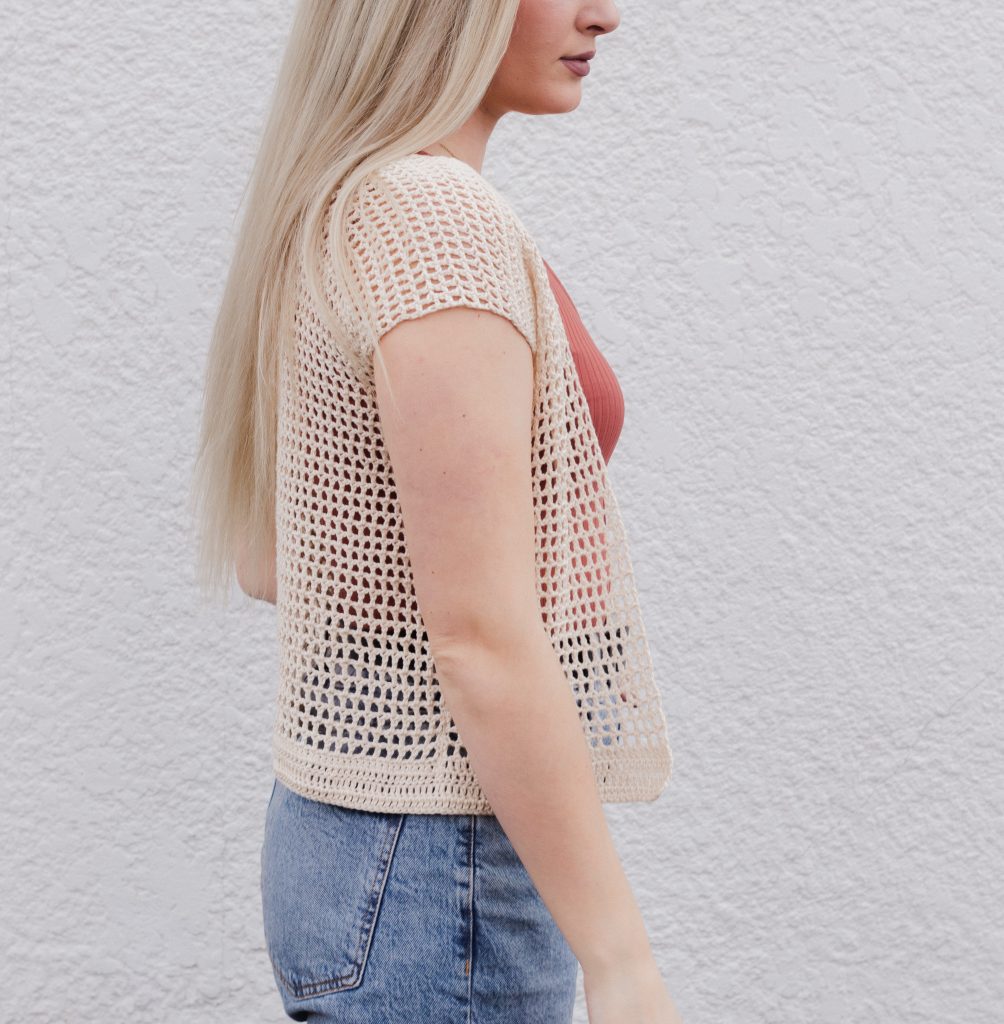
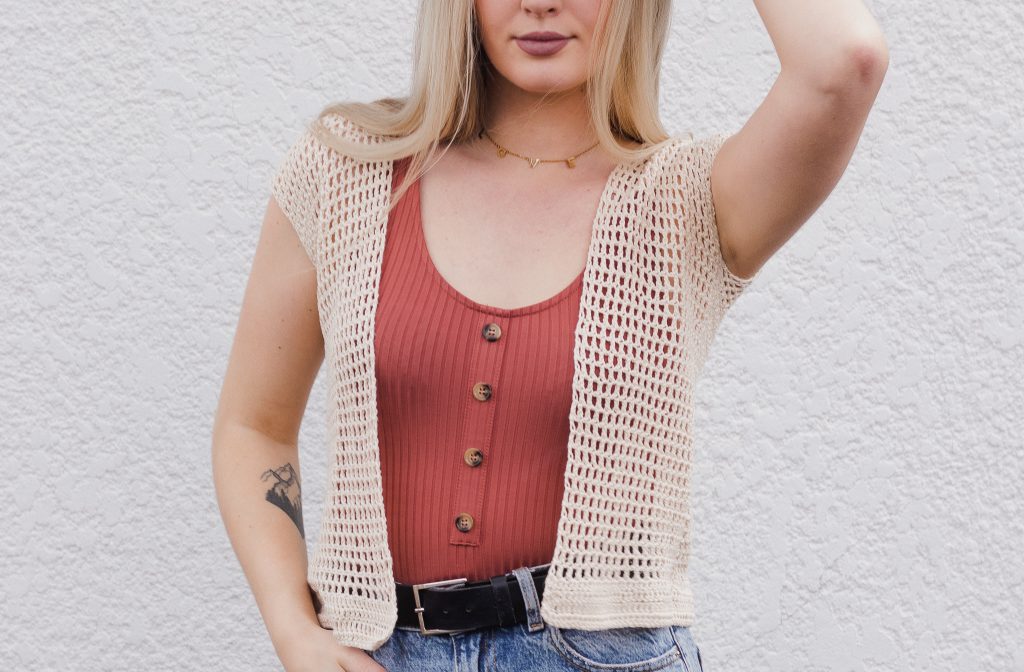
We’re keeping it simple this month! This is a beginner-friendly pattern for a very basic mesh cardigan, created from a big rectangle (the back panel), which then splits into two narrow rectangles (the two front panels). The two narrow rectangles have a space in between for your head, and this ultimately creates a U-shape. Next, the front panels get folded over top of the back panels and the sides get seamed up, leaving space for your arms.
Back when I first started to crochet, I *almost exclusively* crocheted bralettes, lacy vests with fringe, and any other projects that screamed “beachy vibes”.
This past year, however, I’ve been working on my book, and crocheting heavy sweaters for about a year now! I just needed a new project with a little dose of summer that was light, airy, and easy to make. With that goal in mind, I created this *very* easy pattern – the Linden Cardigan!
Yarn
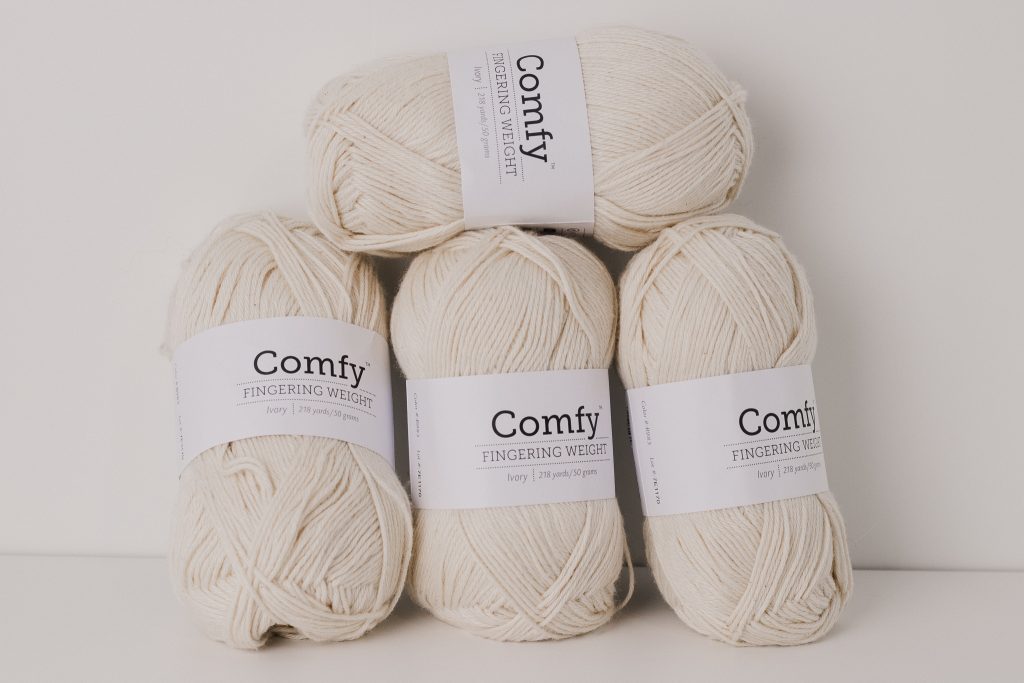
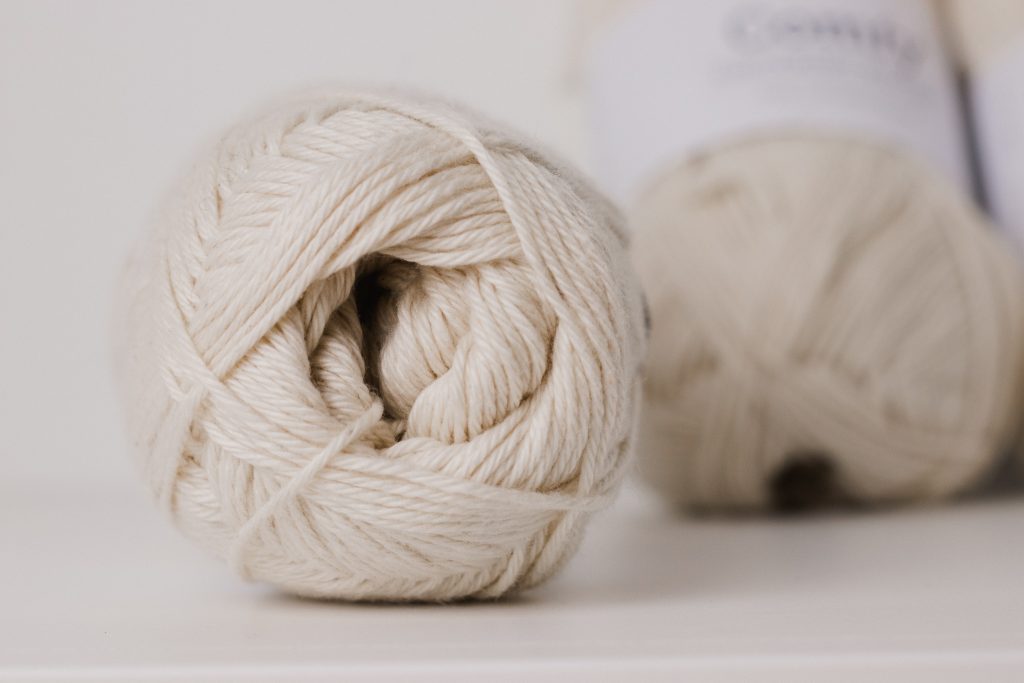
I used WeCrochet Comfy Fingering Weight yarn for this design! I originally purchased this yarn about a year ago and made 2 plant-related patterns with them: My easy hanging planter (faux macrame) and my Ripple Plant Rug! They’re both free if you’re interested!
Read my Comfy Fingering Weight yarn review here.
This yarn is just $3.99 per 50-g skein, and you’ll only need 3-5 skeins depending on the size you are making!
This yarn is a great option for this cardigan because it’s 75% Pima Cotton, and 25% Acrylic, meaning it’s incredibly soft, breathable and durable. The label says it’s machine-washable and dryable, too! Now, for a mesh piece like this, breathability isn’t *really* a concern since it’s filled with holes, but cotton yarns are just a great warm-weather option in general, and wear really nicely! It’s got a really great weight to it and drapes nicely because of the heaviness of the yarn, and, with this type of stitch pattern, that’s exactly what you want!
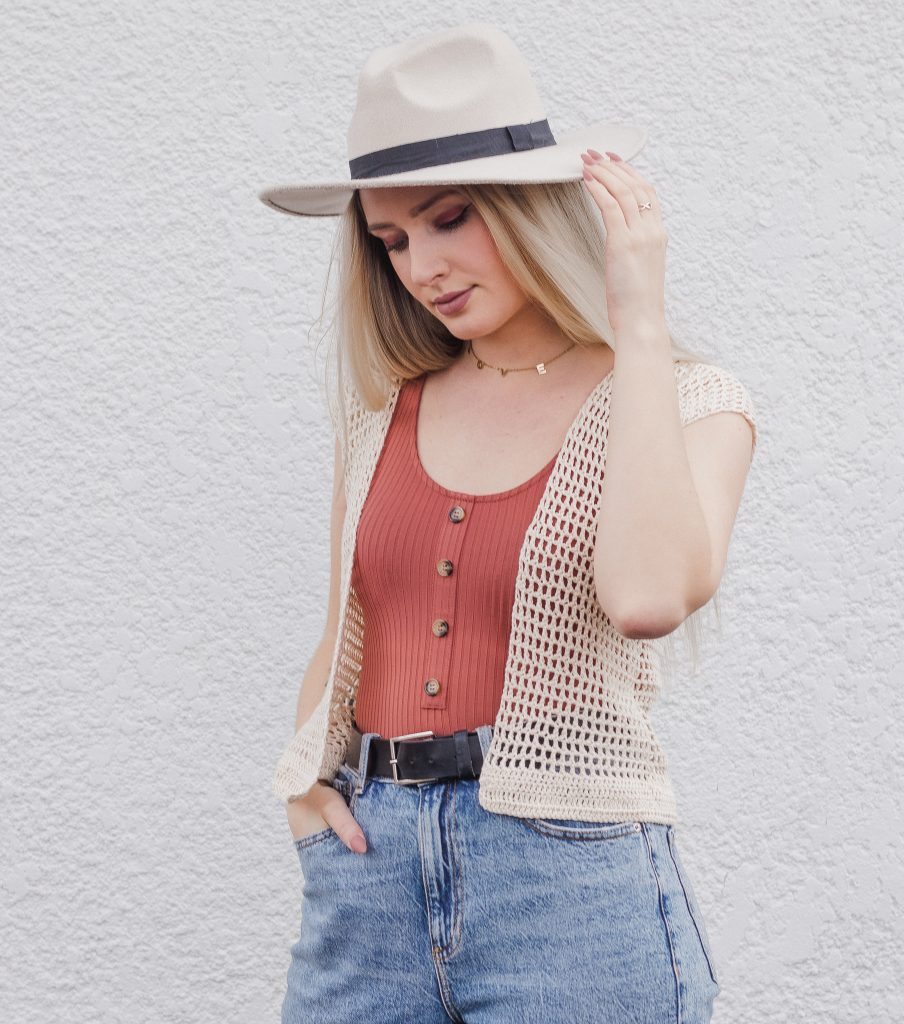
I used the colourway “Ivory” for the perfectly creamy, off-white that I always love to crochet summer pieces with! This would be great for bralettes, too!

Materials
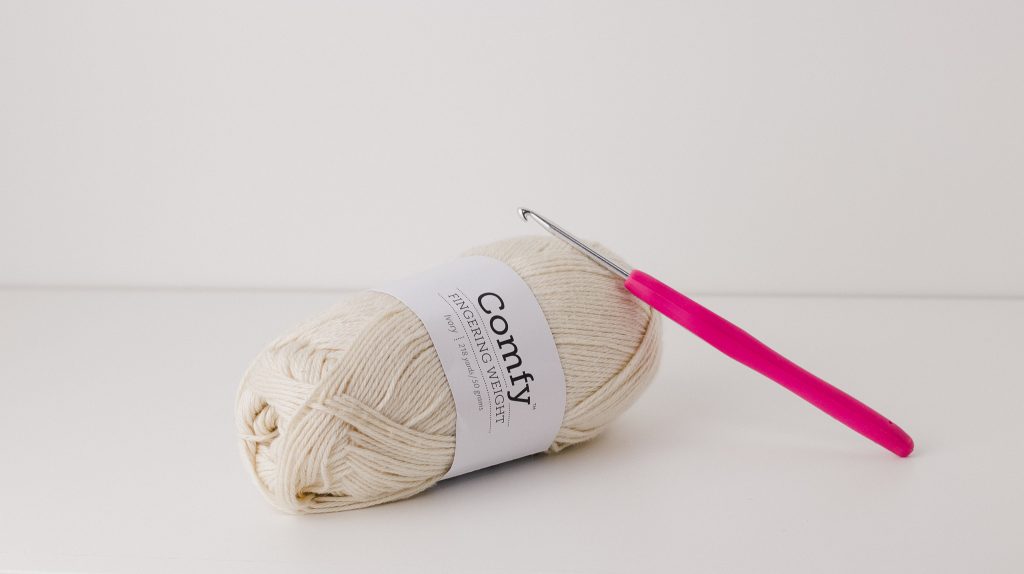
Yarn: Fingering —WeCrochet Comfy Fingering Weight in Ivory
- 75% Pima Cotton, 25% Acrylic
- 218 yds [199 m] per 1.8-oz [50-g] skein
- Find this yarn on crochet.com or visit yarnsub.com to find comparable substitutes.
Substitute WeCrochet Comfy Fingering Weight with a similar fingering weight yarn. For a similar drape to the sample shown, choose a cotton/cotton blend yarn.
Yardage: 2 (2, 3, 3, 3) (4, 4, 4, 5) skeins or 395 (430, 500, 580, 640) (715, 775, 875, 935) yds [362 (394, 458, 531, 586) (654, 719, 801, 855) m]
Hook: Size U.S. E/4 (3.5 mm) or size needed to obtain gauge
- I used the 3.5 mm hook from this set
Notions: Tapestry needle, several locking stitch markers to help with seaming
Abbreviations (U.S. Crochet Terms)
ch: chain
ch-sp: chain space
dc: double crochet
FDC: foundation double crochet
rep: repeat
sk: skip
sl st: slip stitch
st(s): stitch(es)
Gauge
Gauge: 4 x 4″ [10 x 10 cm] = 11 sts and 10 rows in stitch pattern; blocked, where each dc and each ch counts as a stitch.
For Swatch:
FDC 15.
Row 1: Ch 3 (counts as 1 dc + 1 ch here and throughout), sk next st, dc in next st, *ch 1, sk next st, dc in next st; rep from * to end of row, turn. [8 dc; 7 ch-sp]
Row 2: Ch 3, sk first ch-sp, dc in next dc, *ch 1, sk next ch-sp, dc in next dc; rep from * to end of row, turn.
Rep Row 2 until you have at least 11 rows worked.
Block your swatch. Measure the inner 4″ [10 cm] of your swatch to get the most accurate measurement.
Note: Mesh like this grows significantly with blocking, so do not skip this step if you want to achieve the garment measurements provided below.
Pattern Notes
- Sizing: This sweater is written in nine sizes as follows: XS (S, M, L, XL) (2X, 3X, 4X, 5X). Make sure to follow the numbers for your size only.
- Stitch Counts: Stitch counts are listed after each row. If no stitch count is given, there has been no change since the previous row. If only one number is provided, it applies to all sizes.
- Reversible: There is no right side or wrong side; both sides are identical. You choose which side to wear as the “right side.”
- Seaming: When seaming your garment, make sure to keep all seams loose and do not pull tight in order to maintain some stretch, otherwise this seam will pucker during wear.
- Turning Chain: The turning chain counts as 1 dc + 1 ch unless otherwise indicated.
- Construction: This cardigan is worked in one piece that gets folded in half and seamed together. The bottom border is added last, after your cardigan is blocked and seamed together.
Schematic + Measurements
A – FINISHED BUST CIRCUMFERENCE
includes space in between front panels
35 (39, 43, 47, 51) (55, 59, 63, 67)” / [89 (99, 109, 119, 130) (140, 150, 160, 170) cm]
B – TOTAL LENGTH
16 (17, 17, 18, 18) (19, 19, 20, 20)” / [41 (43, 43, 46, 46) (48, 48, 51, 51) cm]
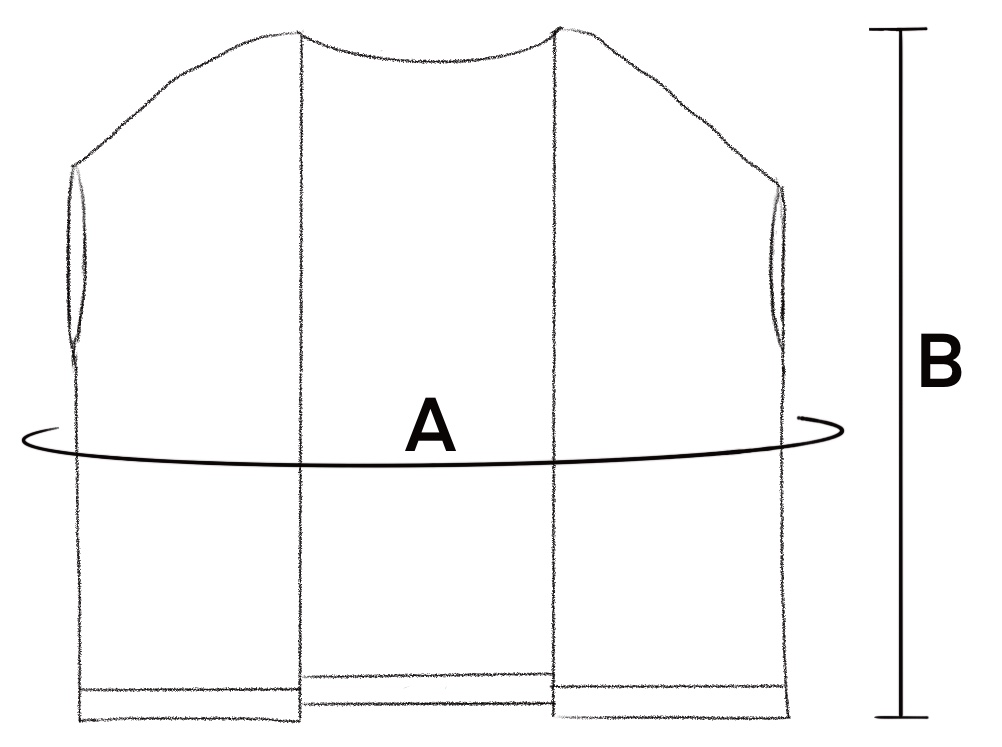
This diagram shows the finished garment measurements. This cardigan is designed to be worn with approximately 5 to 7 inches [13–18 cm] of positive ease. When choosing a size, find the bust measurement here that equals approximately 5 to 7 inches [13–18 cm] larger than your actual bust measurement and make that size. For reference, the model has a 34-inch [86-cm] bust and is wearing a size small with a finished garment bust measurement of 39 inches [99 cm], worn with 5 inches [13 cm] of positive ease.
PATTERN
BACK PANEL
Leaving a long tail for seaming, FDC 97 (107, 119, 129, 141) (151, 163, 173, 183)
Row 1: Ch 3 (counts as 1 dc + 1 ch here and throughout entire pattern unless otherwise indicated), sk next st, dc in next st, *ch 1, sk next st, dc in next st; rep from * to end of row, turn. [49 (54, 60, 65, 71) (76, 82, 87, 92) dc]
Row 2: Ch 3, sk first ch-sp, dc in next dc, *ch 1, sk next ch-sp, dc in next dc; rep from * to end of row, turn.
Rep Row 2 until your work measures 15 (16, 16, 17, 17) (18, 18, 19, 19)” [38 (41, 41, 43, 43) (46, 46, 48, 48) cm] or until desired cardigan length. If you matched gauge, this should be approximately 38 (40, 40, 43, 43) (45, 45, 48, 48) rows.
Note that adding length requires more yarn than is listed in the Materials section.
Do not fasten off, continue to First Front Panel.
FIRST FRONT PANEL
Row 1: Ch 3, sk first ch-sp, dc in next dc, *ch 1, sk next ch-sp, dc in next dc; rep from * across until you have worked a total of 19 (20, 23, 26, 29) (31, 34, 36, 39) dc, turn.
Row 2: Ch 3, sk first ch-sp, dc in next dc, *ch 1, sk next ch-sp, dc in next dc; rep from * to end of row, turn.
Rep Row 2 until your front panel has 1 row less than your back panel.
Last row: Ch 2 (does not count as a stitch), dc into each dc and each ch across row, fasten off.
SECOND FRONT PANEL
Lay work with completed first panel on your right and count 11 (14, 14, 13, 13) (14, 14, 15, 14) dc from your completed front panel. Leave these stitches unworked and attach new yarn into the next dc with a sl st to begin working toward the unworked edge.
Row 1: Ch 3, sk first ch-sp, dc in next dc, *ch 1, sk next ch-sp, dc in next dc; rep from * to end of row, turn. [19 (20, 23, 26, 29) (31, 34, 36, 39) dc]
Rep last row until this panel has 1 row less than your back panel.
Last row: Ch 2 (does not count as a stitch), dc into each dc and each ch across row, fasten off.
Block your work before seaming. The bottom border will be added after your cardigan is blocked to keep this border looking neat.
SEAMING
Fold the front panels over the back panels. Starting from the bottom, line up the rows stitch-for-stitch as best you can, using looking stitch markers to help hold work in place for seaming. Try on your cardigan and mark the height at which you would like to stop seaming in order to create armholes.
Starting from the bottom, whip stitch the sides together with a tapestry needle, stopping at your marked height. Rep for both sides, fasten off.
BOTTOM BORDER
Attach yarn to one of the bottom inside corners of your cardigan with a sl st.
Row 1-2: Ch 2 (does not count as a stitch), dc into each dc along bottom edge of cardigan until reaching opposite bottom inside corner, turn.
For thicker bottom border, rep last row until desired.
Fasten off, weave in ends.
#LindenCardigan
That’s it! Hope you love your new Linden Cardigan!
Here are some other free patterns you might like – the Hazeldell Wrap, Ripple Plant Rug, the Easy Hanging Planter, and the Teulon Tank!
I can’t wait to see your WIPs! Make sure to tag me @knitsnknotswpg and use the pattern hashtag #LindenCardigan so that everyone can see your projects!
Happy crocheting,
xx
Janine
You May Also Like


Fiber Friday – WeCrochet “Comfy” Fingering Review – Knits 'N Knots
[…] Linden Cardigan (Crochet) by Knits ‘N Knots […]
29 . Mar . 2021