

Well folks.. here we are!!
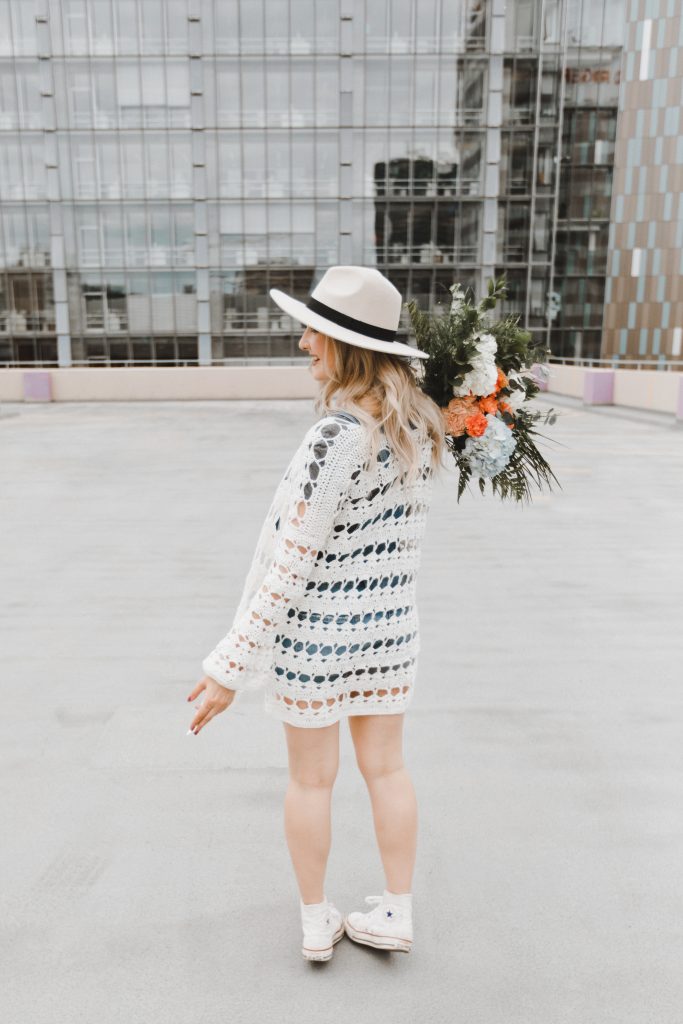
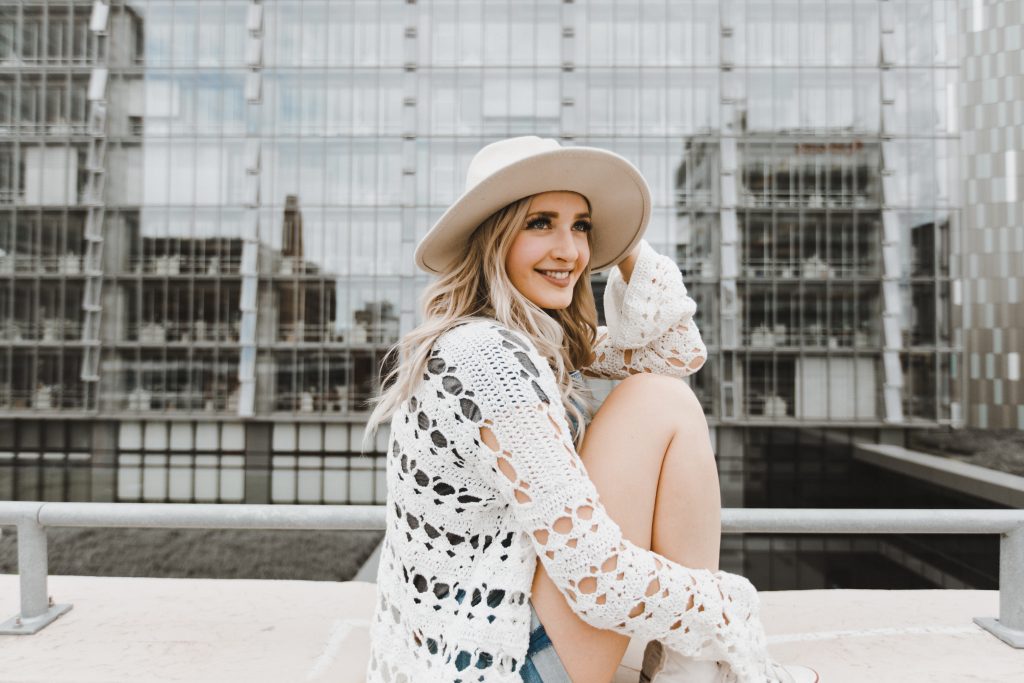
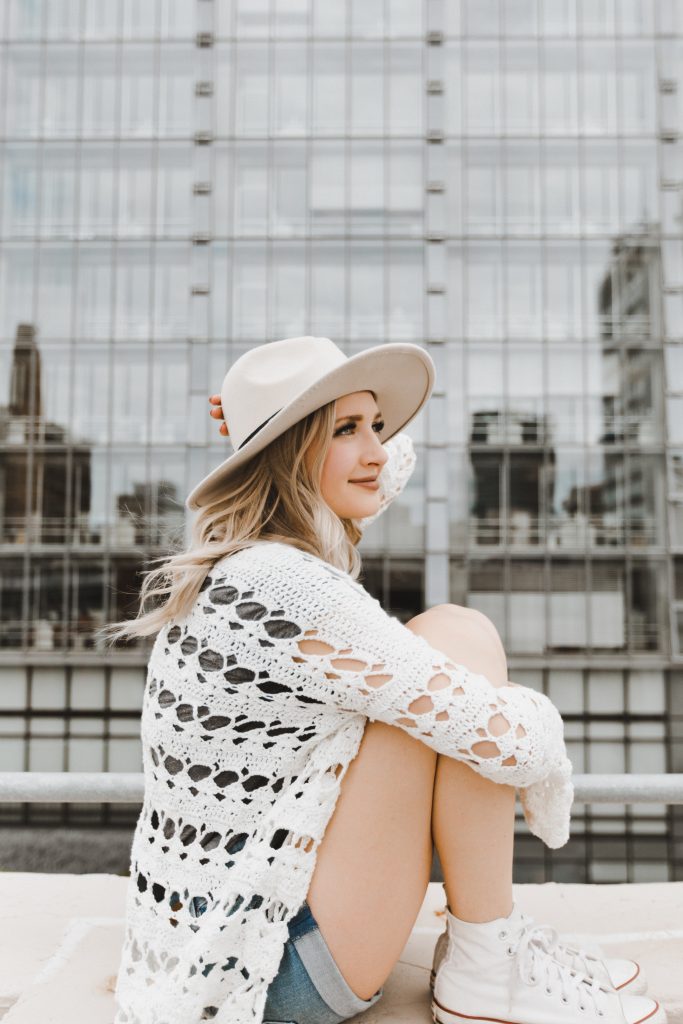
I’m *finally* releasing the bell sleeve cardigan pattern – the Aloha Cardigan. I have waited sooo long for this day! Aptly named after my Aloha Vest, which uses the same stitch pattern for a flowy, fringy, beach cover-up, this cardigan is a similar, slightly more advanced design with dramatic bell sleeves. Click here to go straight to the pattern or keep reading for more pattern links (and some fun pics) + a coupon code!
![]()
This pattern is a really special one to me for a few reasons:
- It challenged me SO much, figuring out all the math for multiple sizes.. I truly didn’t think I was skilled enough to grade it properly + do the design justice.
- I graded it to 5XL which is really important to me. Yay for size inclusivity!
- It’s a design of mine that’s been waiting around for 2 years and I FINALLY got to it!
I designed this pattern a few years ago for the first time with Bernat Handicrafter yarn, the suggested yarn included in my Aloha Vest. The only reason I didn’t write up the pattern back then was because I simply did not feel skilled enough as a designer to grade this pattern and do the design justice. The bell sleeves were a bit intimidating when it came to figuring out stitch counts for multiple sizes, so I held off on releasing this piece. I wanted to put the pattern out, but I didn’t feel ready – til now!
Lately, I’ve felt 100x more confident in my pattern design + pattern writing skills. I have my tech editor, Emily, to thank for that (fiatfiberarts.com) for teaching me so much about the proper ways to write and explain things, and what the appropriate standards are when it comes to technical crochet writing. If you’re looking for a tech editor yourself, I would recommend her over and over again. Anyways, lately I’ve felt I’ve really grown in my design skills and I’m looking to expand my designs beyond simple shapes and simple stitches. This was kind of my gateway pattern that really tested my skills (especially grading it up to 5XL) and made me realize that I can design more complicated pieces than I thought I could. And it’s one of my most proud designs, yet.
Sometimes you need to really challenge yourself to get that boost of confidence and realize that you CAN do that thing you were nervous about, it just takes work. And a tech editor. And pattern testers. And coffee. And lots and lots of patience!!
Let’s talk sizing..
I’m so proud to say that this pattern has been graded up to 5X. I want it to be as accessible to as many people as possible, and I don’t want anyone to feel they are excluded.
If you happen to fall outside of this sizing range, send me a message and I will gladly help you grade it to fit your measurements. No matter your size.. XS, S, M, L, XL, 2X, 3X, 4X, 5X .. whatever it is.. you’re included here and YOU CAN make this for yourself. I promise.
You are also able to customize which size you choose for the body portion + sleeve portion. I include diagrams that show the upper arm circumference as well as bust circumference, which means you could choose a size M for the sleeves and a size L for the body if that is closer to your true body measurements. Since the sleeves are seamed on to the body, you can make whichever size sleeve you like.
![]()
Construction
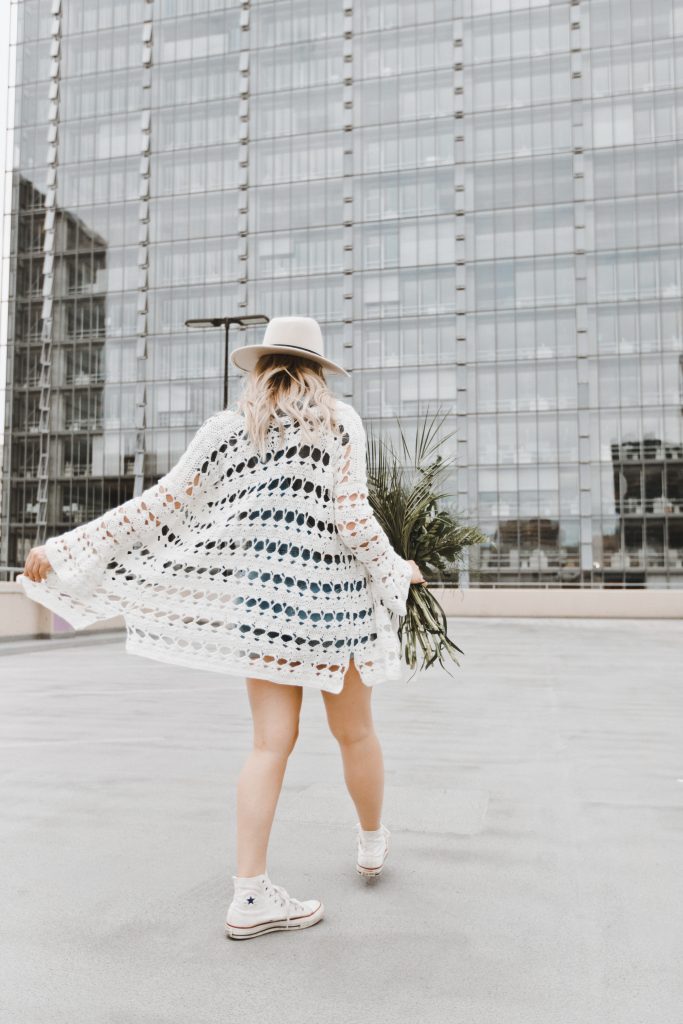
This cardigan is worked in 3 panels and 2 sleeves. The back panel is made first, and the two front panels are seamed on to the back panel, creating side slits at the hem if you choose. The sleeves are worked separately, bottom-up, in the round and seamed to the shoulders at the end.
The sleeves are meant to be fitted at the upper arm and wide at the bottom. The upper arm is meant to be fitted for a more dramatic transition from upper sleeve down to the bell sleeve. Since the sleeves are worked bottom up in the round, you’re able to try them on and see if the sleeve length works for your arms. If you have longer arms, you can work one extra repeat at the top to fit you better. One of my testers did this and it fits her wonderfully! Similarly, if you have shorter arms, you can exclude one of the repeats at the top to fit you better. That’s the great thing about making your own clothes – even if you’re following a pattern, you can adjust it to fit YOU.
Skills required include sc, dc, tr, working in chain spaces, working in the round, seaming.
If you made the Aloha Vest, you will have no trouble making this!
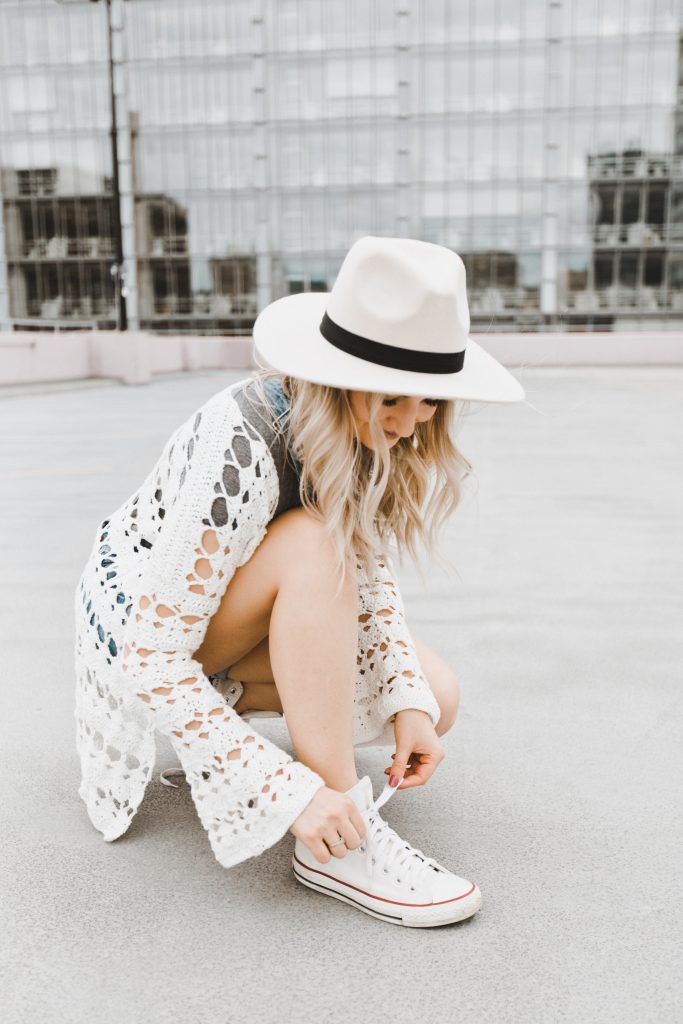

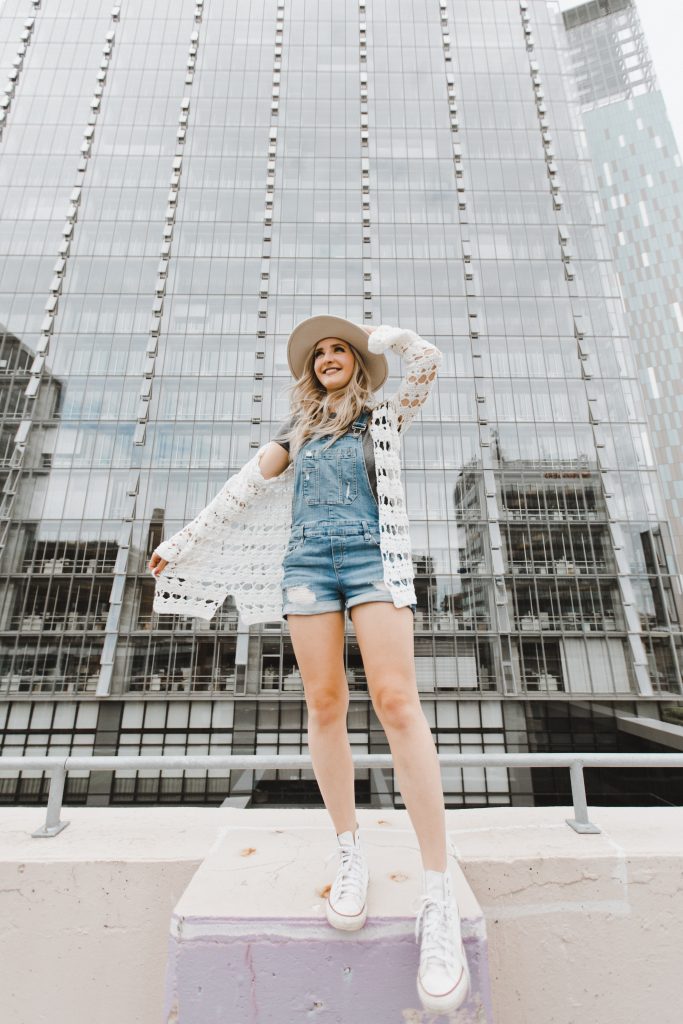
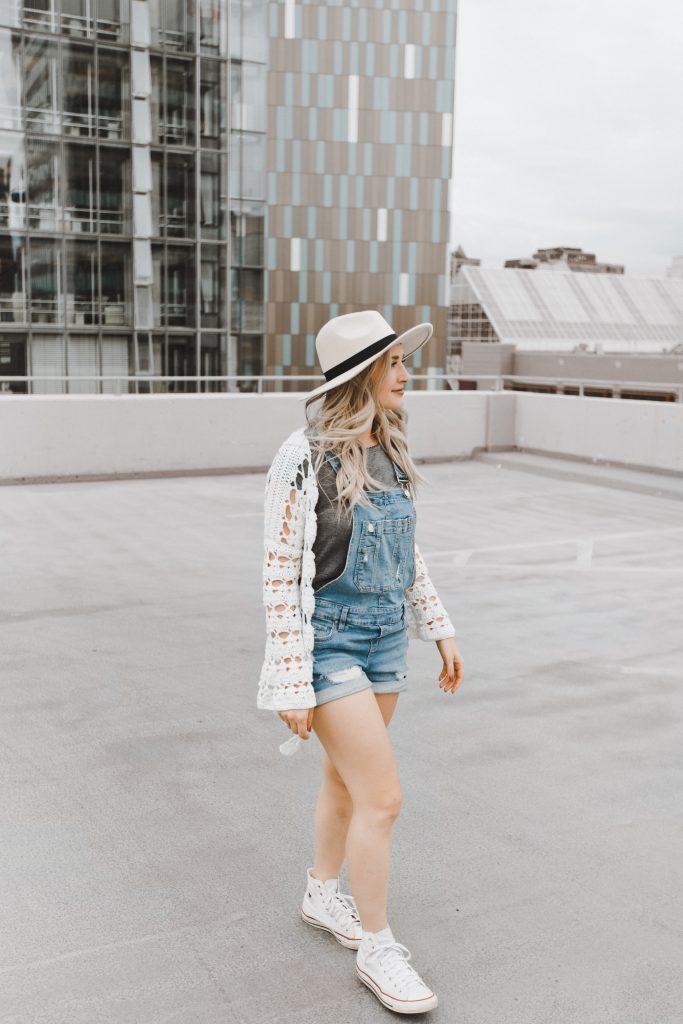
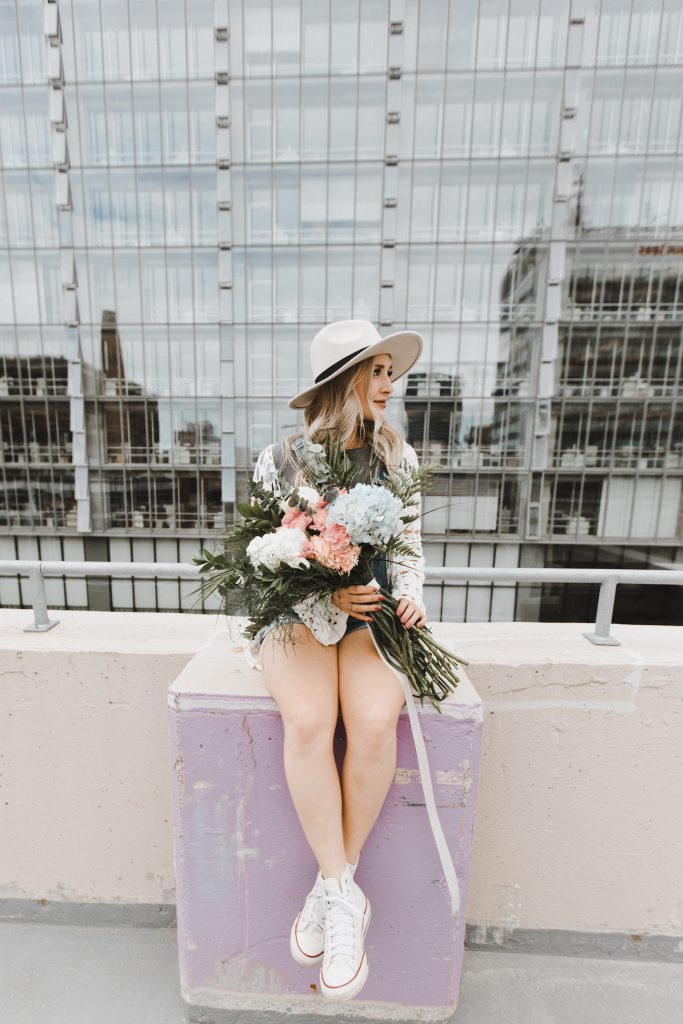
Photos
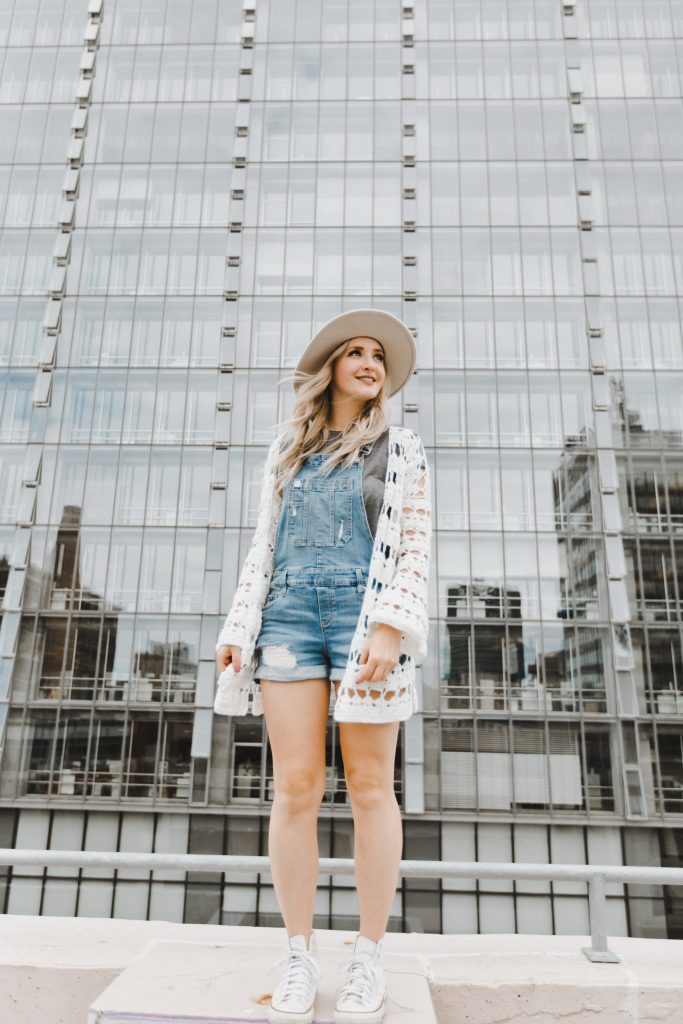
I worked with a local Winnipeg photographer, Stephanie Penner (@stefunny on Instagram), who took some incredible photos for me last month. It was so hard to choose which ones I’d include in the listings and the blog posts, but here are some of my favourites.
Yarn
I used Premier Cotton Fair, which is a 52% cotton, 48% acrylic blend. It’s a really soft, lightweight yarn, making it a really great choice for this piece. I actually tried using Lion Brand 24/7 Cotton for my first sample, but I felt that it was a little too heavy. I wanted a yarn that was slightly thinner and softer for a bit more of a delicate piece.
This is actually my first time every using Premier Cotton Fair, or Premier yarns in general. I got it at Michaels, and it’s pretty reasonably priced. I only needed 4 balls for the size small, and even the 8 balls required for the 5X isn’t breaking the bank.
I would recommend using this yarn or similar category 2 yarn that will give a nice lightweight, soft, delicate look like this one does. Next time you’re at Michaels, give it a feel! I don’t know how I overlooked this yarn and have never used it before. I will for sure use it again in the future!


![]()
You can find the pattern in these places:
On my website here.
On Ravelry here.
On Etsy here.
(Use the code “PATTERN10” for 10% off all patterns)
I can’t wait to see your WIPs! Make sure to tag me @knitsnknotswpg and use the pattern hashtag #AlohaCardigan so that everyone can see your projects!
Happy crocheting,
Janine xo
You May Also Like


