

Hi all!
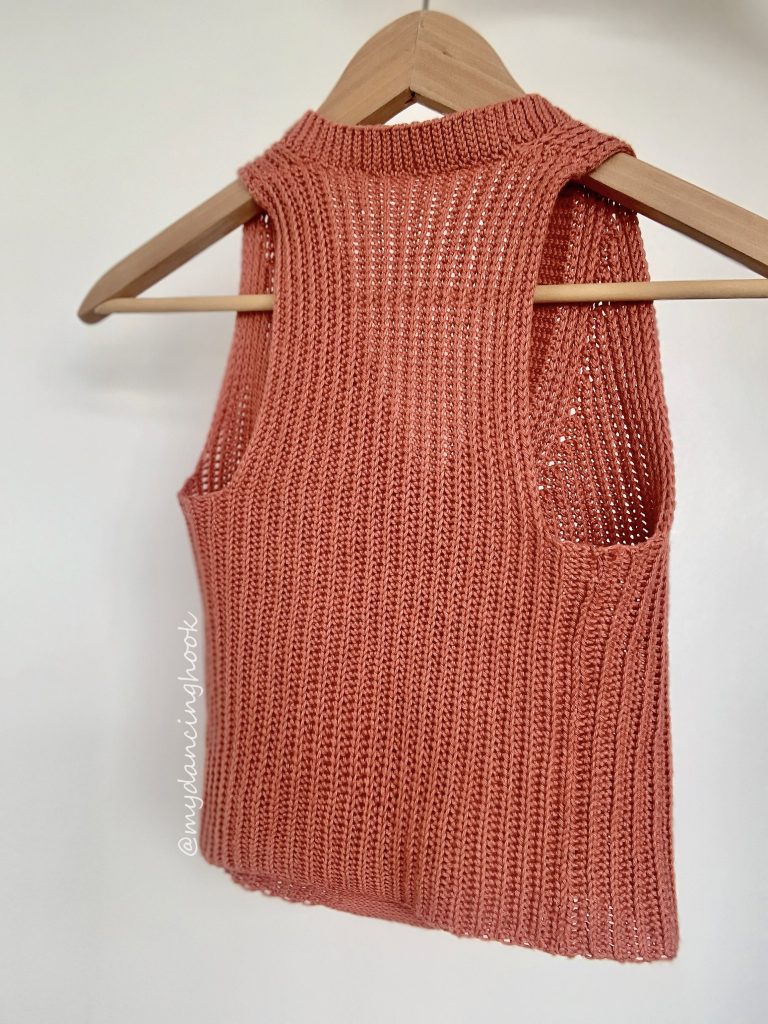
This post includes everything you need to know about the Timberwood Tank, a size-inclusive crochet pattern (yes, that’s right, CROCHET!) for a slip-stitch tank top with a delicious, knit-like texture that contours to the shape of your body.
Before we begin, here are some quick links for you:
- Find the PDF version on Ravelry here, on Etsy here, and on my website here.
- Add your finished project and view other completed projects on Ravelry here.
- Shop the recommended yarn, Lion Brand 100% Superwash Merino, here!
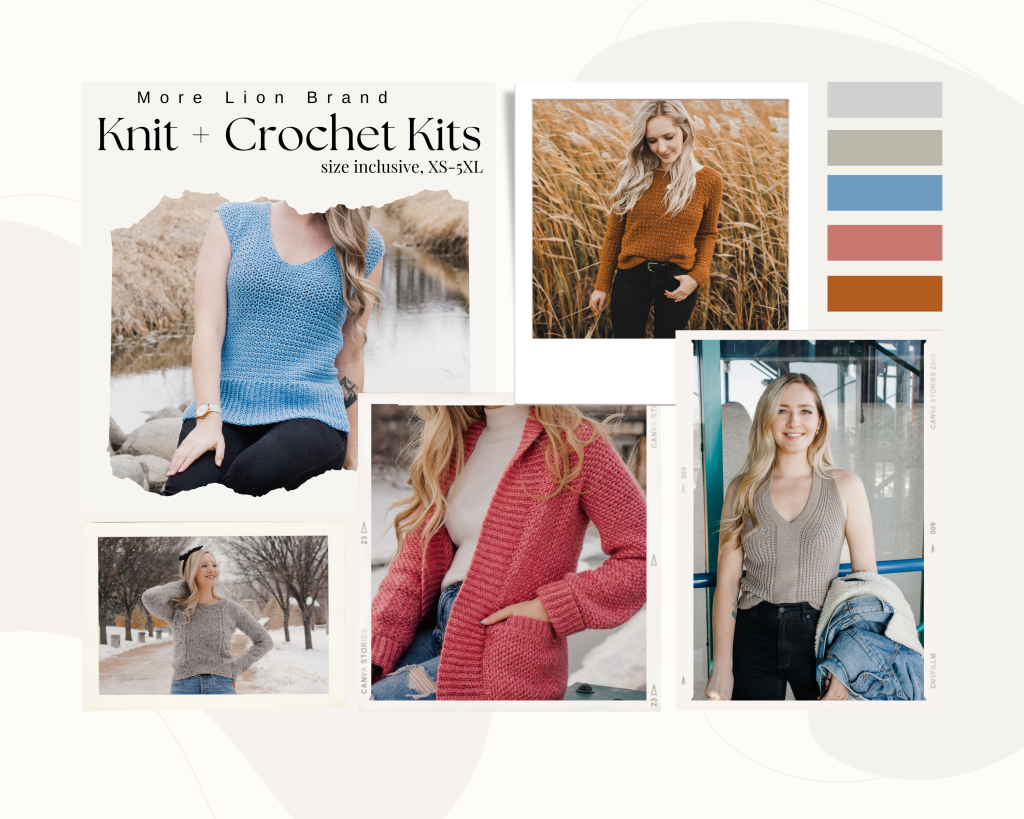
- Get the full Lion Brand Crochet Kit here!
- For any questions about this pattern, please email knitsnknotswpg@gmail.com and I’ll get back to you asap!
Shop my new book – Modern Crochet Sweaters: 20 Chic Designs for Everyday Wear – here!
If you want to be notified of all new pattern releases (and get exclusive discounts on all new paid patterns), sign up below!
This post contains affiliate links. This means, should you make a purchase, I will receive a small portion of the sale at no extra cost to you. All opinions are my own. View my Privacy + Disclosures Policy here.

ABOUT
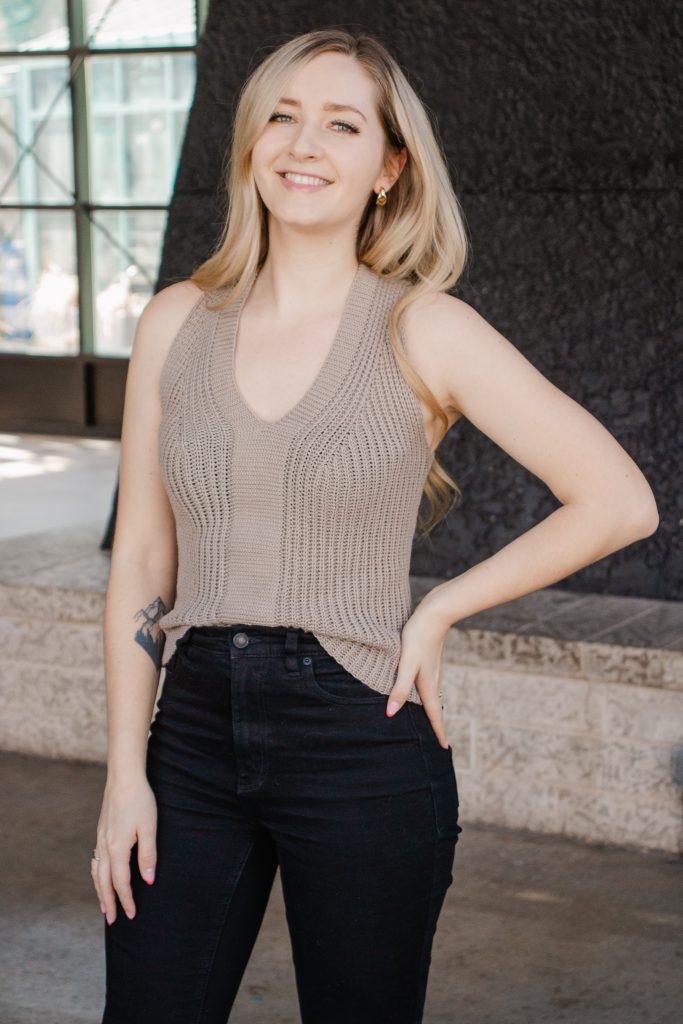
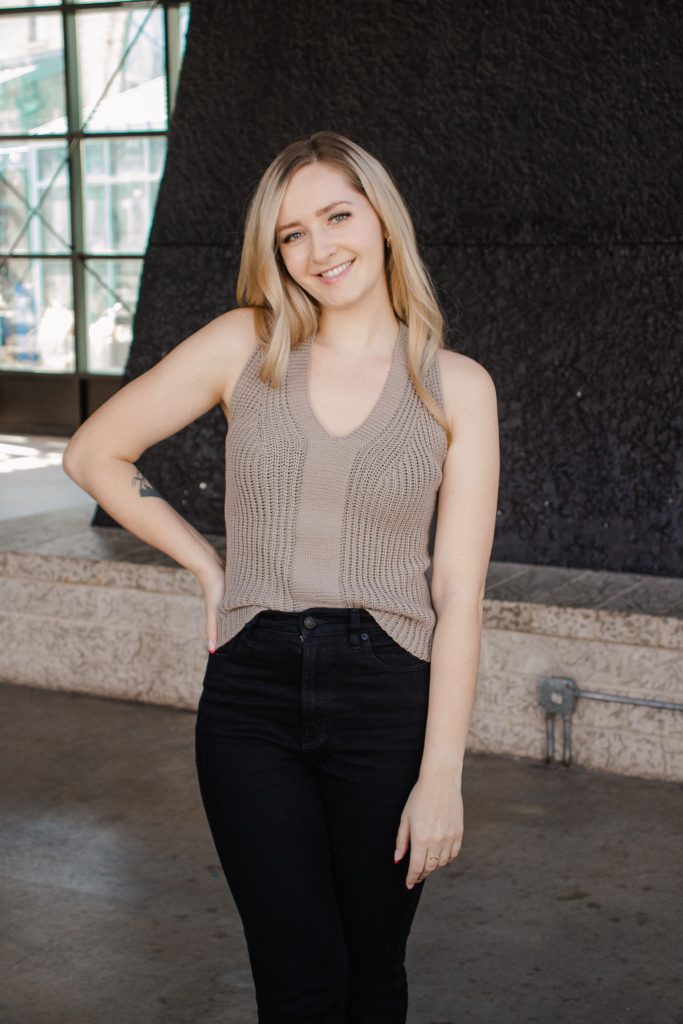
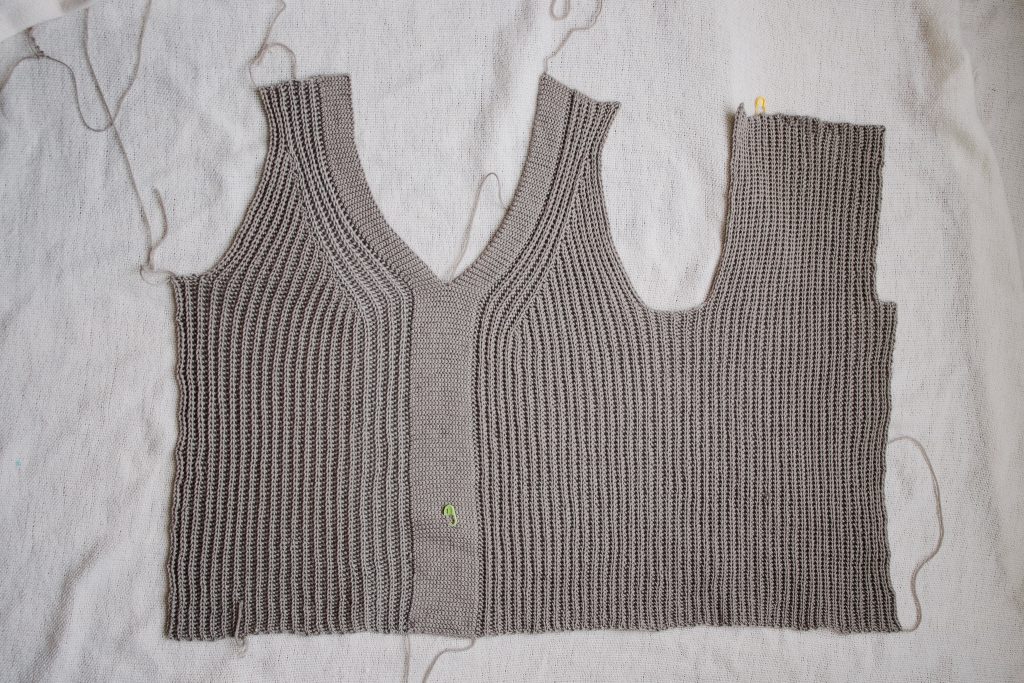
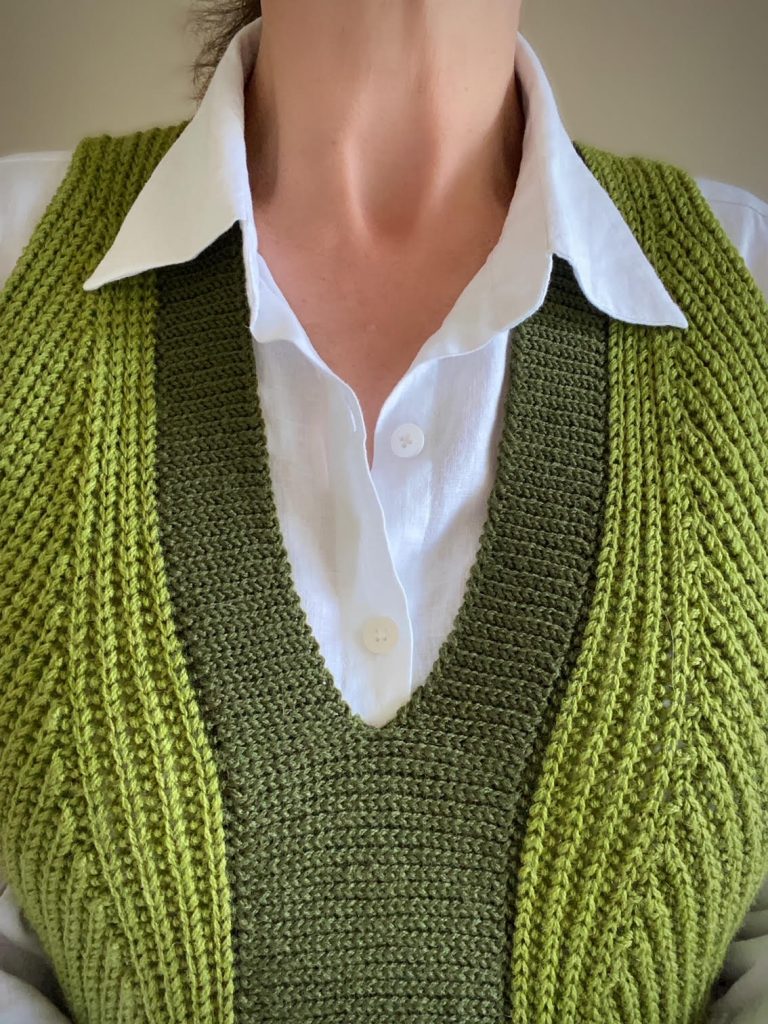
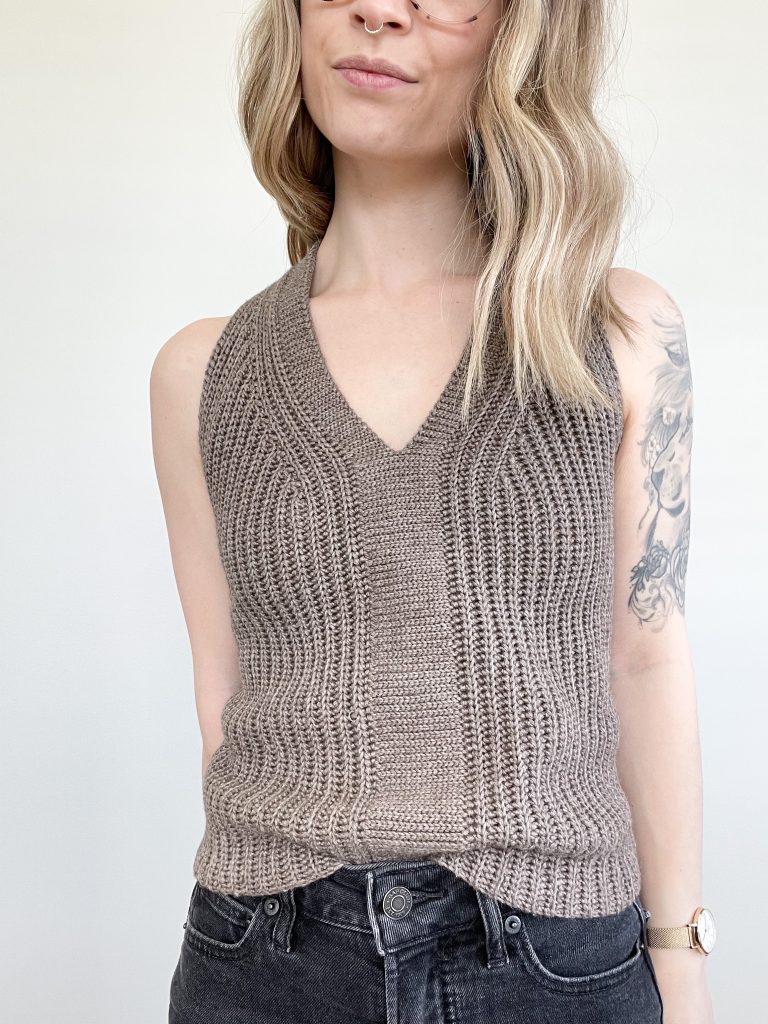
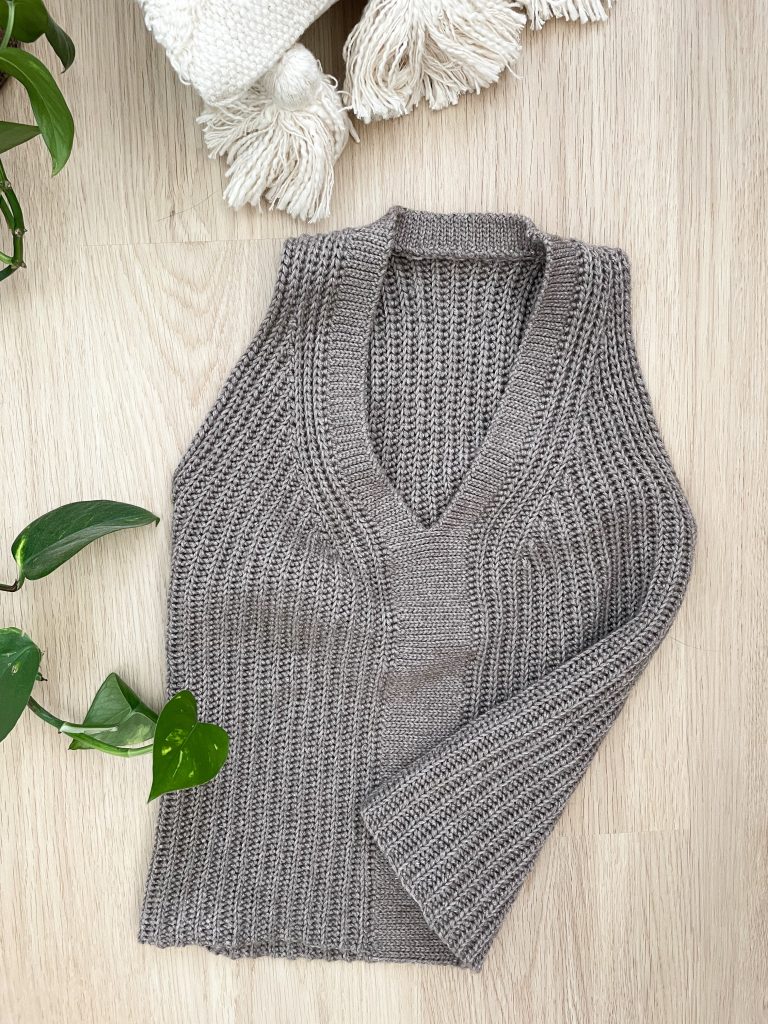
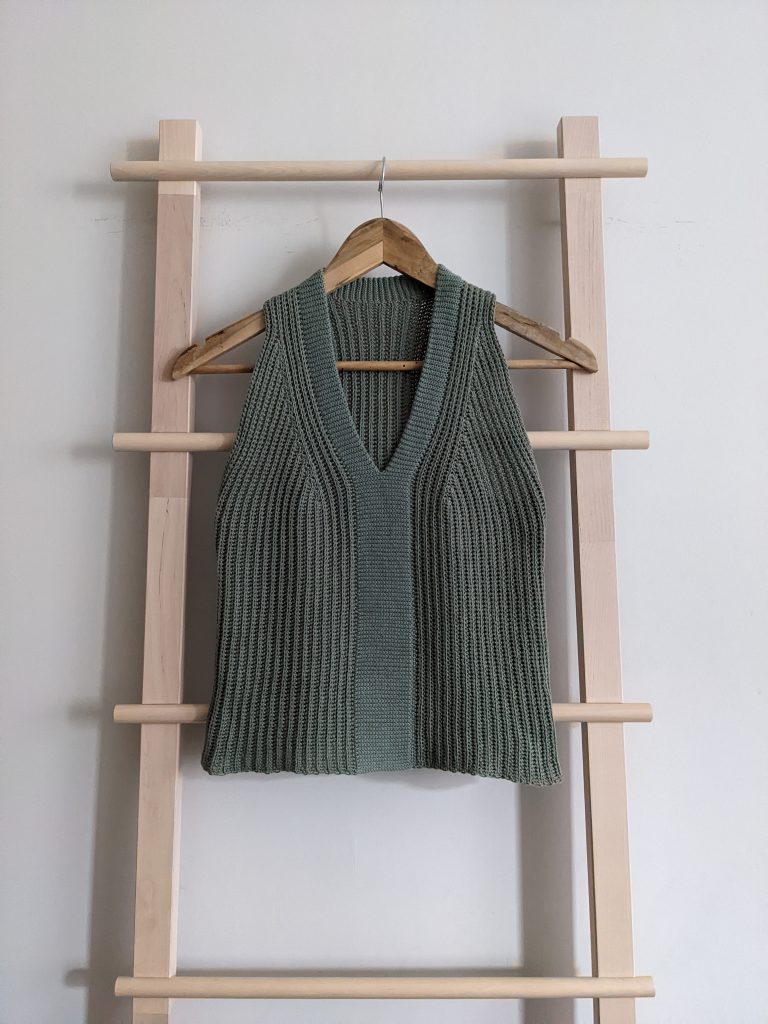
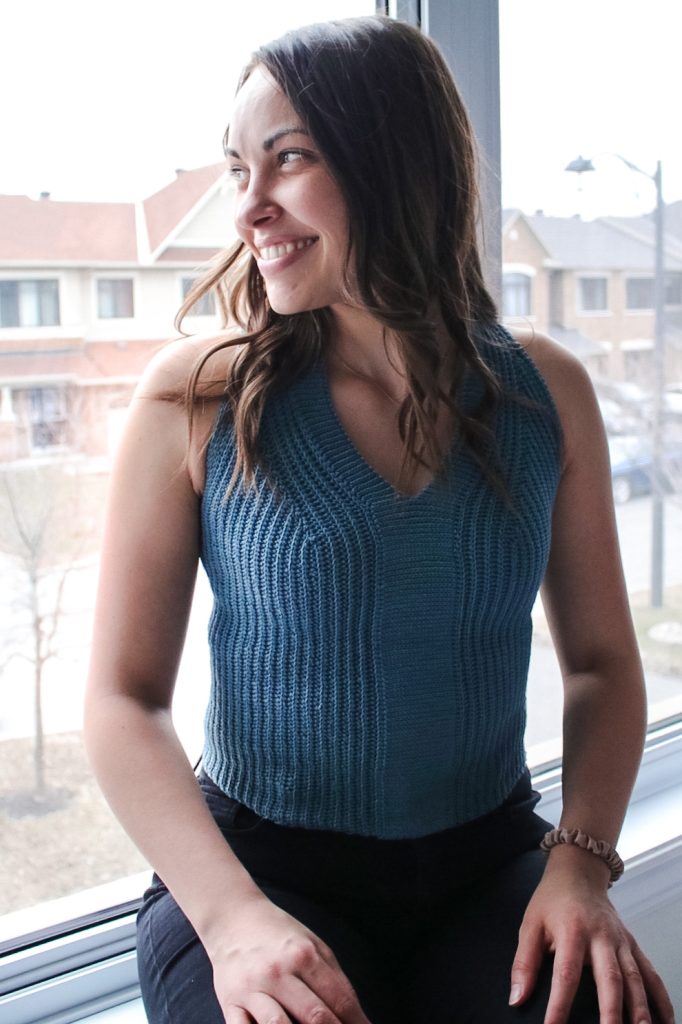
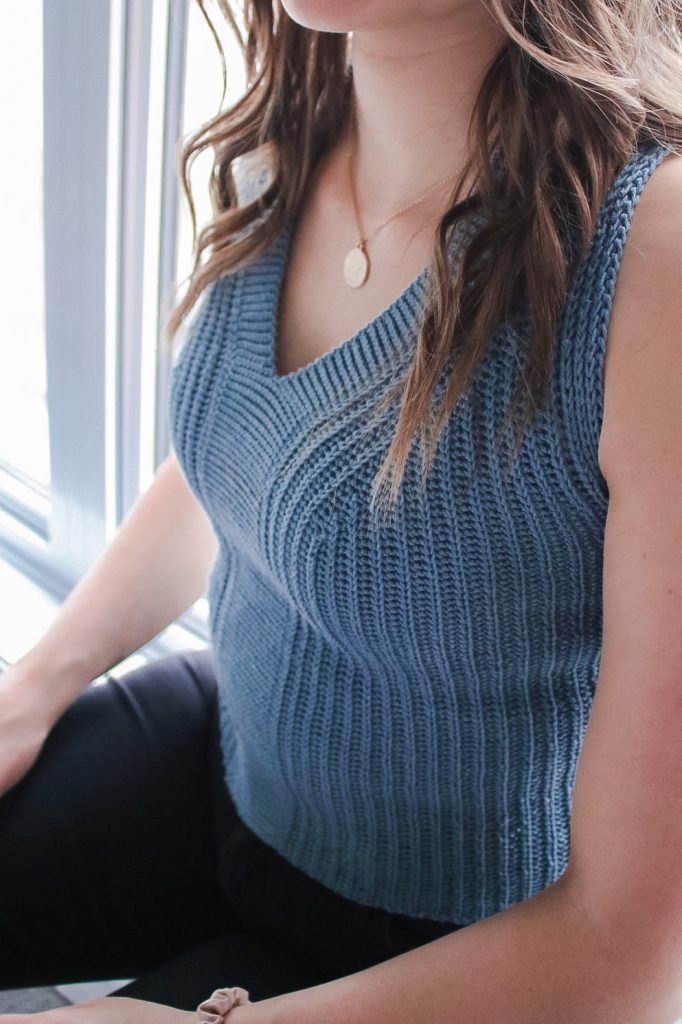
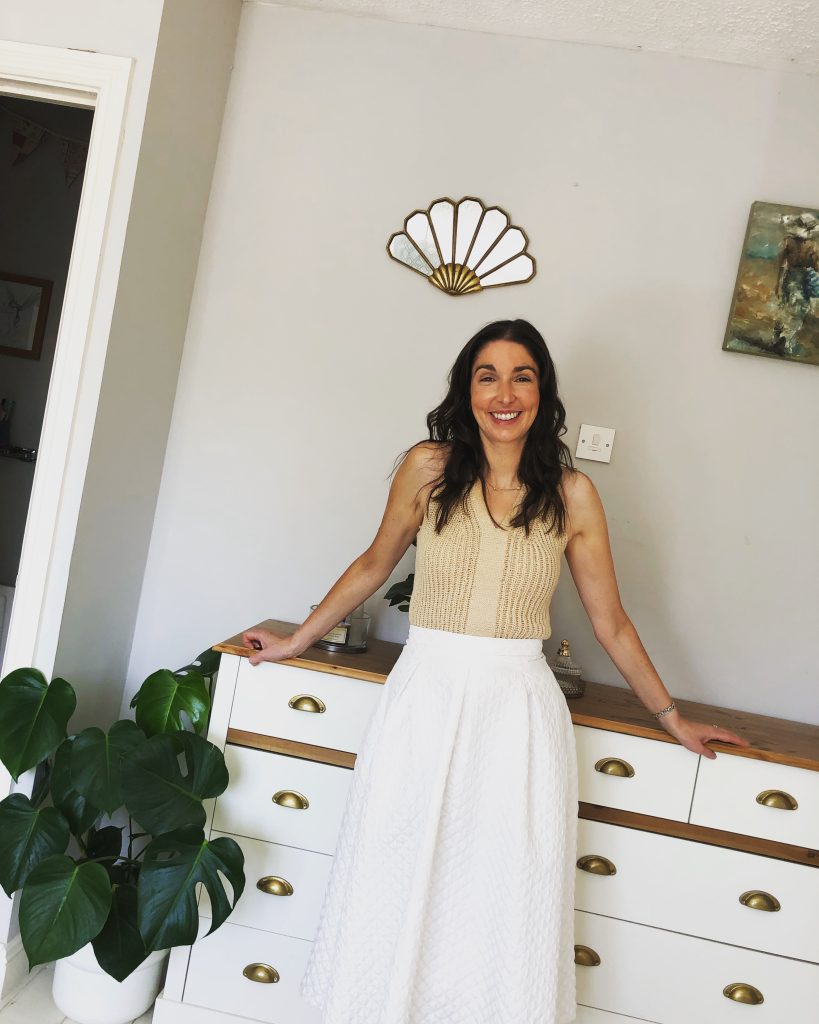
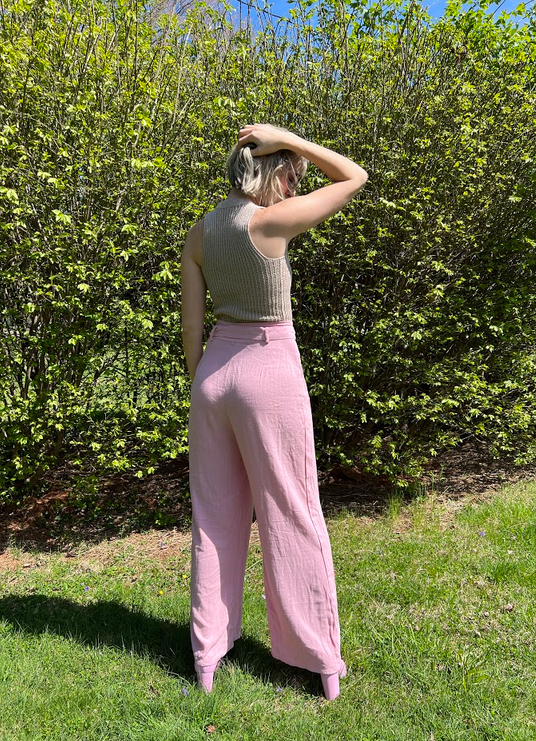
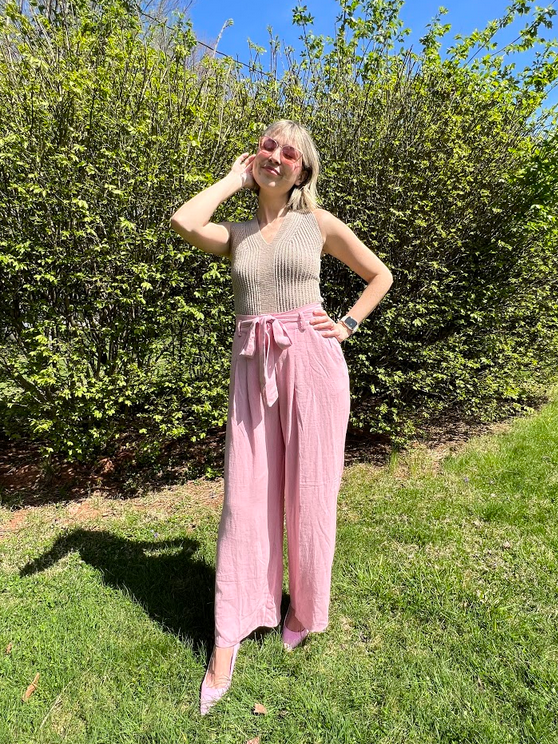
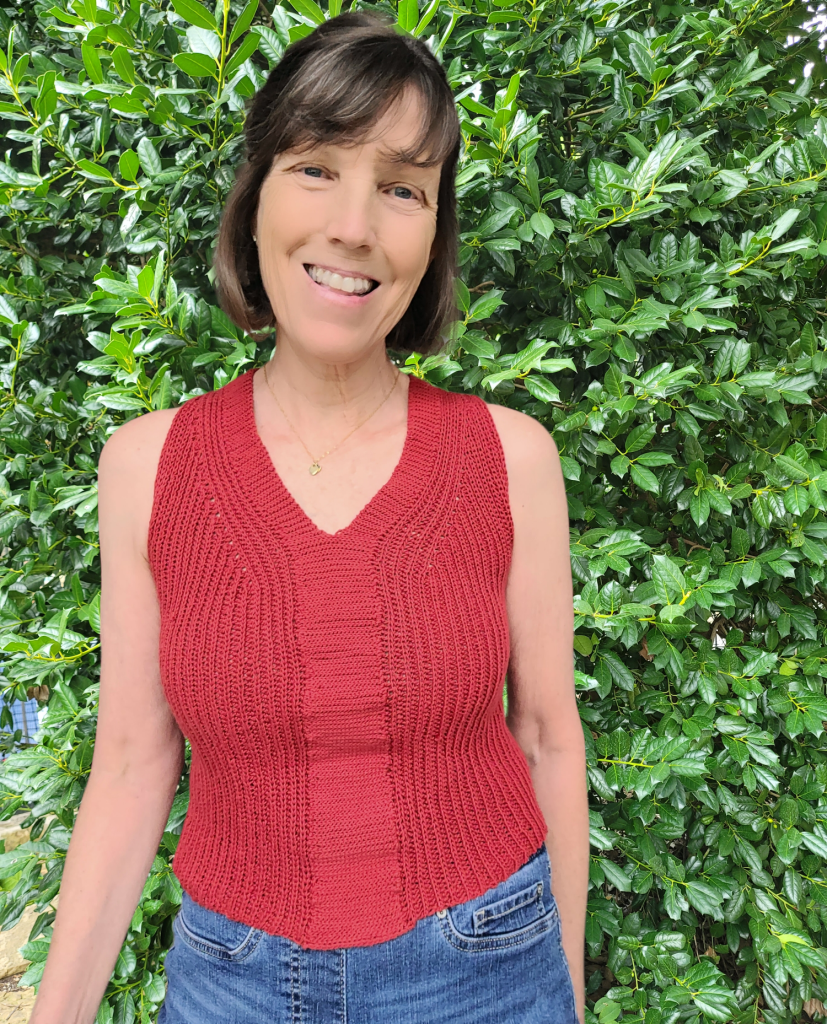
The Timberwood Tank is a full-coverage tank top that looks knitted but is worked up entirely with a crochet hook! It is crocheted in vertical rows, all in one piece, using short rows to shape the bust area while also providing a visually appealing design detail to this otherwise simple fabric.
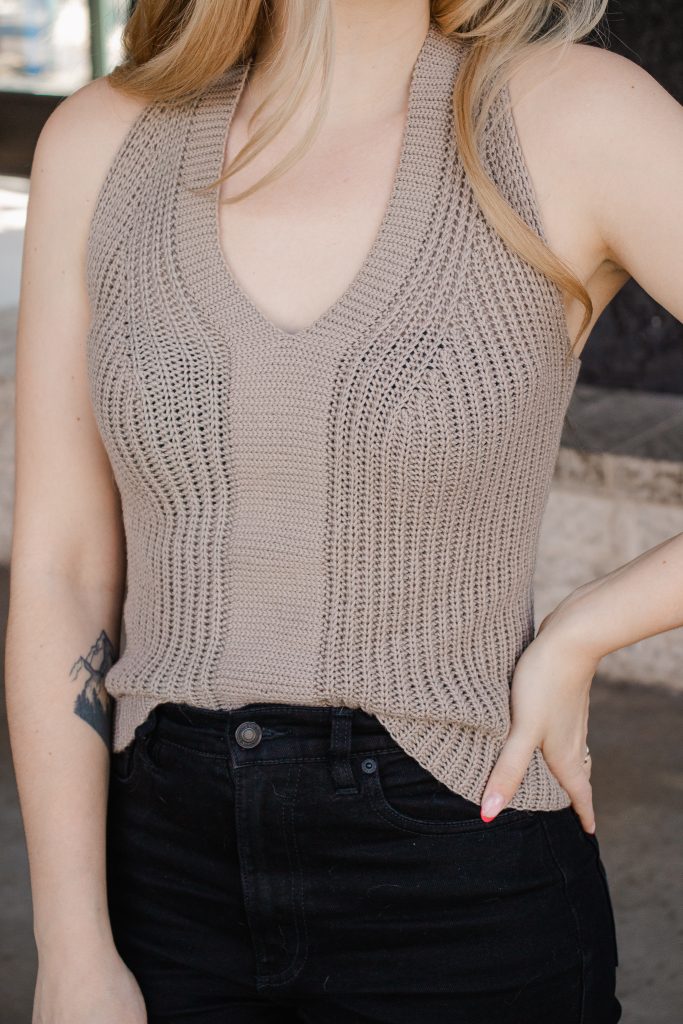
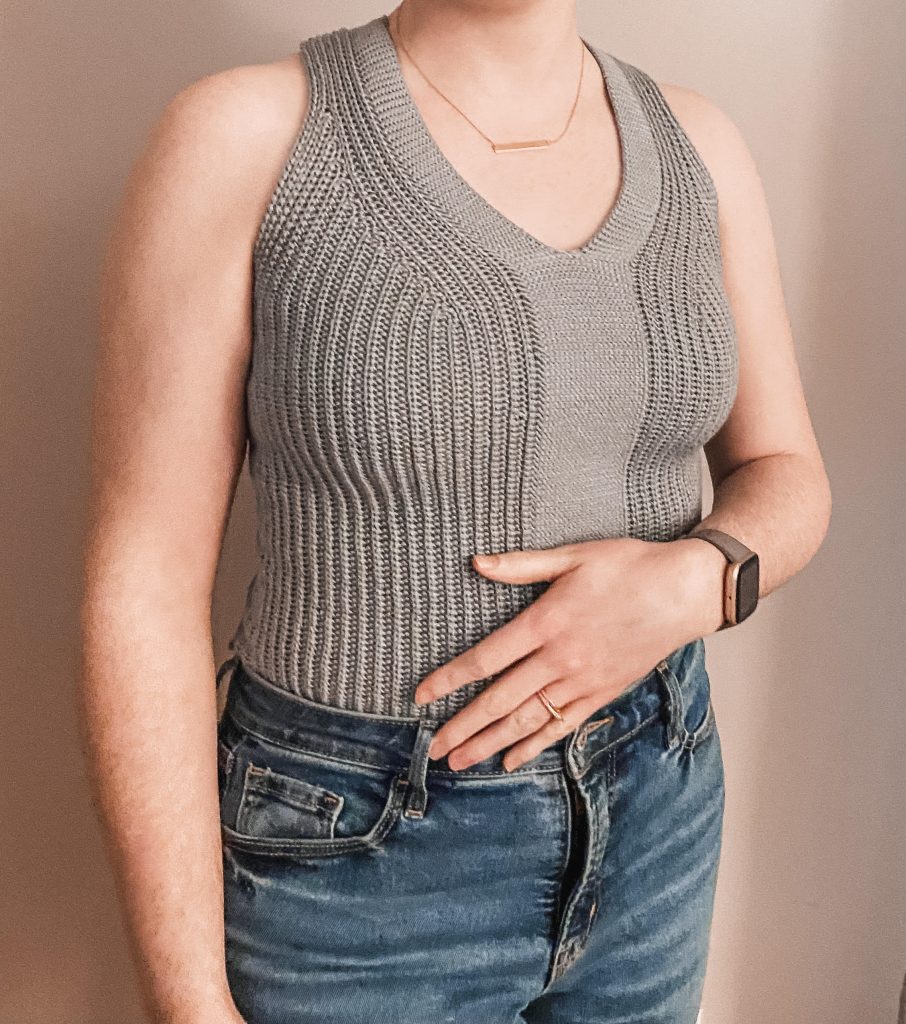
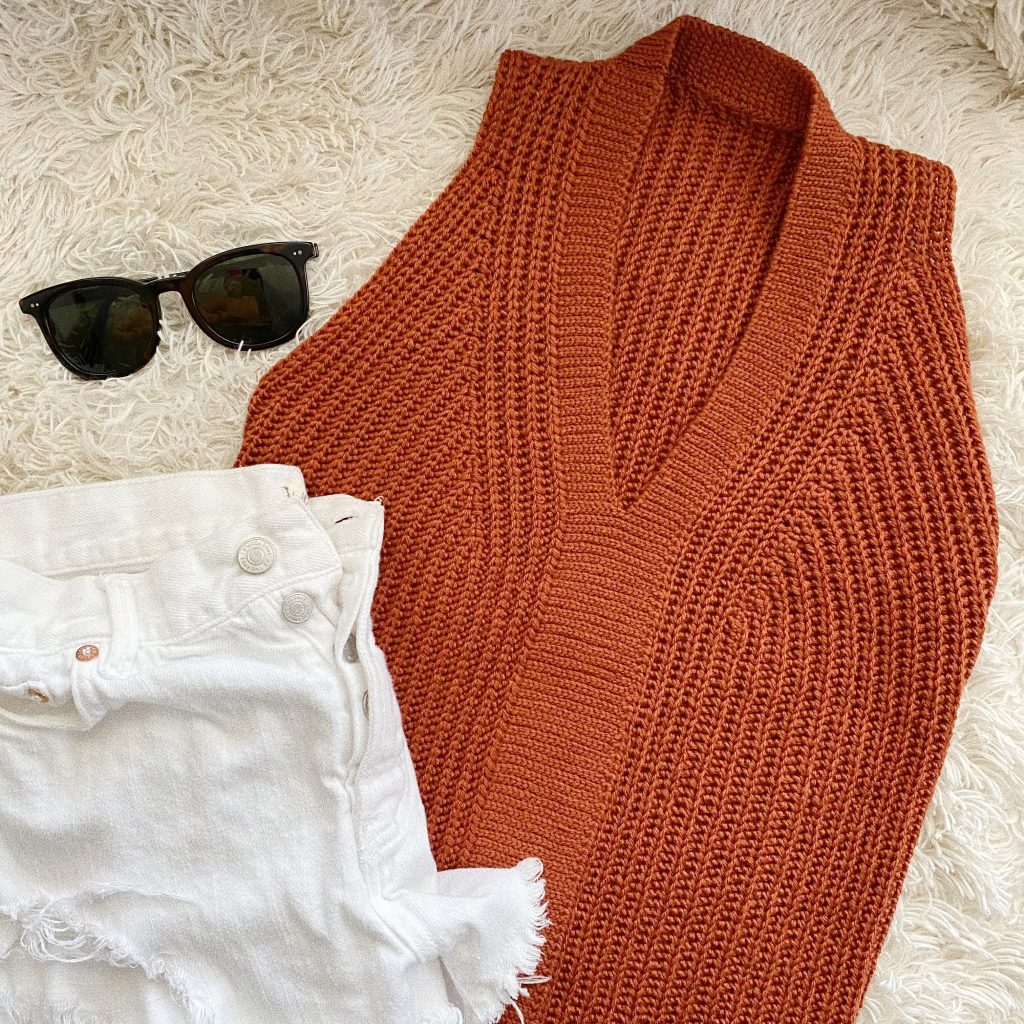
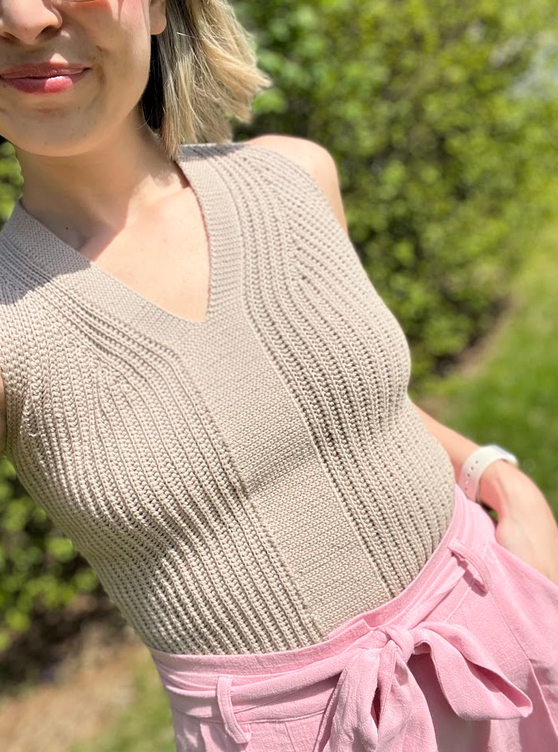
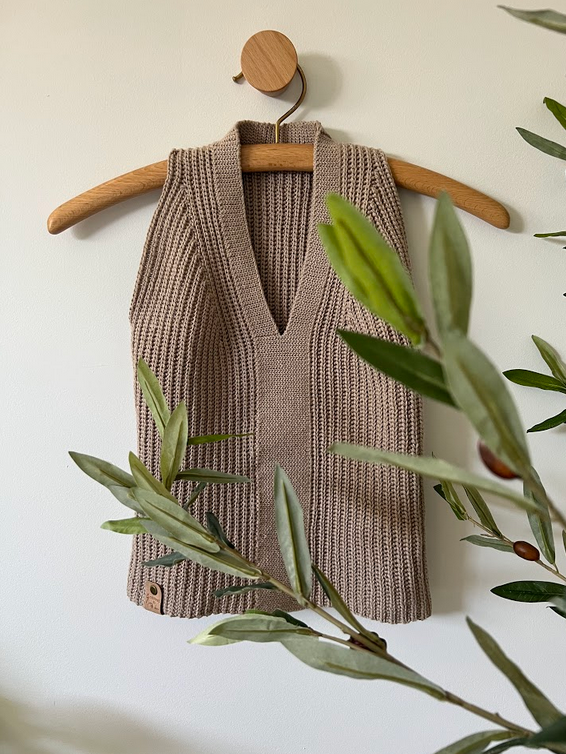
In this pattern, you will use a variety of slip stitches to produce a clean, knit-like texture and a unique method of construction, using the center panel as a foundation onto which the rest of the top is crocheted. The main stitch used in this top creates a ribbed, figure-hugging fabric that allows the garment to stretch nicely over the fullest part of your bust while also remaining close-fitting in the waist.
Two types of slip stitches are used in this design, each chosen for specific reasons:
- The stitch pattern in the center panel provides structure and durability, as this section is the foundation onto which the rest of the top is crocheted.
- The main stitch pattern provides a loose, flowy, ribbed fabric with ample stretch and drape that will contour to the shape of your body.
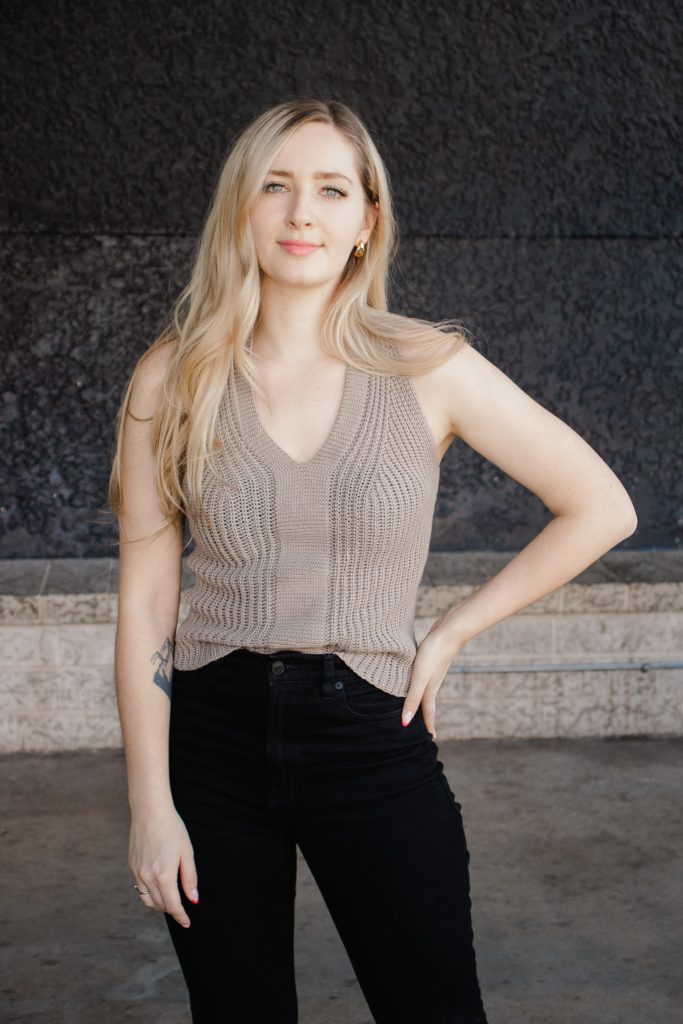
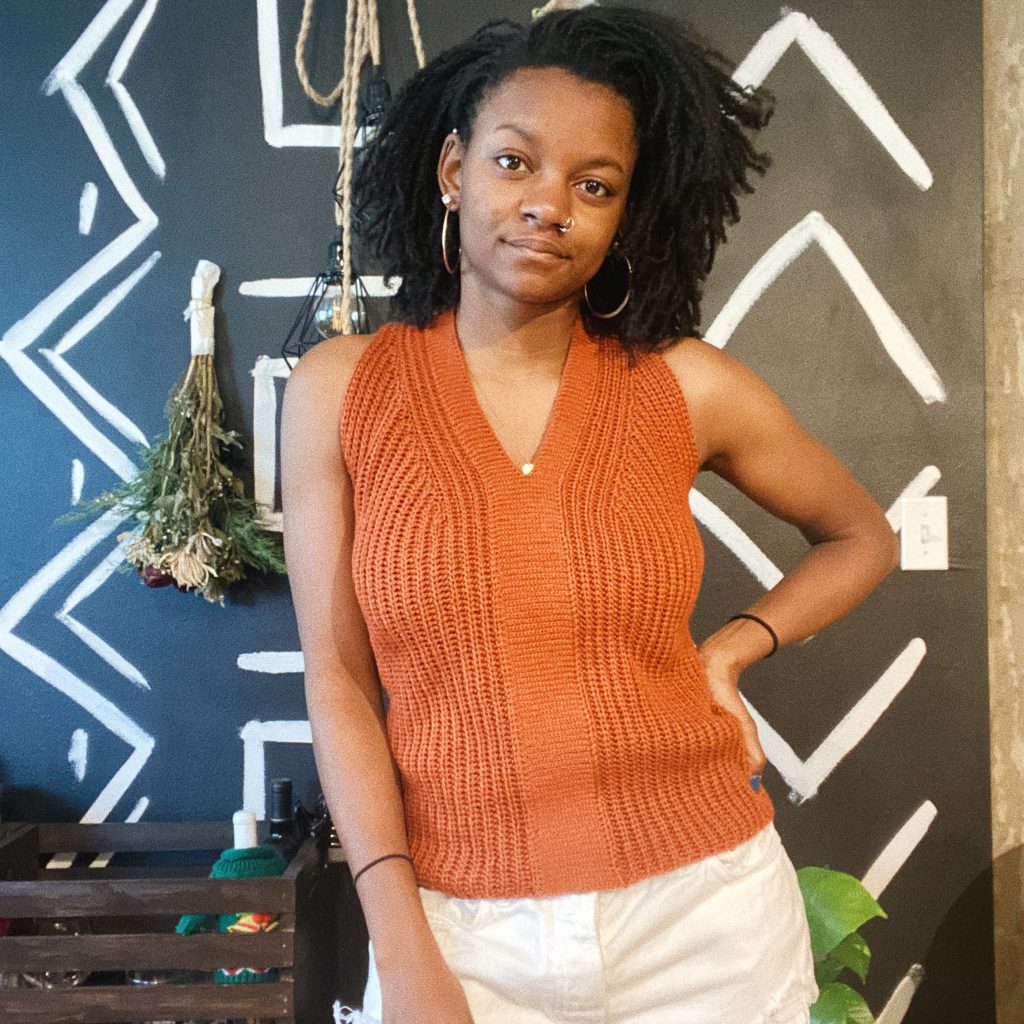
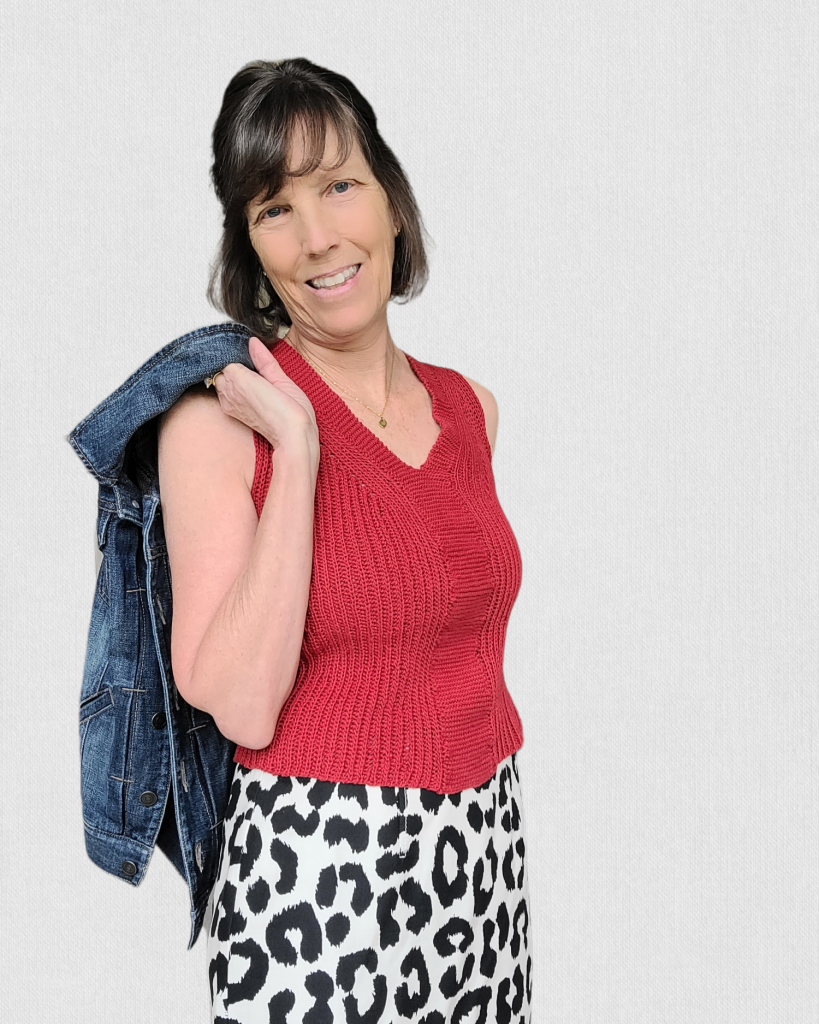
The simple, yet striking, Timberwood Tank was designed to become your new favourite closet-staple; casual enough to wear lounging at home, yet polished enough to wear at the office.
Let’s explore crochet’s most underrated stitch: the slip stitch.
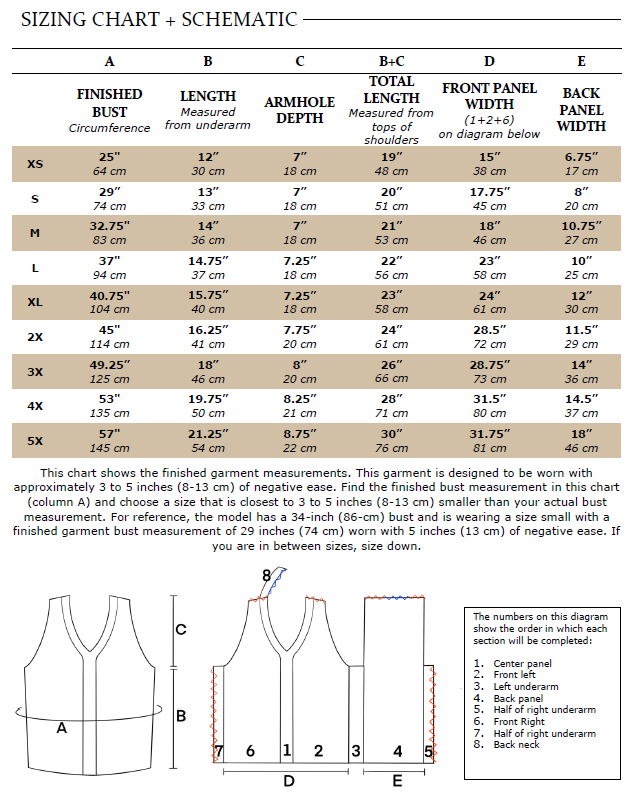
Timberwood Tank: Sizing Information
This screenshot is straight from the pattern PDF.
Materials
Yarn: DK—Lion Brand LB Collection 100% Superwash Merino in Hemp
- 100% Superwash Merino
- 306 yds (280 m) per 3.5-oz (100-g) skein
- Find this yarn on lionbrand.com or visit yarnsub.com to find comparable substitutes.
- Grab the kit here!
Yardage: 3 (3, 3, 4, 4) (5, 6, 6, 7) skeins of LB Collection 100% Superwash Merino, or
- 575 (790, 850, 975, 1125) (1300, 1525, 1725, 1975) yds
- 526 (723, 777, 892, 1029) (1189, 1395, 1578, 1806) m
Substitute Lion Brand LB Collection Superwash Merino with another DK weight (light, category #3) yarn that matches gauge. You may also be able to match gauge with some sport weight (fine, category #2) yarns. For a drape similar to the one shown, choose a yarn with similar properties.
Hook: Size U.S. E/4 (3.5 mm) or size needed to obtain gauge
Notions: Tapestry needle, several locking stitch markers
Gauge
Gauge is provided below for both stitch patterns used. In the sample shown, the same hook was used for the entire garment, but you may need to use two different hooks if your tension changes between these stitch patterns.
Main Gauge
4 x 4″ (10 x 10 cm) = 24 sts and 20 rows in yoslstBLO
Block your swatch the same way you would block your finished tank top. Measure the inner 4” (10 cm) of your blocked swatch to get the most accurate measurement. Swatch is measured lying flat, unstretched.
Gauge for the Center Panel:
4 x 4” (10 x 10 cm) = 32 sts and 48 rows in slstBLO
Pattern Notes
Skill Level: Intermediate
Sizing: This tank top is written in nine sizes as follows: XS (S, M, L, XL) (2X, 3X, 4X, 5X). Make sure to follow the numbers for your size only.
Stitch Counts: Stitch counts are listed after each row. If no stitch count is given, there has been no change since the previous row. If only one number is provided, it applies to all sizes.
Right Side/Wrong Side: While both sides look nearly identical, there is a right side and wrong side to this garment. The pattern will indicate which side is intended to be worn as the “right side”. The only difference is the way the short-rows appear; they look a little cleaner on the “right side”.
Turning Chain: The turning chain does not count as a stitch.
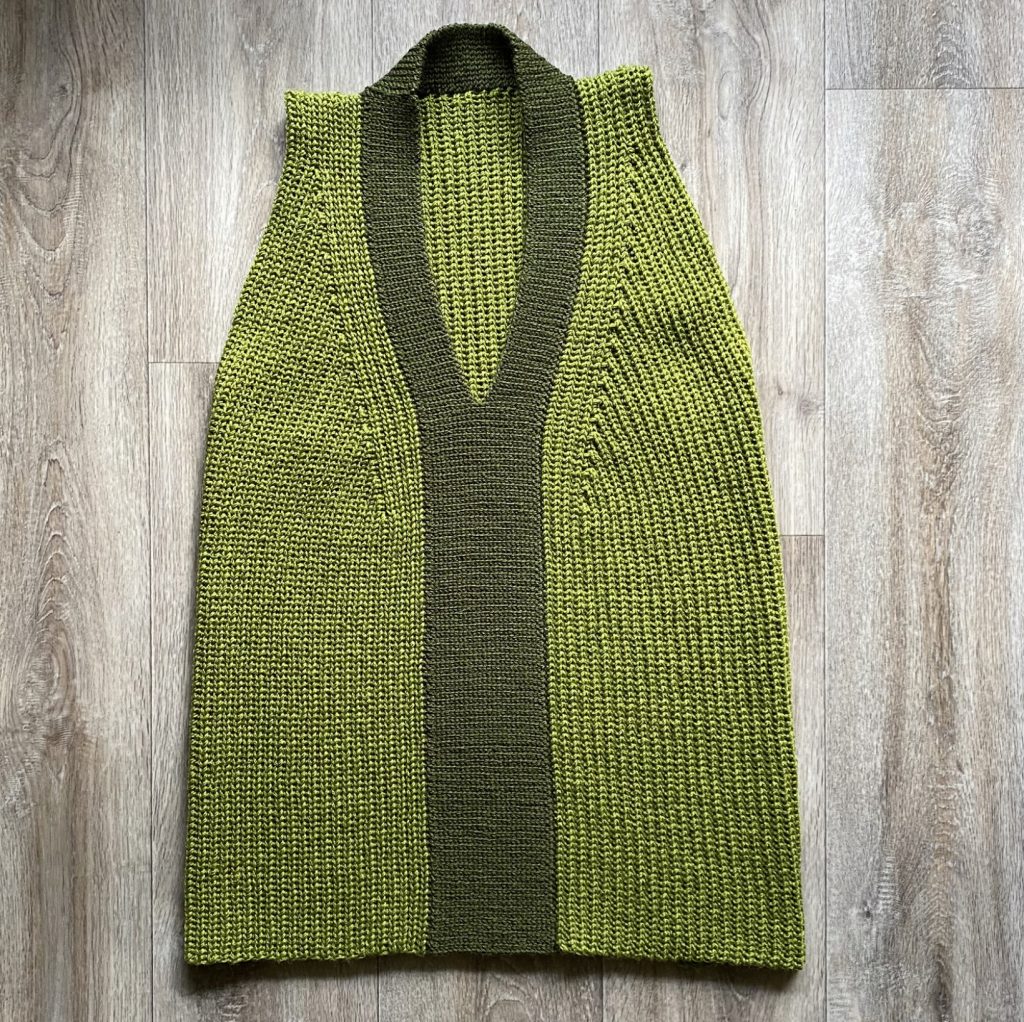
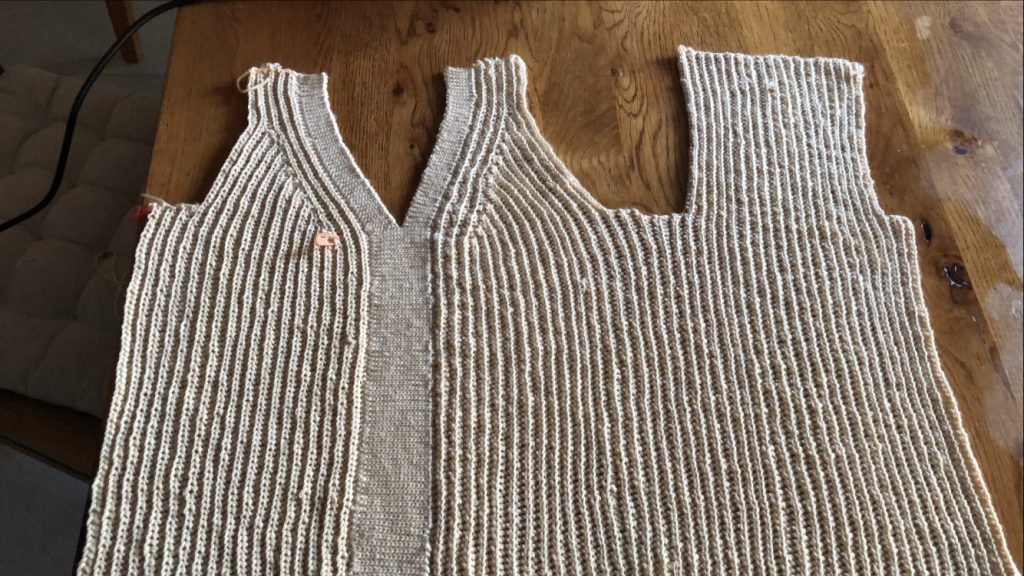
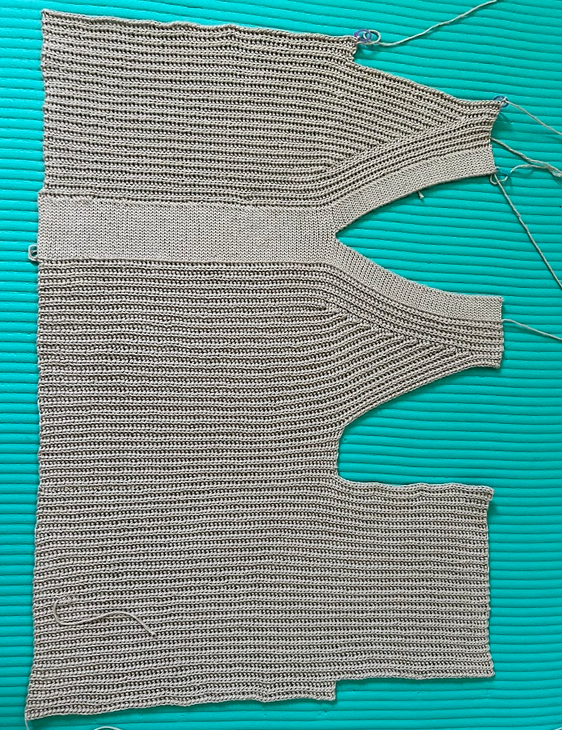
Construction: First, you will crochet the center panel that extends the length of the garment, providing a foundation onto which you will crochet the remainder of your tank top. Next, you will crochet along the side of this center panel to create the first front panel and work several short-rows to provide shaping for the bust. Next, you will crochet over the short-rows until reaching the proper front panel width, then crochet the back panel. You will crochet the other front panel and then sew a few seams to finish your garment.

Abbreviations
Written in U.S. Crochet terms
- ch: chain
- rep: repeat
- RS: right side
- sk: skip
- st(s): stitch(es)
- sl st: slip stitch
- slstBLO: slip stitch into the back loops only
- tch: turning chain
- yoslst(s): yarn over slip stitch(es)
- yoslstBLO: yarn over slip stitch into the back loops only
- yoslstFLO: yarn over slip stitch into the front loops only
Crochet Kit
The crochet kit contains all the materials required for this top: the yarn, the pattern, and optional notions to add on!
The kit is currently on sale for 30% off with no code required.
If you’ve already got the pattern and just need the yarn, the crochet kit is the best way to support me, so thank you so much for purchasing!
Adjusting the Length
To adjust the length, first you will need to adjust the length of the center panel. Work your center panel (from the bottom-up) until you have reached the length you would like before splitting for the neckline. Then, work the number of rows as specified for your size after splitting for the neckline so that the neckline depth is not affected.
Then, work the instructions for Row 1 of the Front Left. Your count here will be the same for above the neckline split, but will differ below the neckline split. You will need to know how many additional stitches, or fewer stitches, you have worked. For example, if you are following Size Small, the pattern reads that you should have 75 sts before the neckline split. If you are adding length, and you have 97 sts before the neckline split, make note of this difference of (97-75=22 extra sts).
You have 22 additional sts, so any time you encounter an instruction that refers to a specific number of sts in the row, you’ll need to add 22 to that number.
So, when you work the Front Left Short-Rows, you will need to add 22 sts to the first short-row instruction. This only matters for the first row though, because once you’ve established your new length in this row, you can follow the remaining instructions as they’re written.
Add that number (22) to the number of Left Underarm sts as well. You will be able to follow the Back Panel as-written. Make sure when you work the Front Right, that you have the same number of total sts as you did on your first side. Then, when you work the Front Right Short-Rows, add that number (22) to the first row of instruction. You will be able to follow the rest of the instruction as they’re written.
For the Right Underarm, adjust the first number (in this example, you’ll add 22) to the number of stitches it tells you to count before rejoining the yarn.
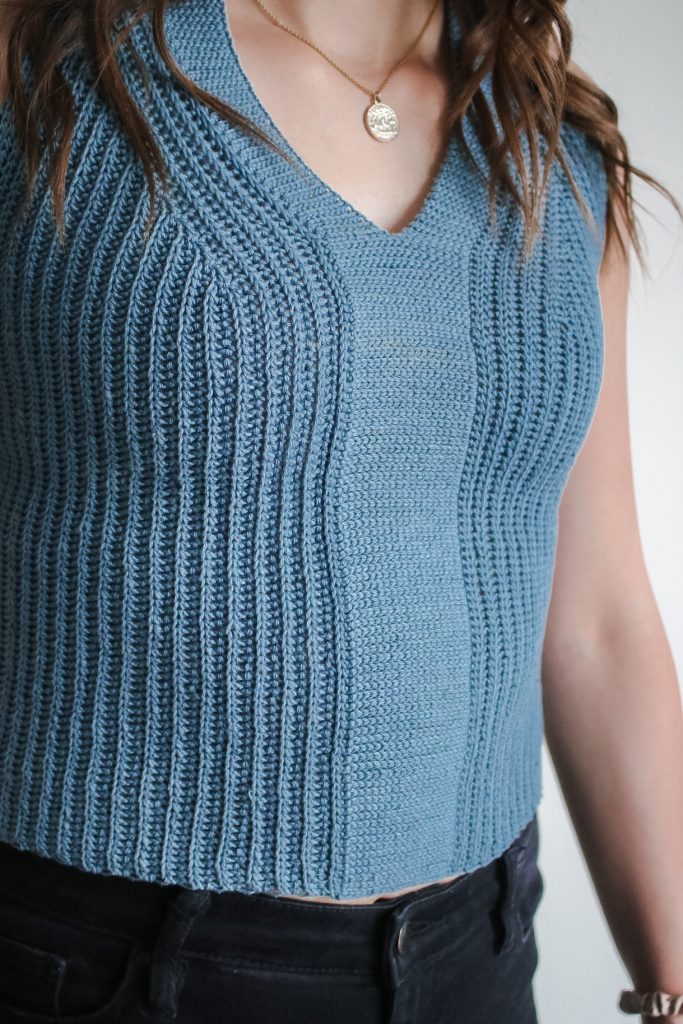
Adjusting the V-Neck Depth
To adjust the V-neck, you’ll keep the total number of rows worked in the center panel the same. The one change will be that you will change is the point at which you work the split.
For a deeper neckline, you will work the split earlier than the pattern calls for, and make up for the rows eliminated from the wider portion by working additional rows in the neckline section, essentially moving those rows up to the neckline portion.
For a more conservative neckline, you will work additional rows in the wide section and eliminate rows from the neckline section. You are essentially just taking rows from one section and moving them to another, while maintaining the same number of TOTAL rows.
Yarn Substitutions
The yarn used in my sample is a 100% Superwash Merino. Substitute Lion Brand 100% Superwash Merino with any similar DK weight, category #3 yarn. If substituting with another fiber, avoid yarns with obvious plies and choose a yarn with a smooth texture and a lot of bounce. If the strand of yarn looks too textured or too twisted, it will take away from the stitch definition.
If you can’t use a merino wool, here are some non-wool options that will work:
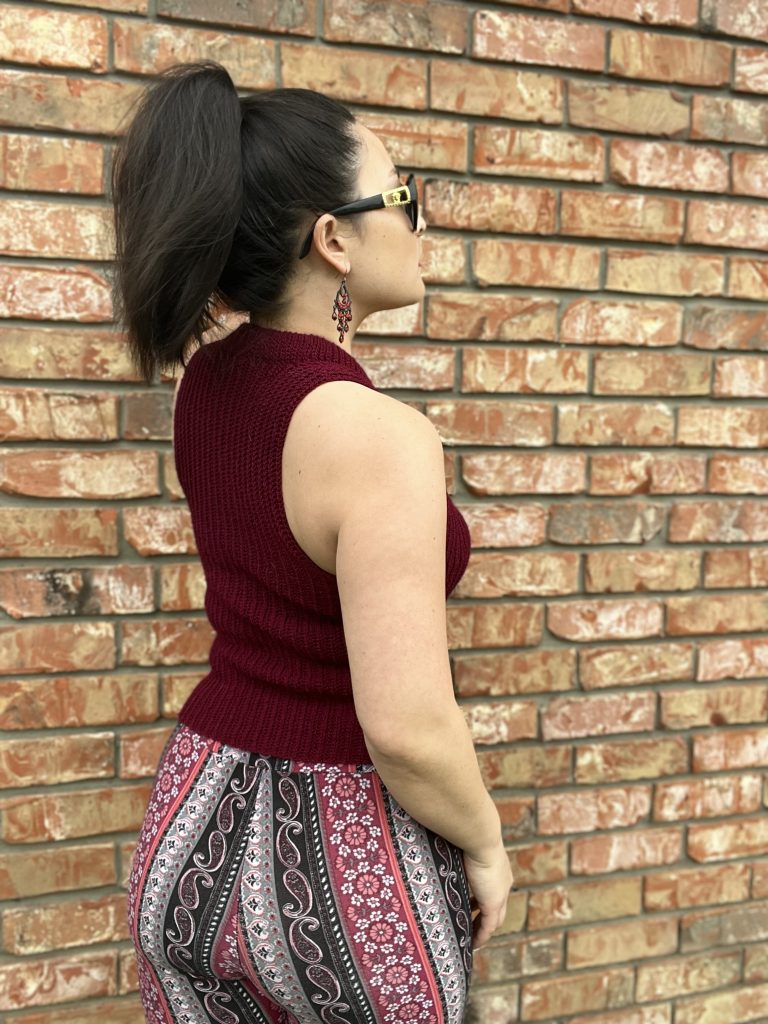
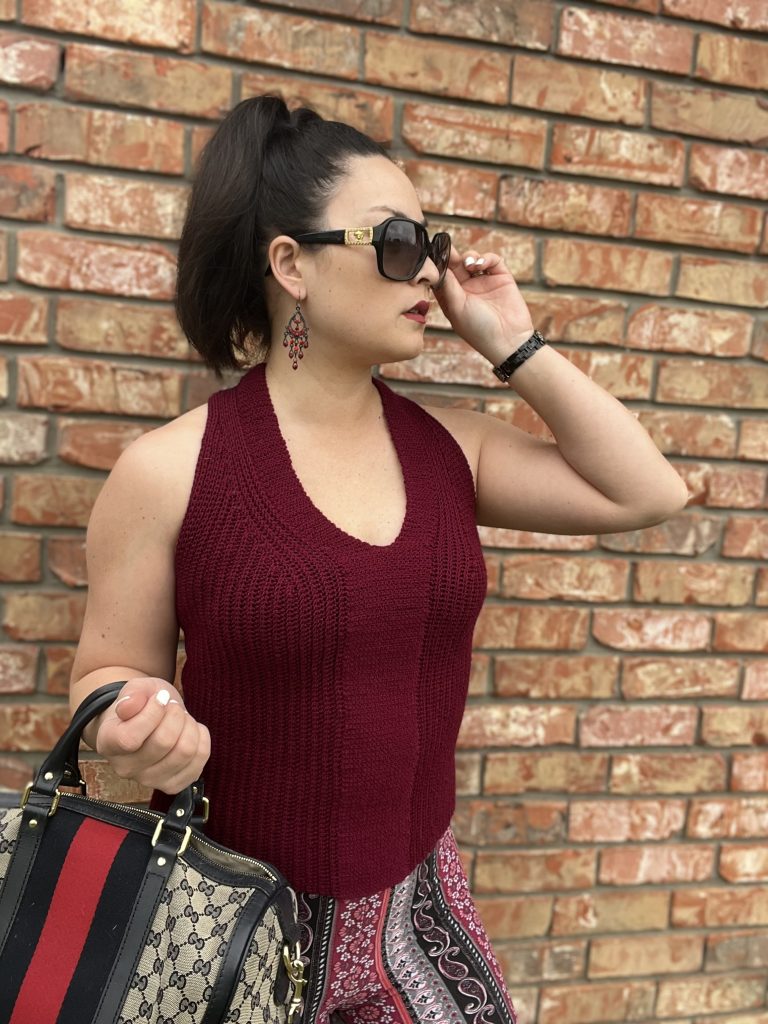
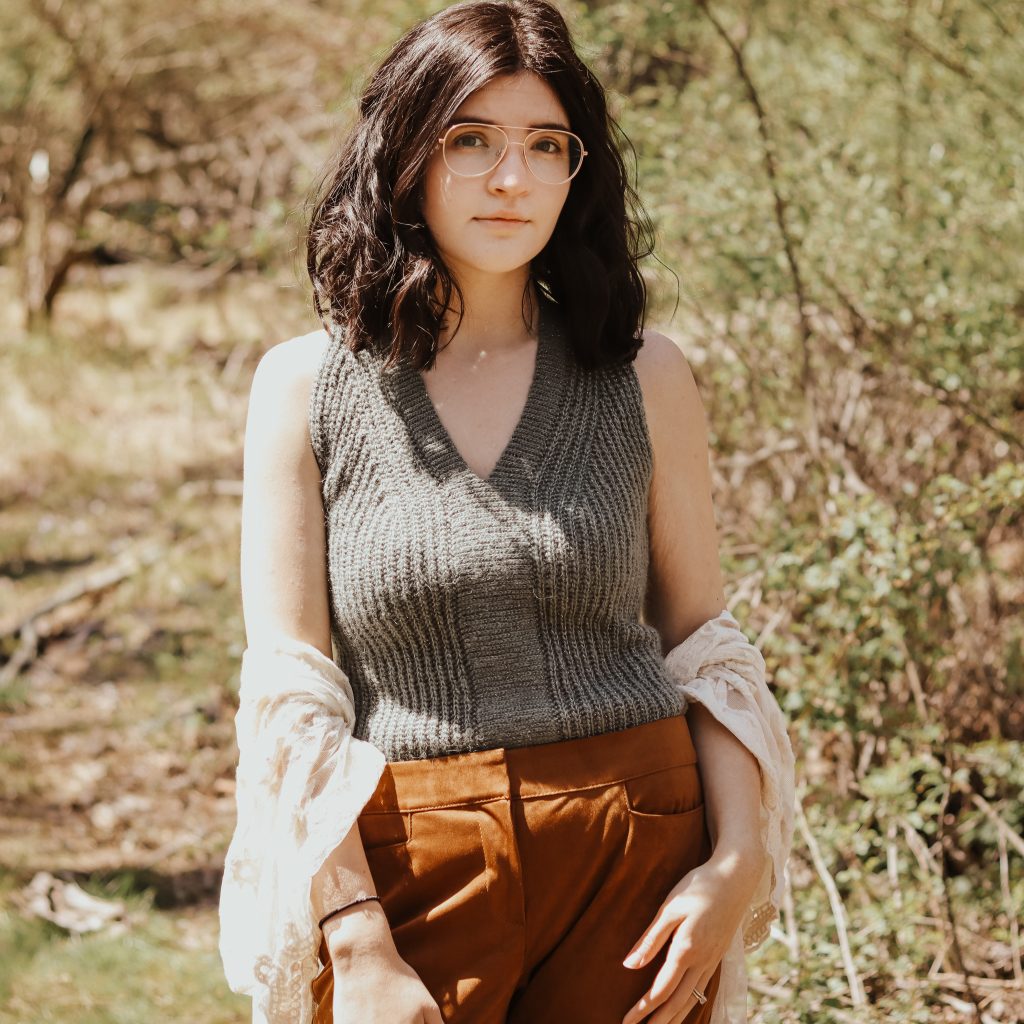
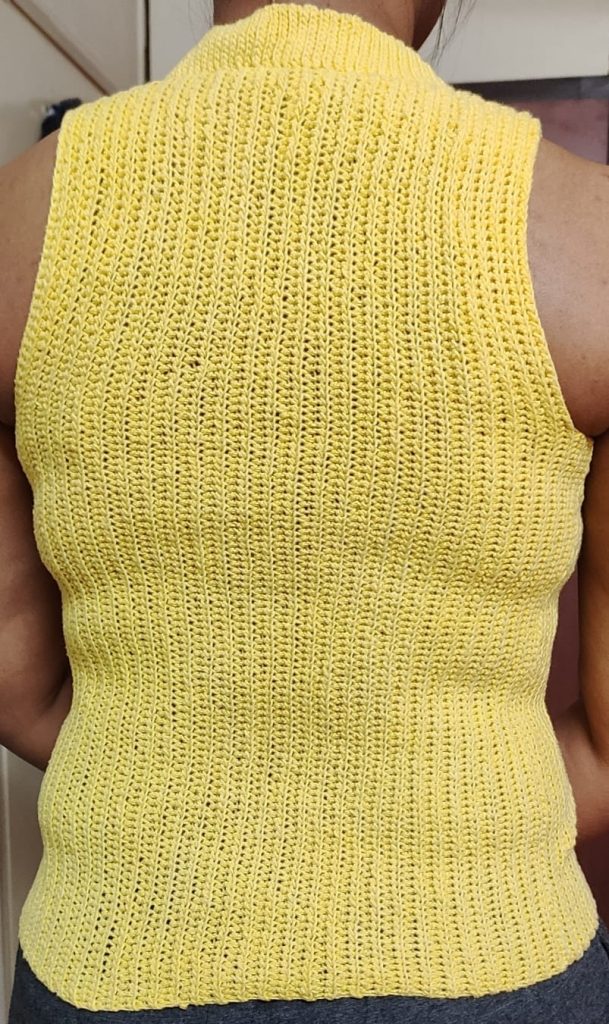
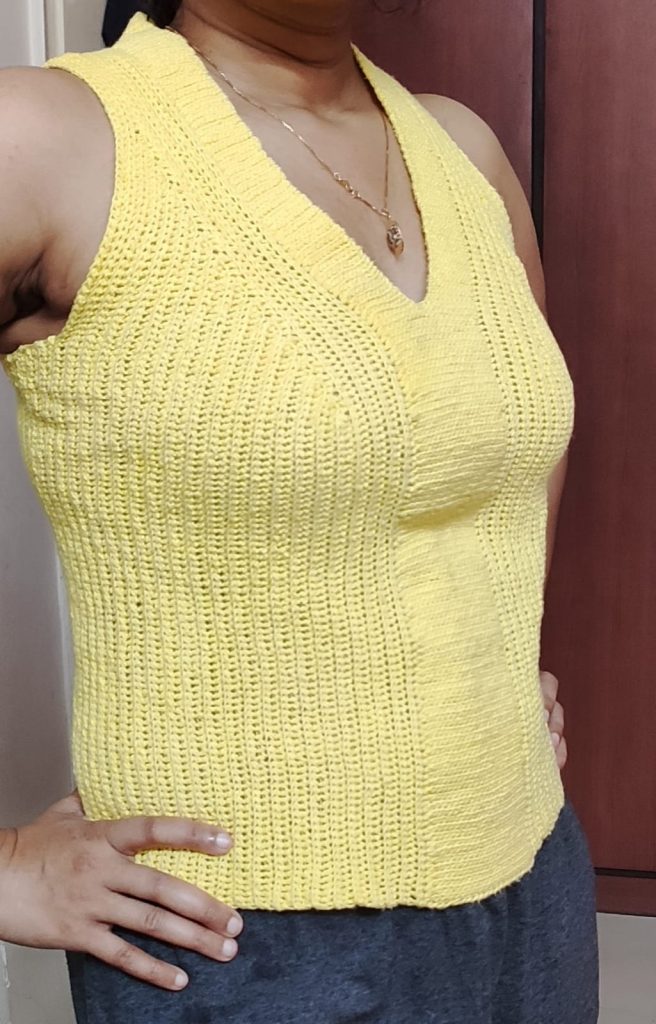
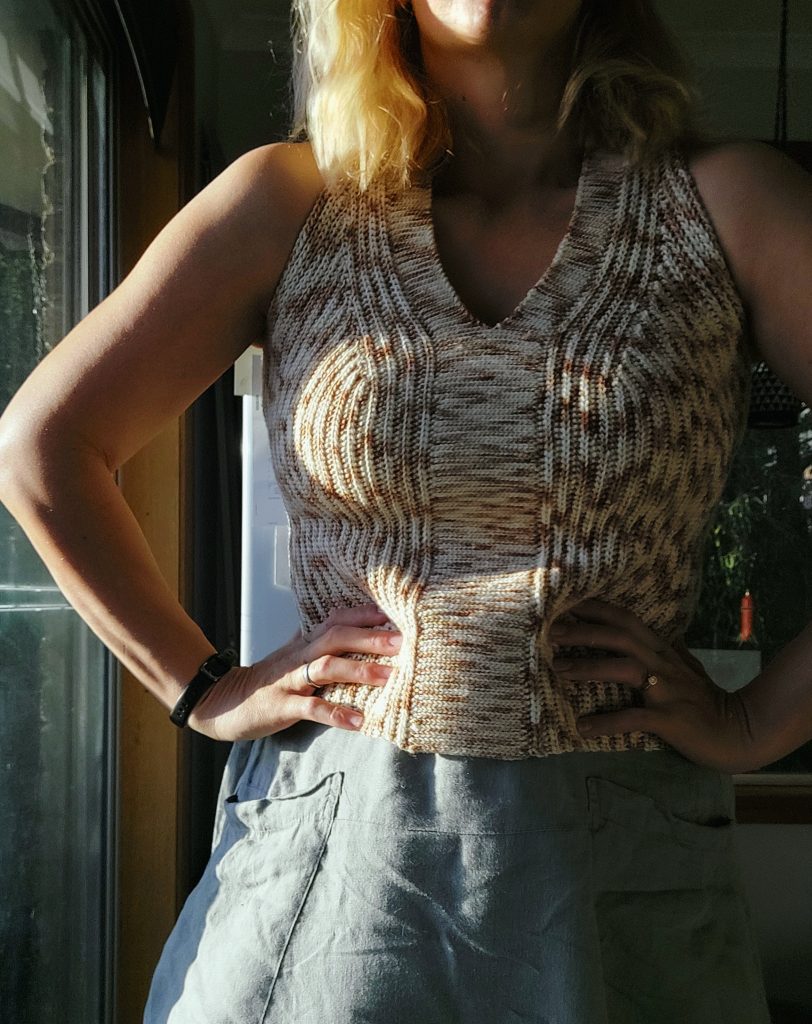
Tester Photos
Each size has been tested to ensure all sizes are satisfied with the pattern and fit! Below you can see photos from the testing process to see how the top looks on different bodies with different modifications made using a variety of yarns! Thank you so much to all the testers who helped me to make this pattern as clear and easy-to-follow as possible – they all used their own time and resources to knit up a sample tank top for me, and it is much appreciated! xx
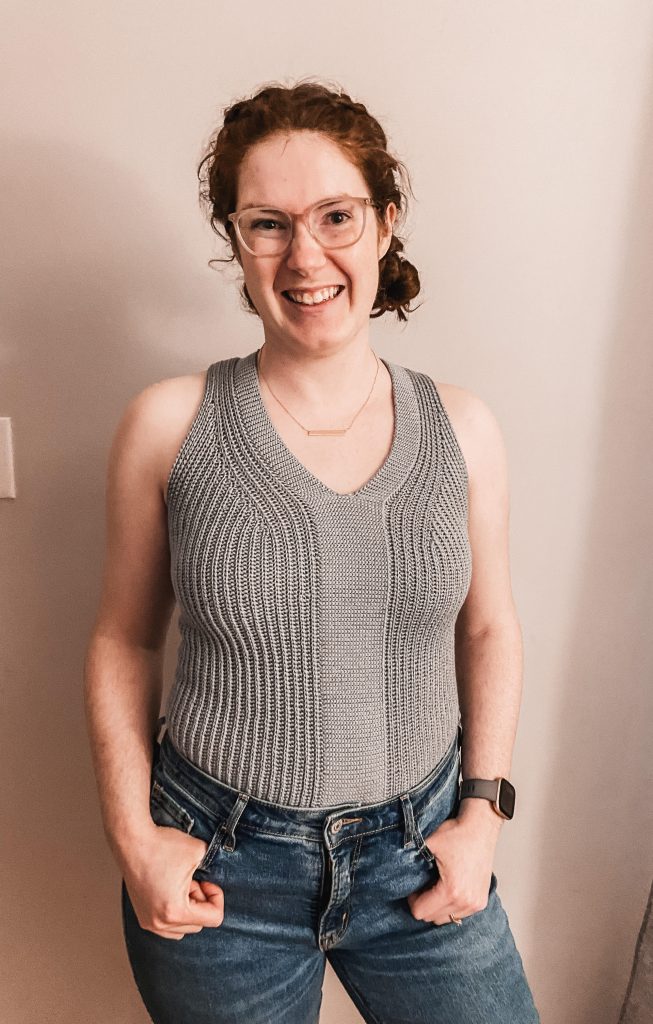
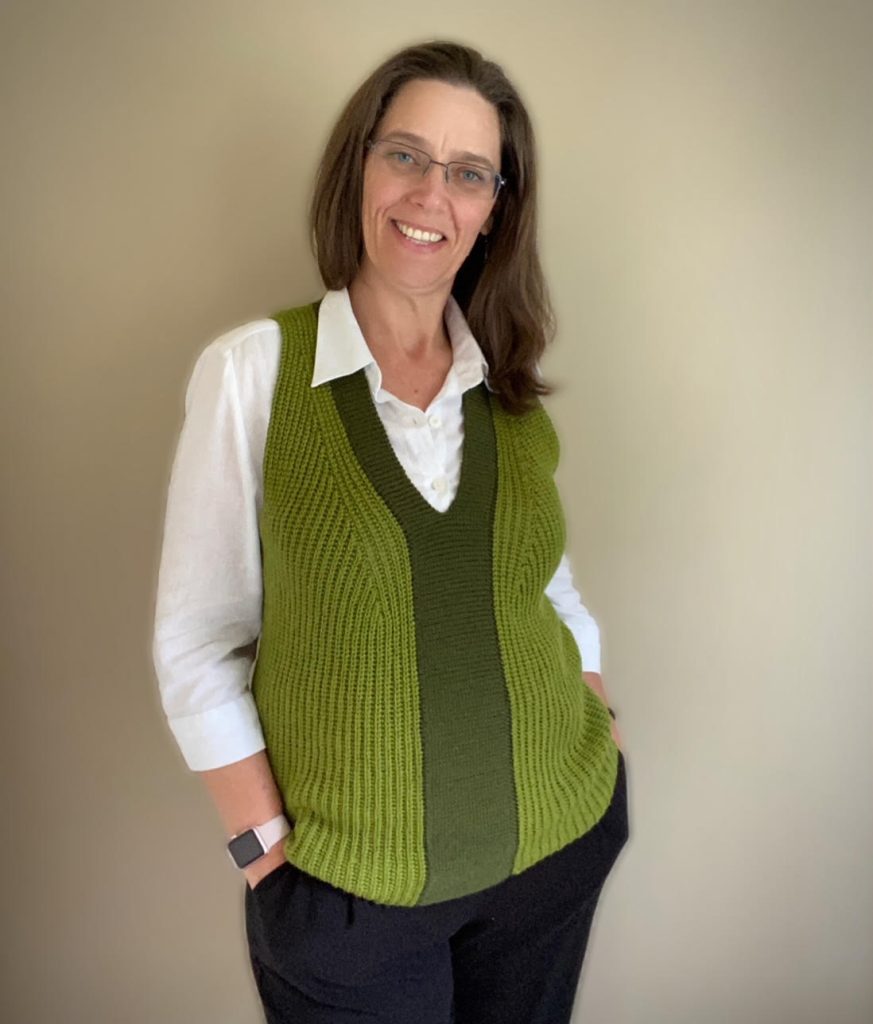
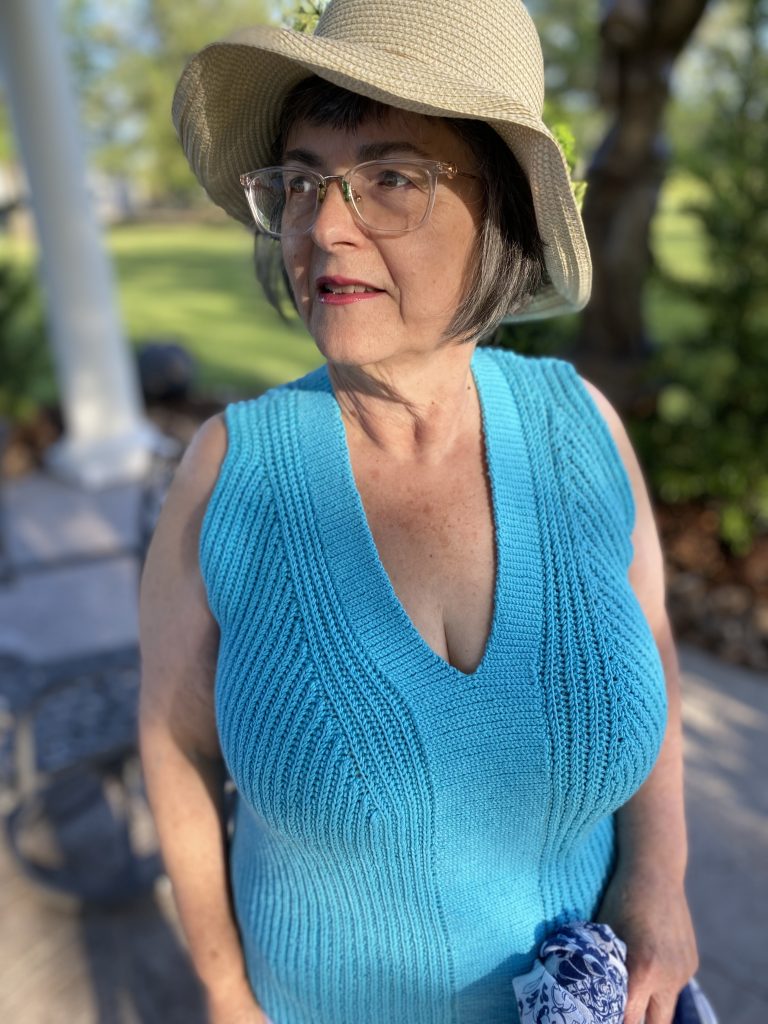
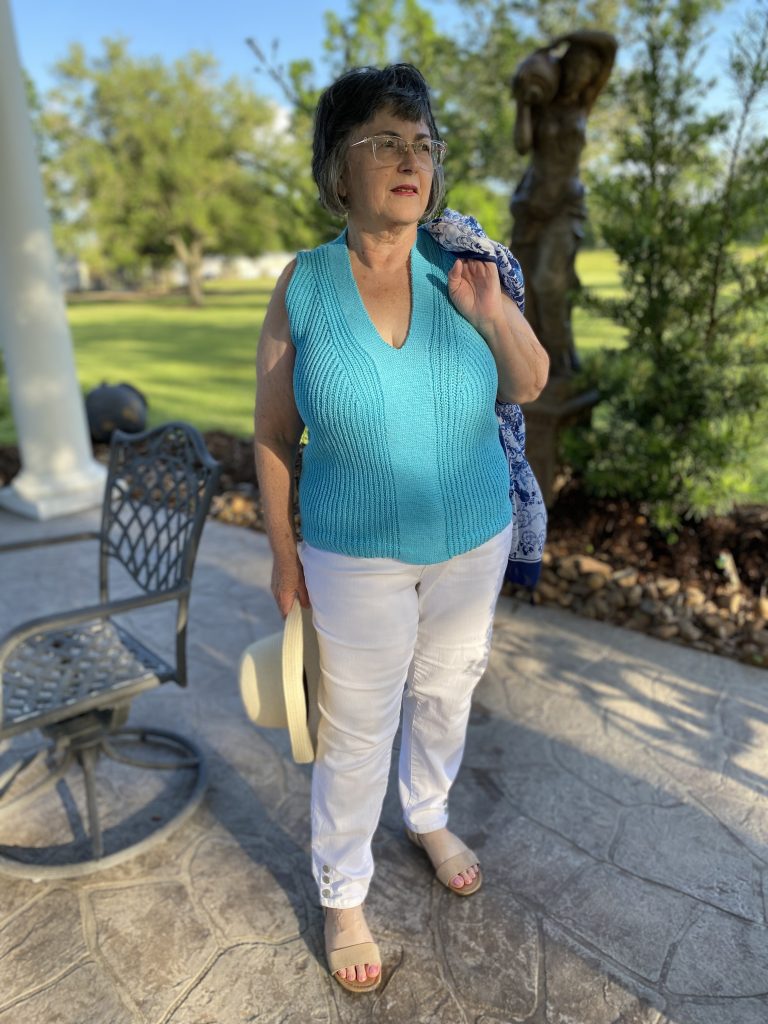
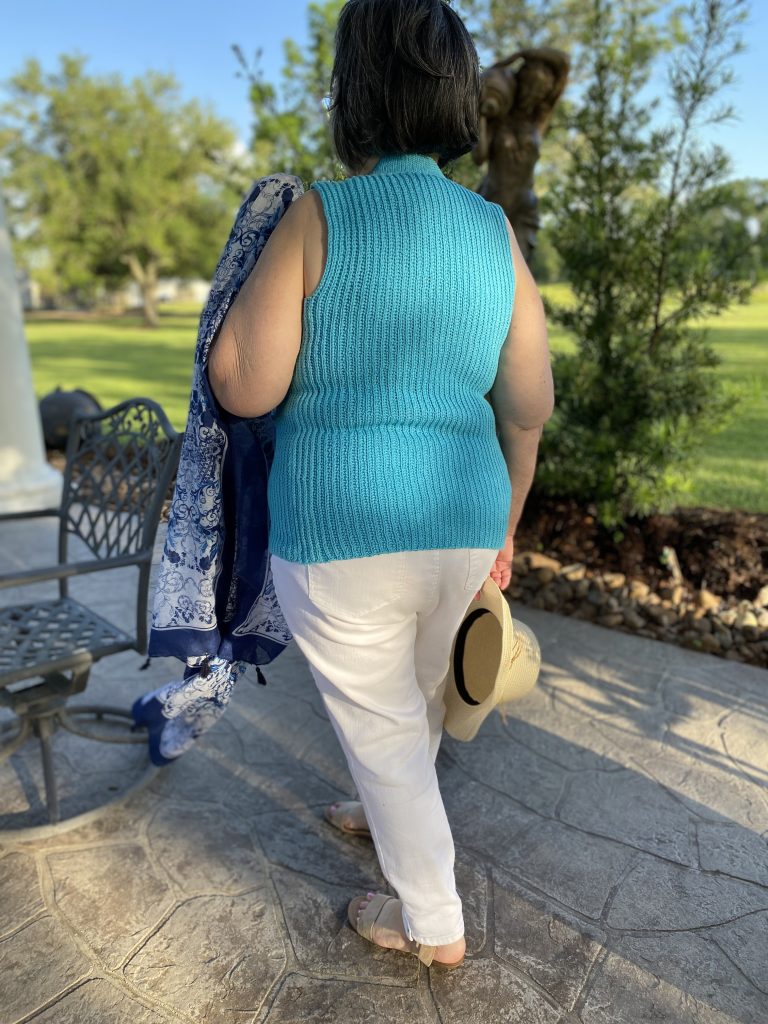

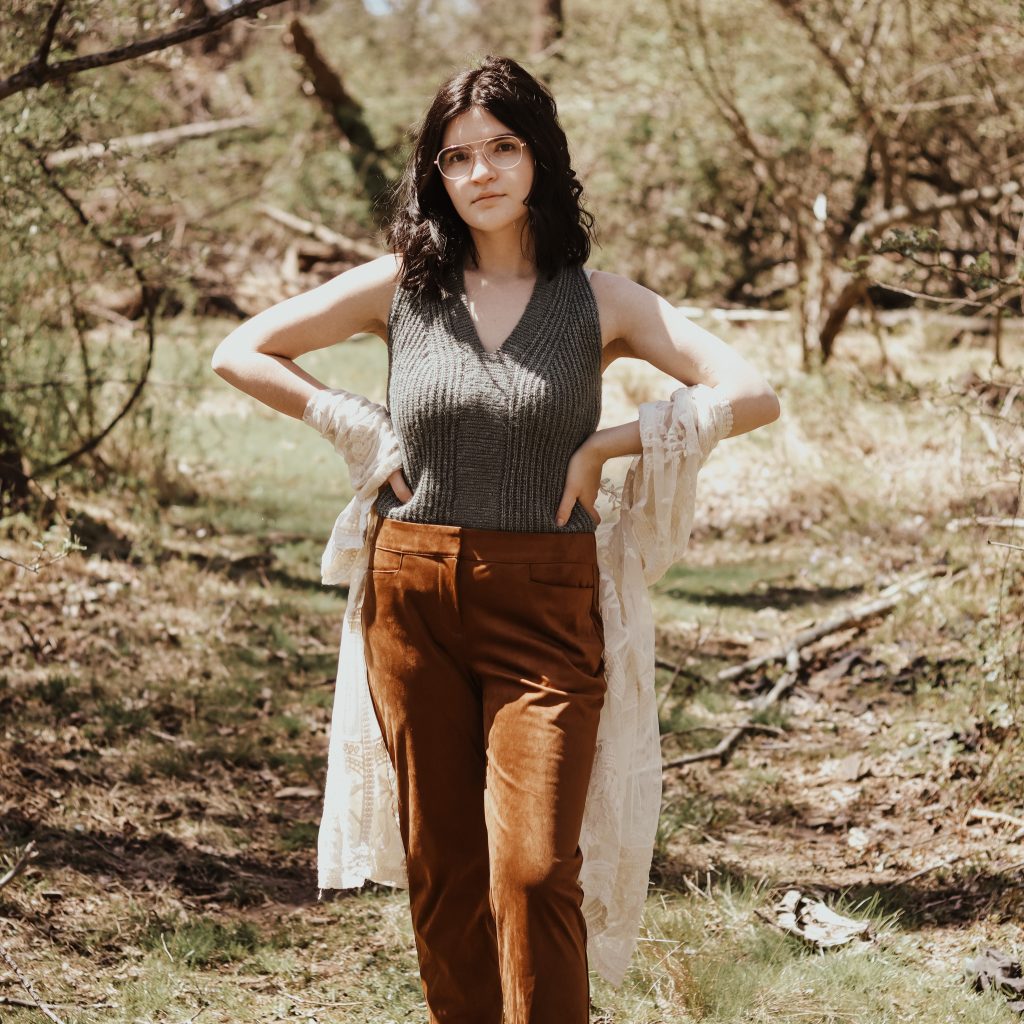
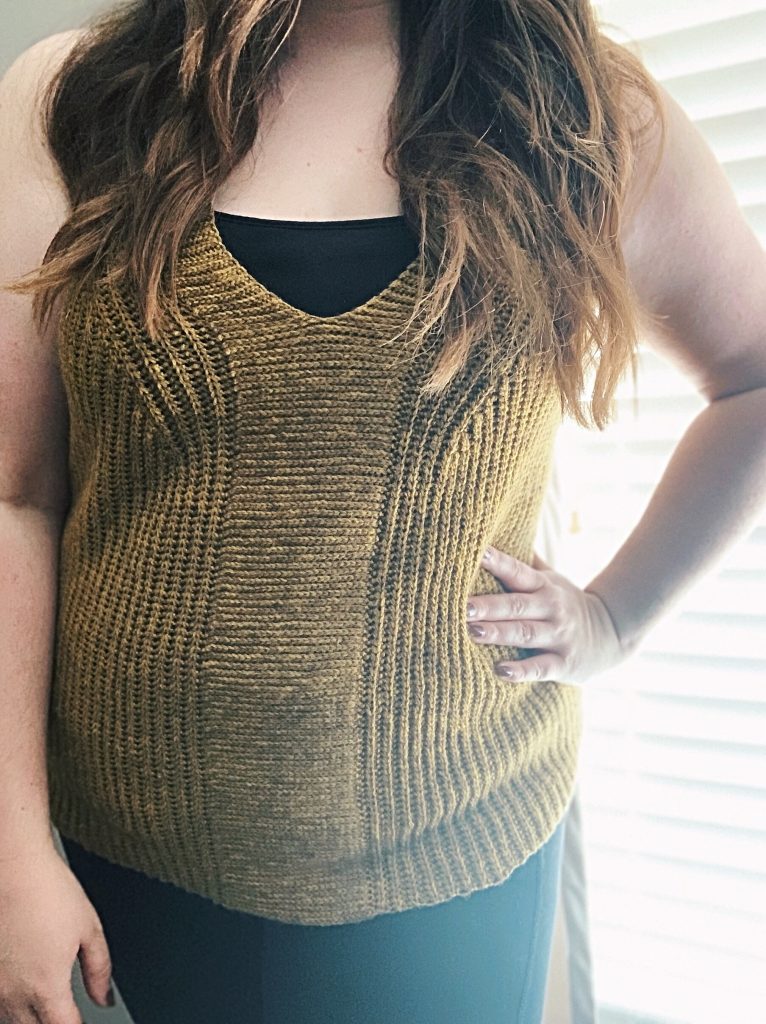
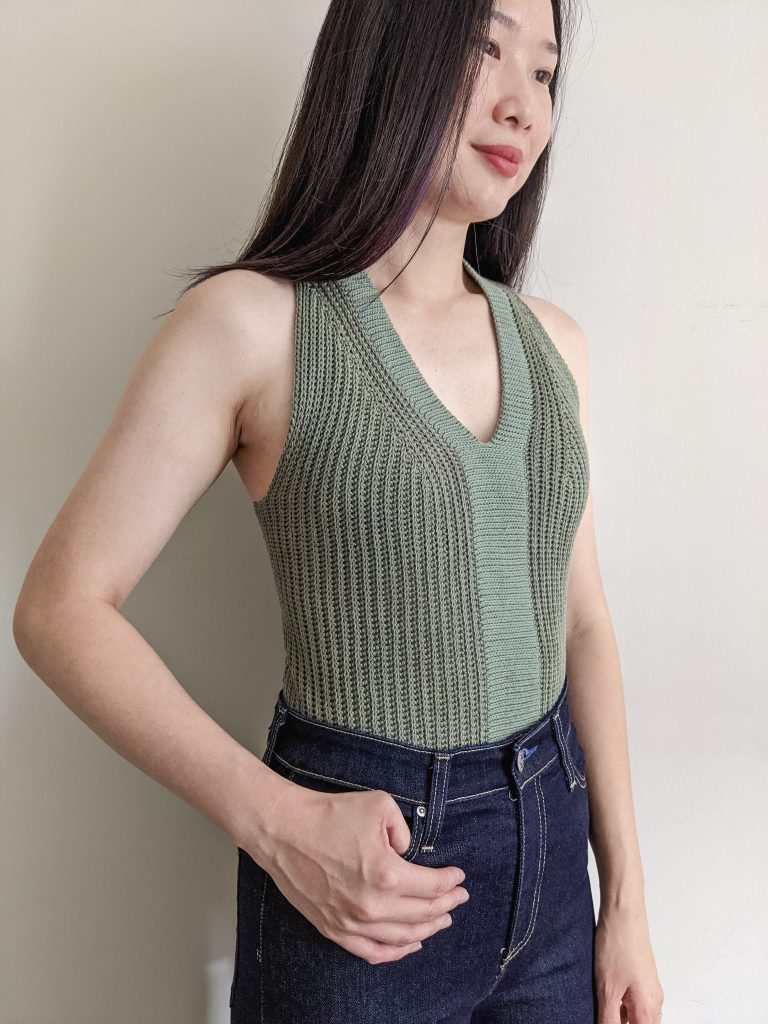
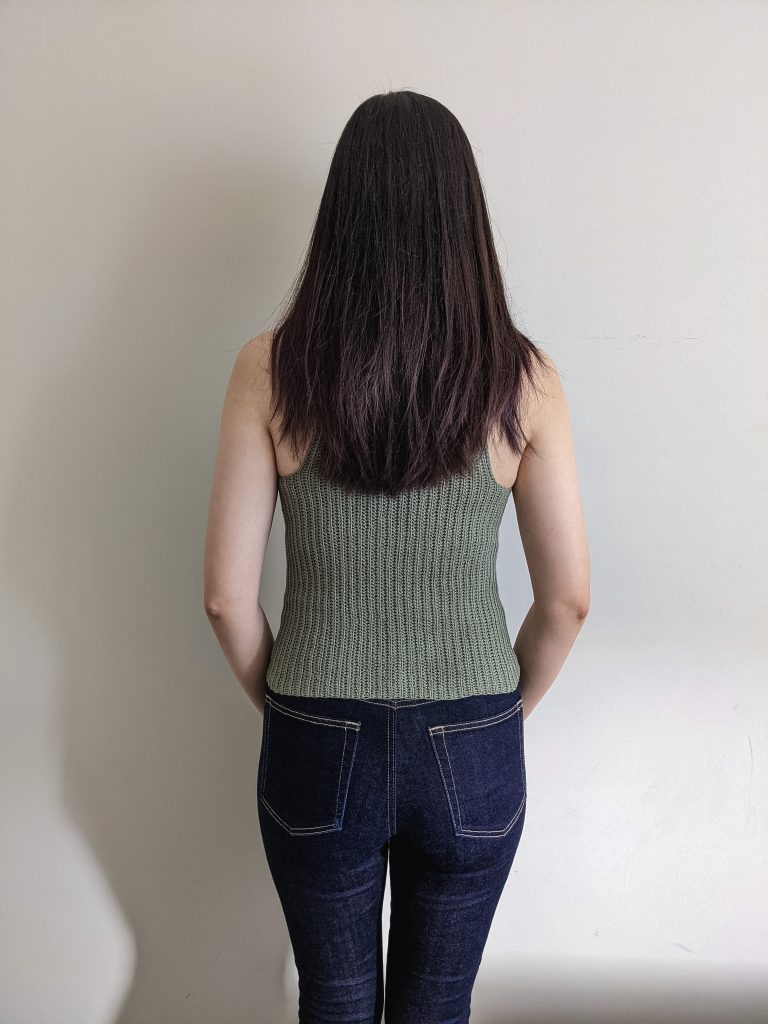
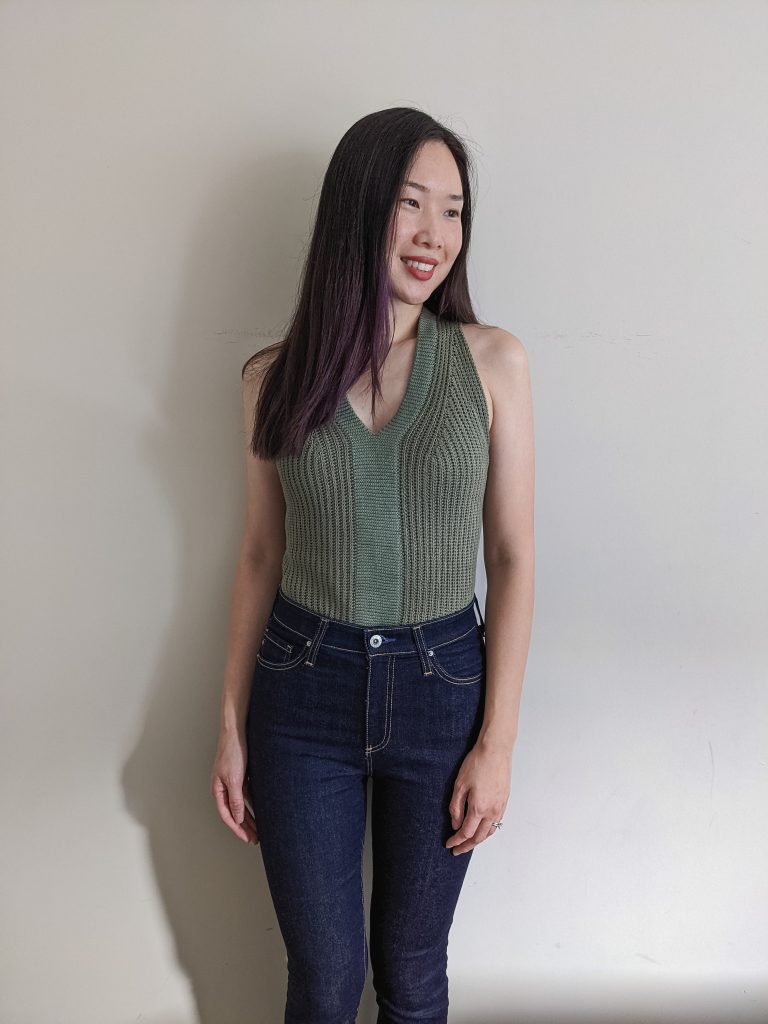
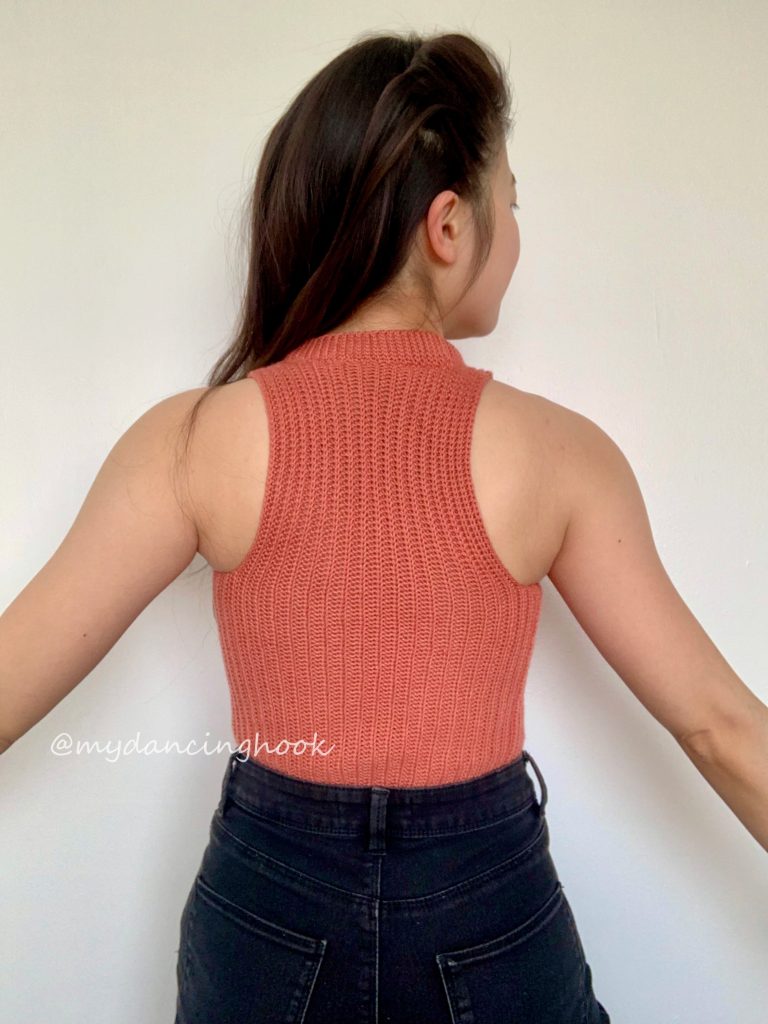
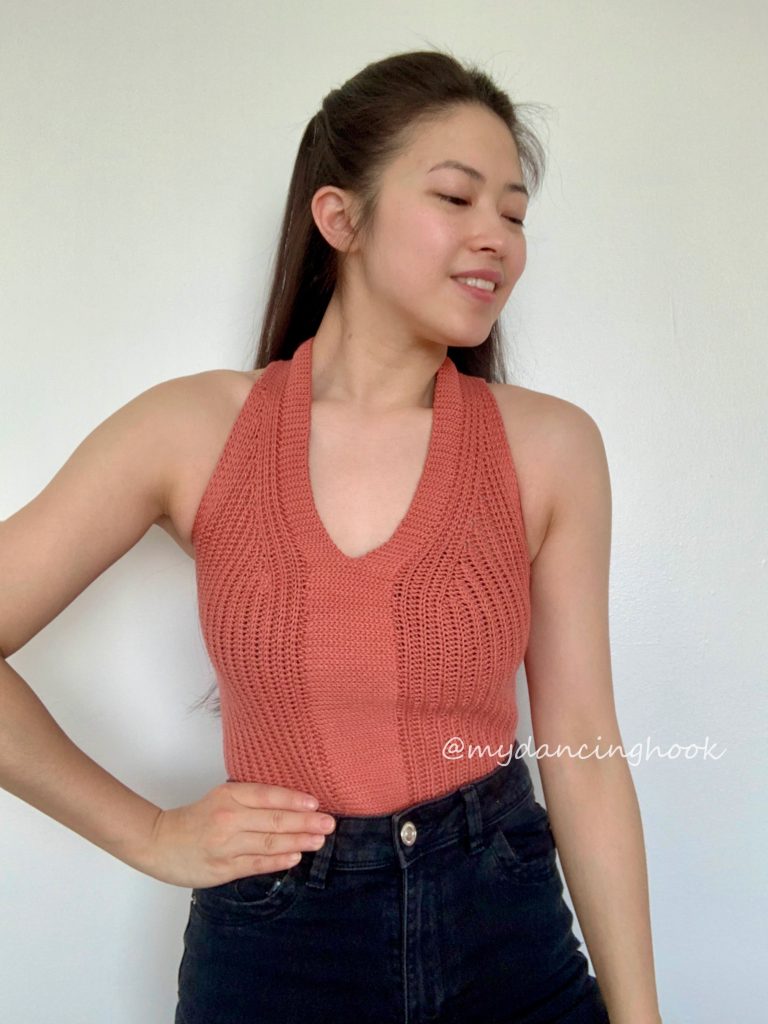


#TimberwoodTank
Thanks so much for reading!
To shop the full Lion Brand Timberwood Tank crochet kit here!
Shop Lion Brand 100% Superwash Merino yarn here.
Find the pattern in these places:
On Ravelry
On Etsy
On My website
x
Janine
You can find my full print book, Modern Crochet Sweaters: 20 Chic Designs For Everyday Wear on the shelves of all major retailers or see purchasing options here!
For exclusive discounts on all new patterns, join the Knits ‘N Knots newsletter list here!
You May Also Like


JMFS
Short rows! They’re so difficult to find for crochet so Thank you ever-so-much for being one of the handful of people who share this knowledge. I’ve been playing with them since I learned how to do a short row heel, but there’s so little information, and most searches come back with knitting-related articles. I was following a pattern for a bralette last weekend and thought, gee, short rows would be excellent for this shape. I fiddled around with it a bit and actually managed to make something that worked. I was over-the-top excited about it. 🙂 Now to bump down to my favorite hook size, 3.00 mm, and try it with my 4-ply and fingering yarns. I have some gorgeous tencel from Hobbii I’ve been holding for just the right thing. Your pattern will help me hone this technique And you’re getting the word out about this method of shaping. <3
28 . Apr . 2022