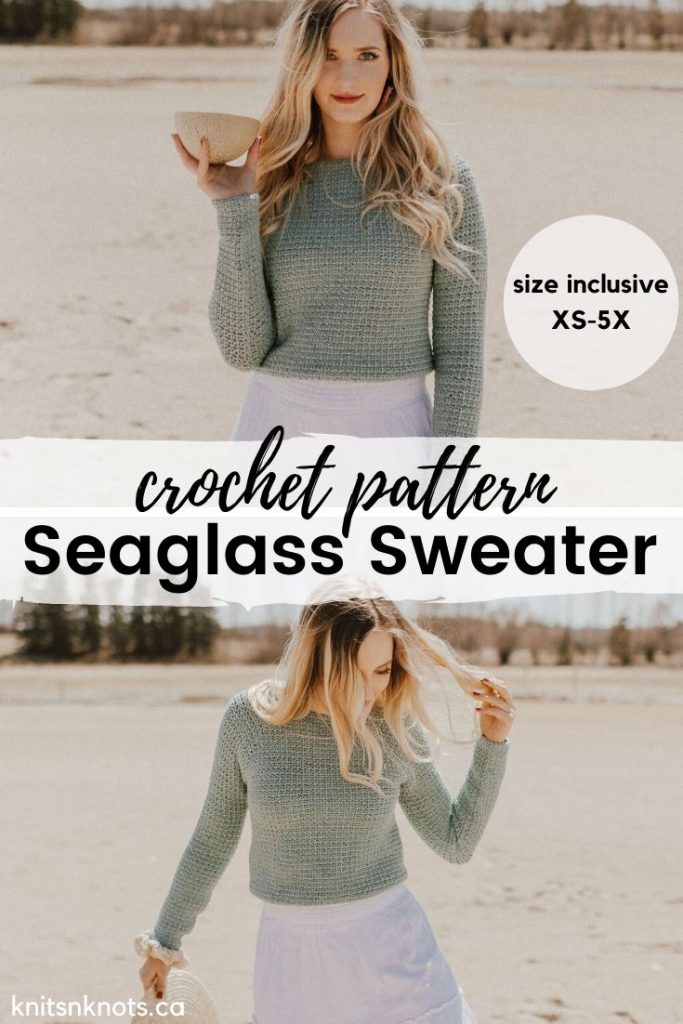
Seaglass Sweater – Textured, Top-Down, Size-Inclusive, Crochet Raglan Sweater
Hey all you cool cats + kittens!
I’ve got a new pattern to share with you, called the Seaglass Sweater. You can grab your copy on Etsy, Ravelry, my website, or keep reading for more info + a coupon code!
This post contains affiliate links. This means, should you make a purchase, I will receive a small portion of the sale, at no extra cost to you. All opinions are my own. View my Privacy + Disclosures Policy here.
This is a sweater design that was commissioned from Lion Brand, and is available as a complete crochet kit here. (Includes a print copy of the pattern + all the yarn required!)
Pin It For Later
If you want to be notified of all new pattern releases (and get exclusive discounts on all new paid patterns), sign up below!

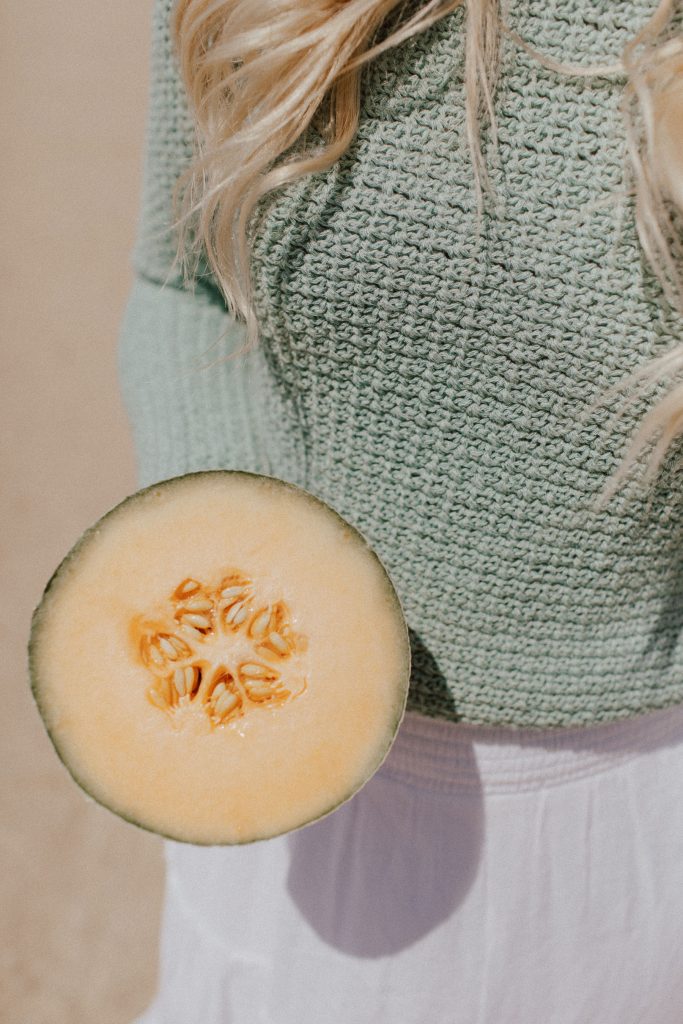


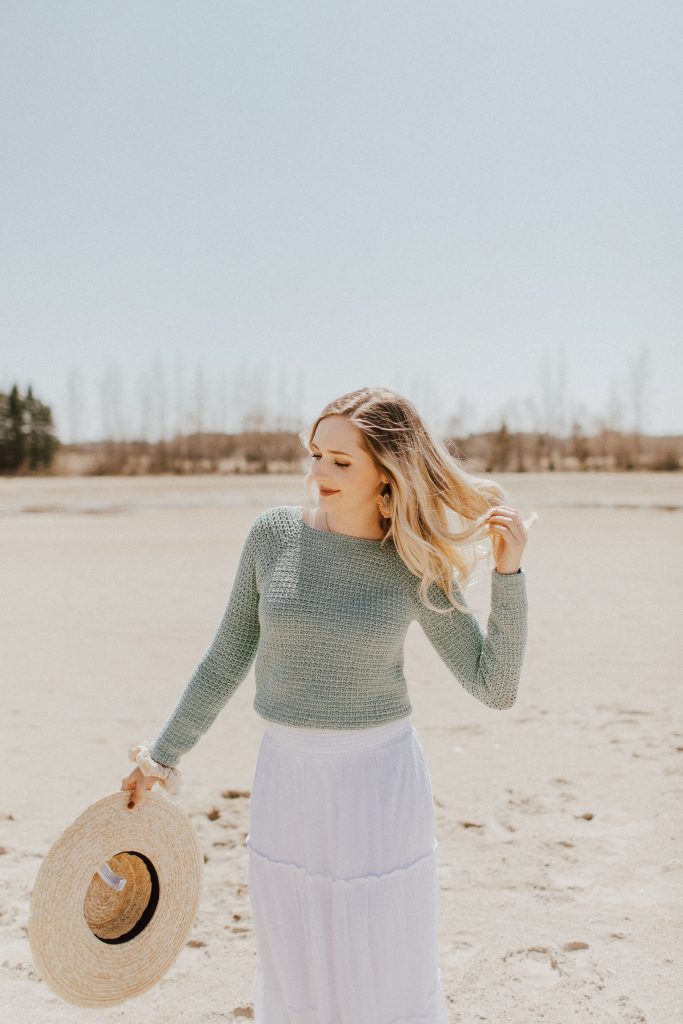
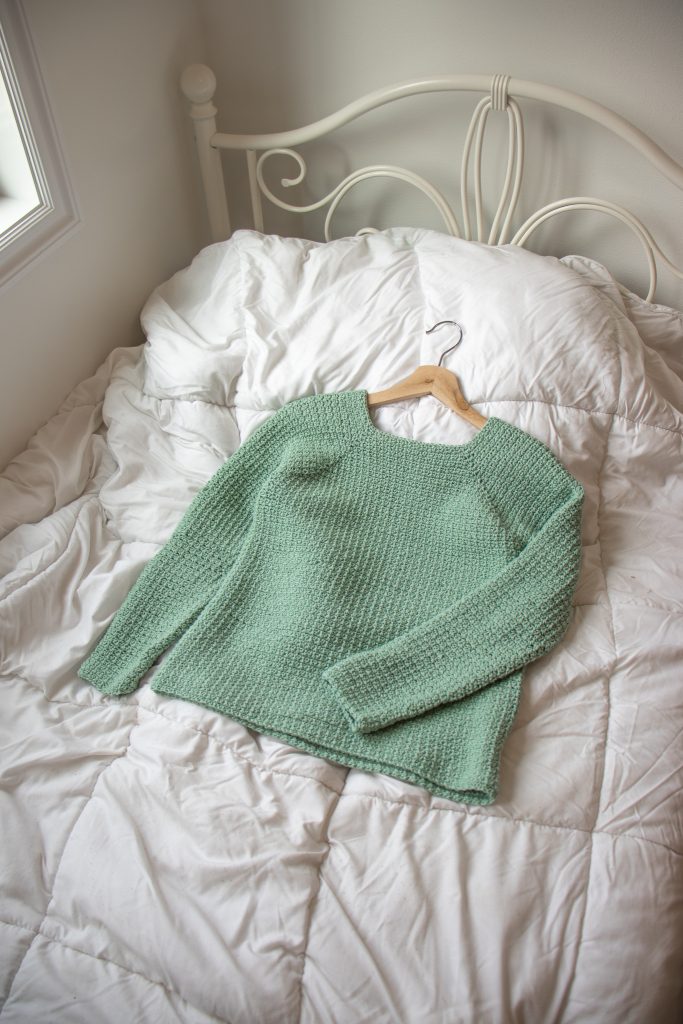
The Seaglass Sweater is a top-down, raglan sweater using only chains and single crochet stitches to create this textured fabric. Although it may look like the granite/linen/moss stitch, it actually is different from that stitch! This is a great long-sleeve top to wear all through the spring + summer, worked in a chainette-style yarn from Lion Brand called Low Tide. Chainette yarns are great to crochet with because there is no splitting to worry about!
The name “Seaglass Sweater” came from the fact that Low Tide is a yarn line that was created to mimic oceanic colours. Each colourway is inspired by the colours of the sea, each having a subtle green sheen to it. If you haven’t yet taken a look at these yarns, you may want to check out the colourways available because they are absolutely gorgeous! I ordered the colourway “Palm” as soon as I saw this line, because these yarns truly are stunning. I really don’t think you can go wrong with any of these colour options. Seaglass Sweater just seemed right!
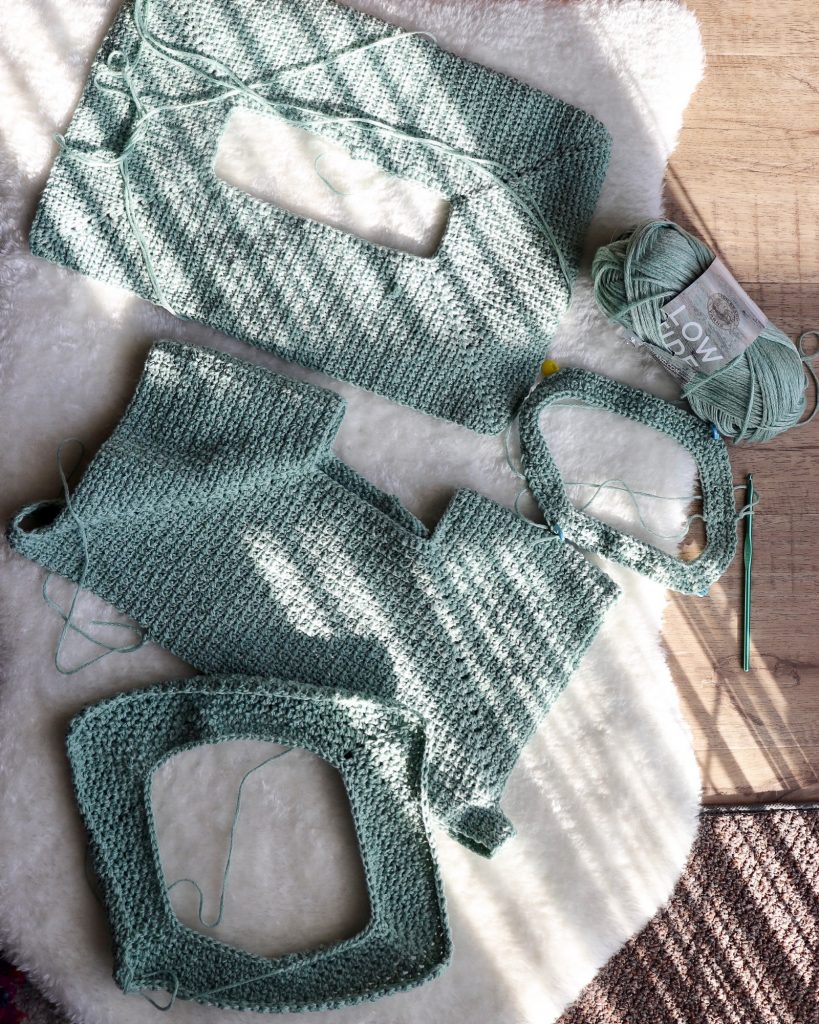
If you’re not a designer, you might not be aware that creating a sweater design can take serious TIME. I know that the behind-the-scenes stuff can be really interesting to see – so here’s a photo of my design madness!
Construction
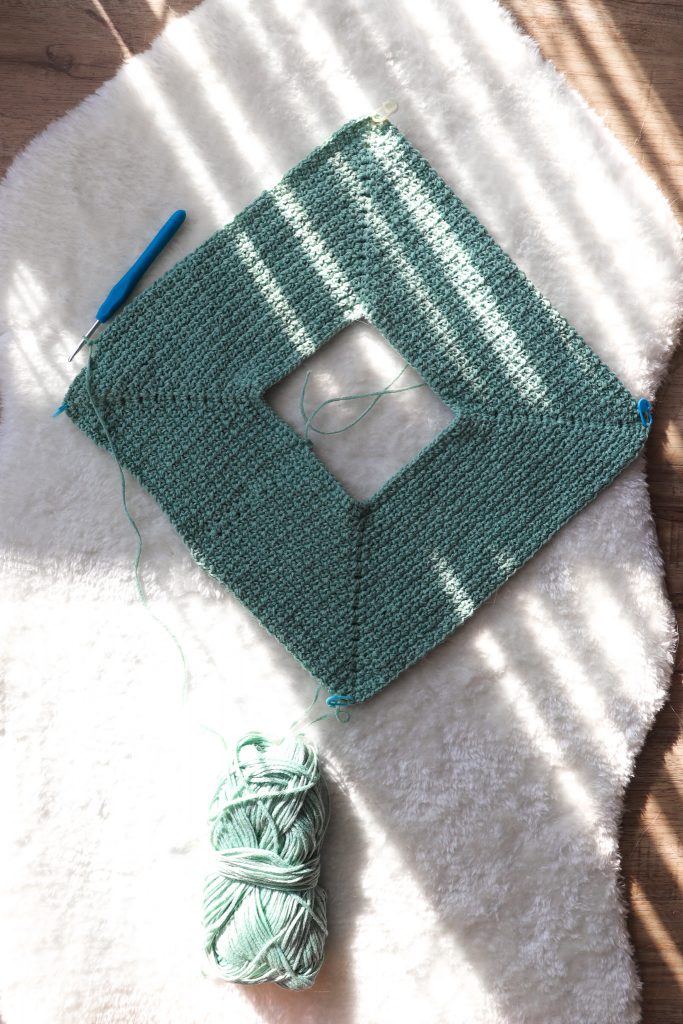
This sweater begins with a foundation chain, then the yoke increases are worked. After the yoke is complete, there is a joining round to separate the sleeves and body. The body is worked next, then the sleeves are worked last. There are some helpful photos included in the pattern to help you work the more intermediate parts, such as the joining round and the underarms of the sleeves. Since it is a top-down sweater, one of the benefits to this is that you can try it on as you go, and work additional or fewer rounds in the body as well as the sleeves to customize it to your own body measurements.
This sweater is worked in back-and-forth rows to create this stitch pattern. Don’t forget to turn your work after completing each round! If you forget to turn your work, you will be essentially worked in a spiral, and it will not work. Crocheting in a spiral actually slants your stitches, so your raglan increases won’t be straight, they will be curved – all curving in the same direction. I made this silly mistake while I was making this sample and had to rip out everything back to the initial foundation row. You will be left with a sweater that doesn’t fit properly – so don’t forget to turn your work! 🙂


Sizing
As always, this is a size-inclusive pattern. The Seaglass Sweater is written for sizes: XS (S, M L, XL) (2X, 3X, 4X, 5X) to fit a 28″ bust up to a 62″ bust. Size inclusivity is important to me – you can read more about that here.
Yarn
Low Tide is a new yarn from Lion Brand, and I have to say it’s definitely got a unique texture! It’s unlike any yarn I’ve used before. The texture of the yarn itself sort of resembles that of a shoe lace to me.. but more fashionable! It was not what I was expecting at all – It’s durable, yet feels nice on the skin. I think this would be a great yarn to use for a beach cover up, a wrap, or some sort of summery shawl.
Yardage: 5 (5, 6, 7, 7) (8, 9, 11, 12) skeins of Low Tide for sizes XS (S, M, L, XL) (2X, 3X, 4X, 5X)
or 1250 (1400, 1600, 1850, 2050) (2320, 2670, 3100, 3400) yds of similar category 4, medium weight yarn that matches gauge
Yarn substitutions: If you plan on using another yarn, I recommend using a light worsted or DK weight yarn to best mimic Low Tide. Although this is an acrylic and polyester fiber, in my opinion it feels similar to a cotton or a linen to the touch. I would recommend using a cotton/breathable yarn if substituting.
Tip: If you are planning on using this yarn for your sweater, you may want to join Lion Brand’s email list so you can be the first to know about sales! I know.. it can be a little pricey to ship to Canada, especially when you account for the exchange rate. LB often has 40% off sales, so keep your eyes peeled! Otherwise, you can shop the yarn + kit now.
You can find the pattern in these places:
On my website here.
On Ravelry here.
On Etsy here.
On Lion Brand here as a crochet kit.
(Use the code “PATTERN10” for 10% off all patterns)
To save big on all future pattern releases, make sure to sign up below for exclusive subscriber discounts!
I can’t wait to see your WIPs! Make sure to tag me @knitsnknotswpg and use the pattern hashtag #SeaglassSweater so that everyone can see your projects!
Happy crocheting,
xx
Janine
