Curve Appeal Throw – Crochet Pattern with Intarsia Squares for MCM-Inspired Throw [w/ YouTube Tutorial]
Hi friends!
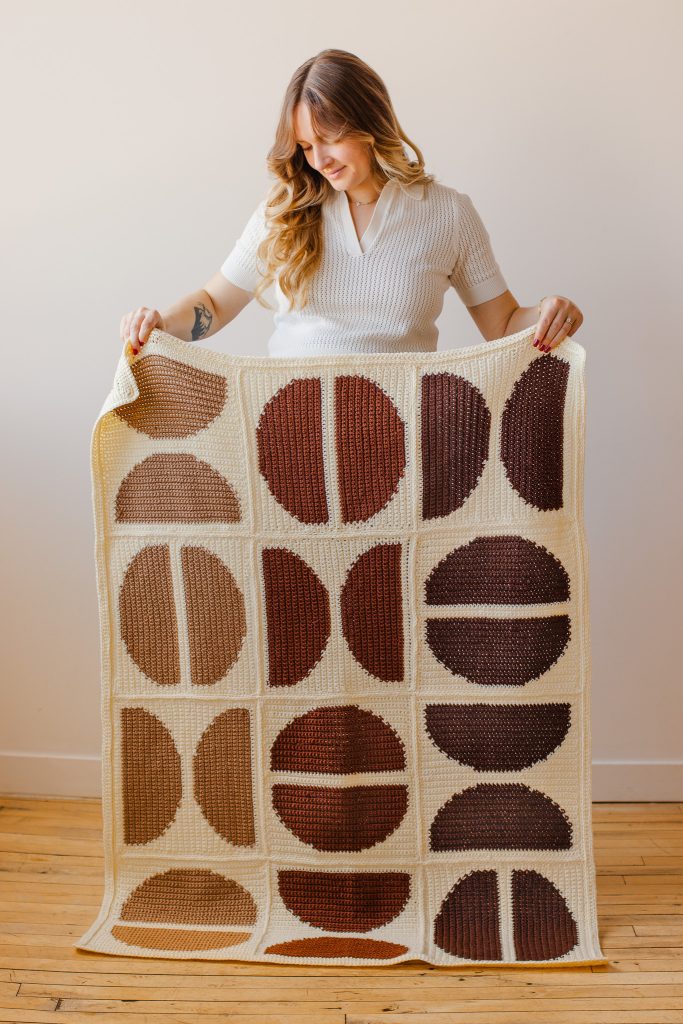
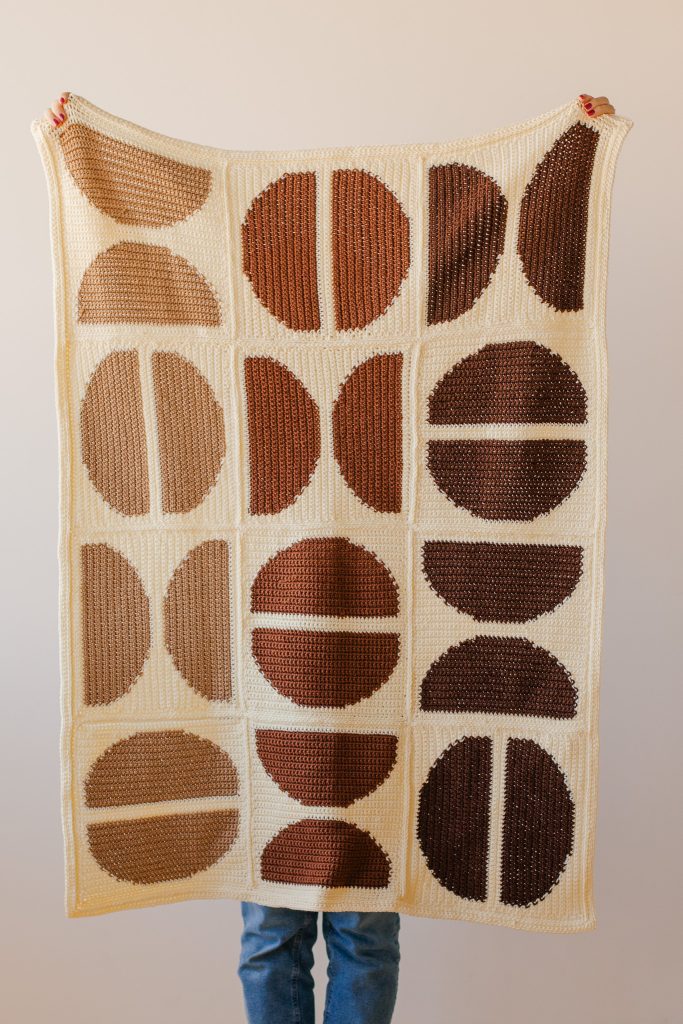
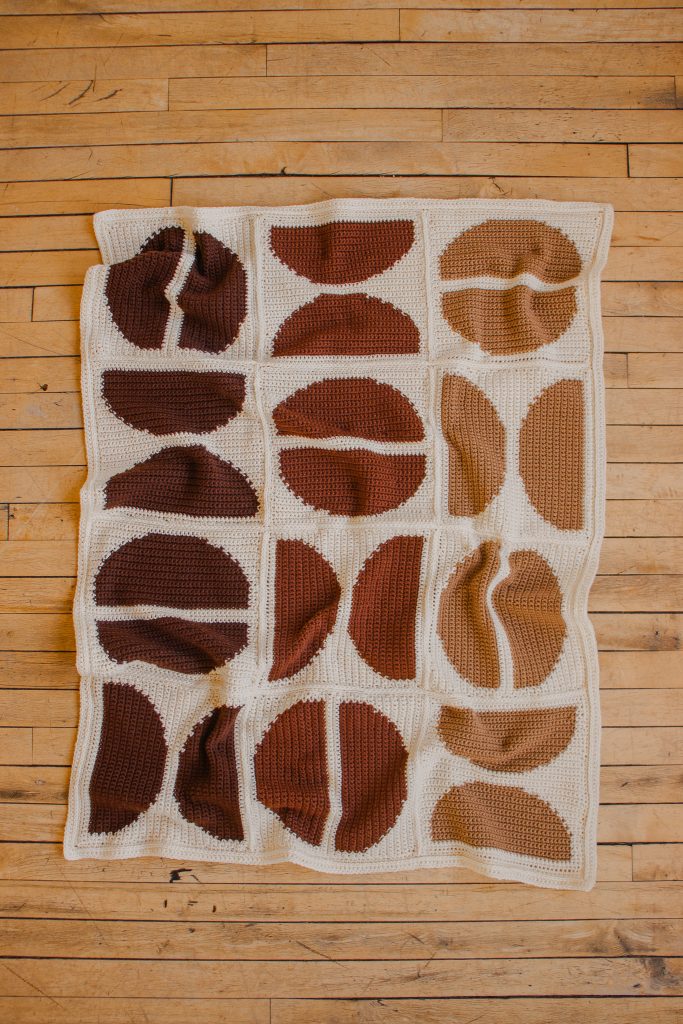
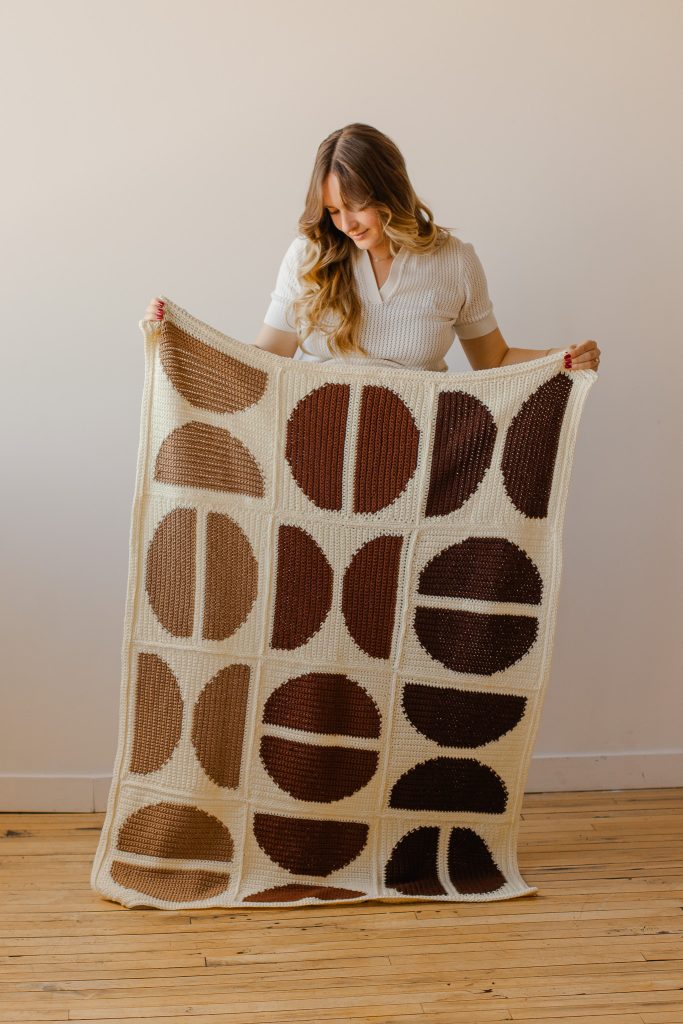
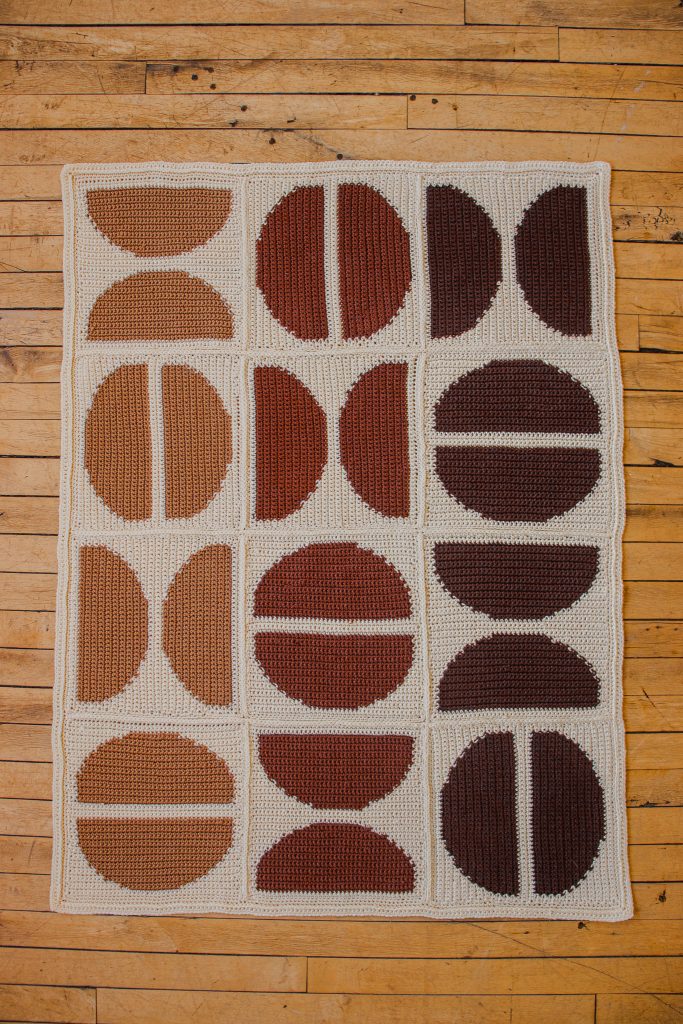
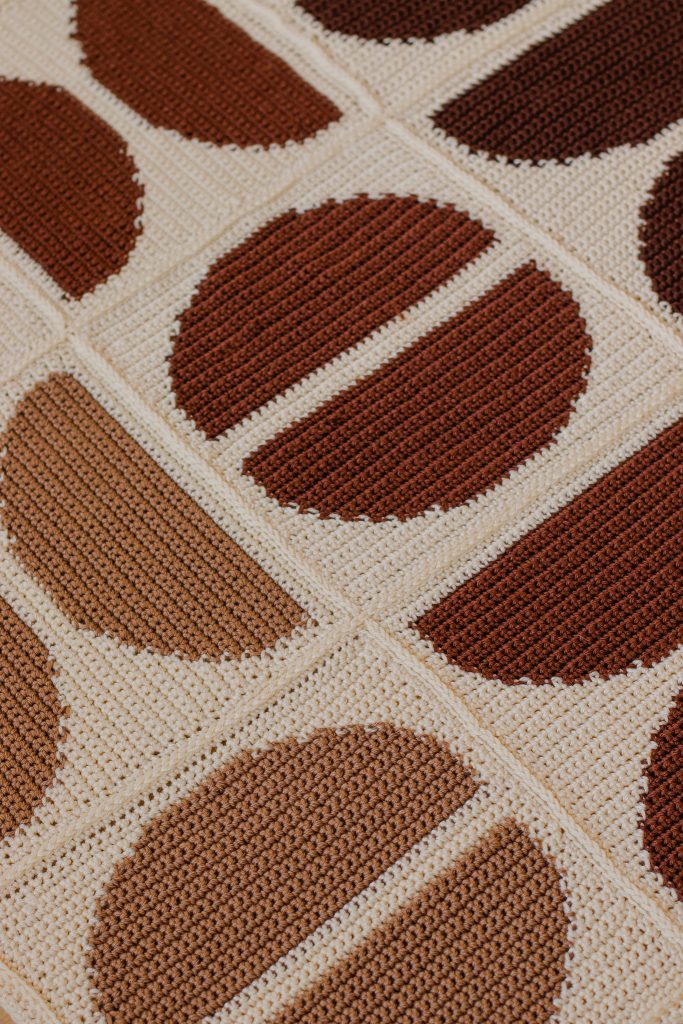
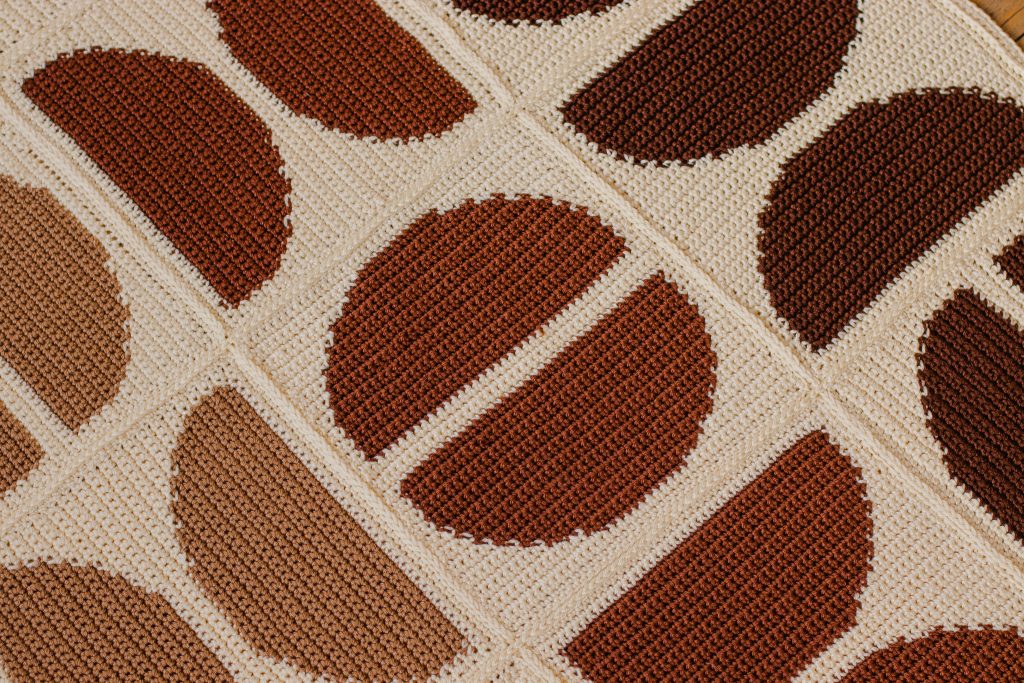
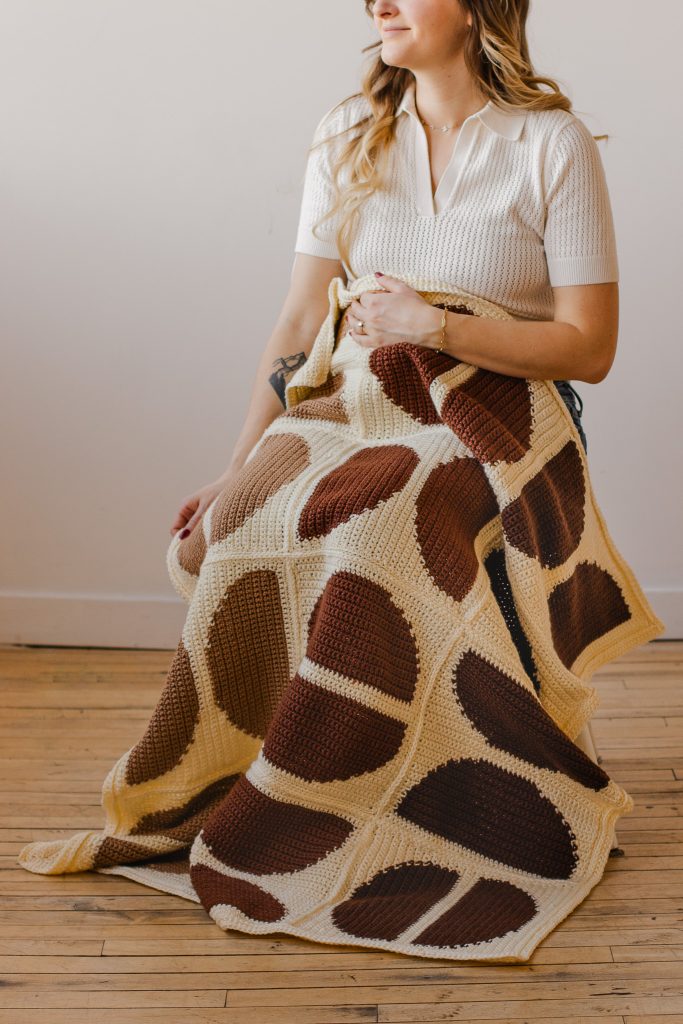
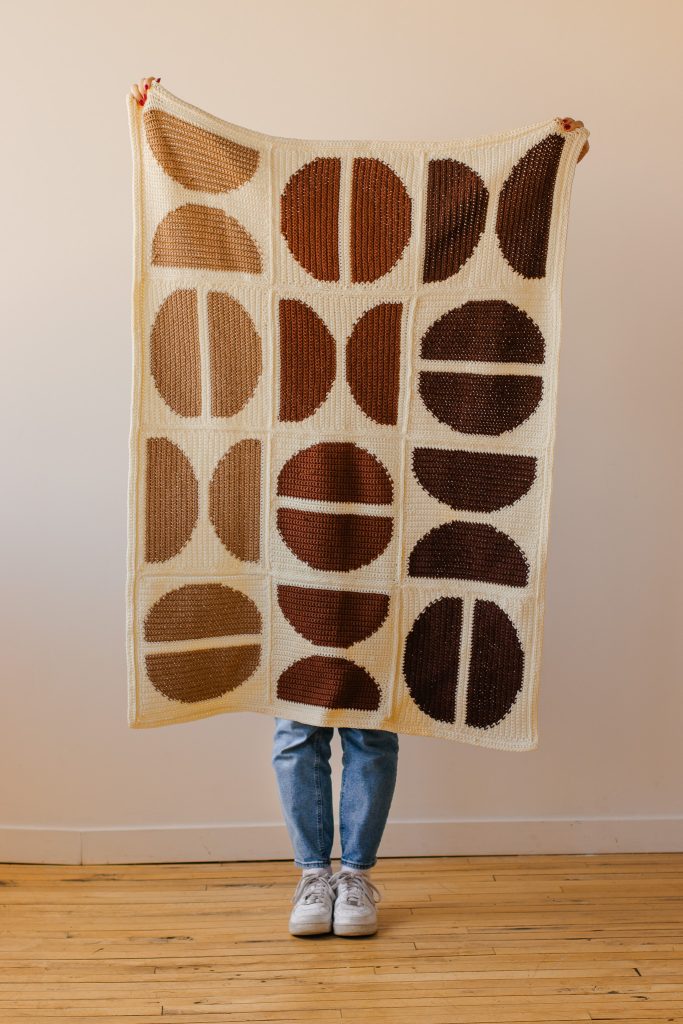
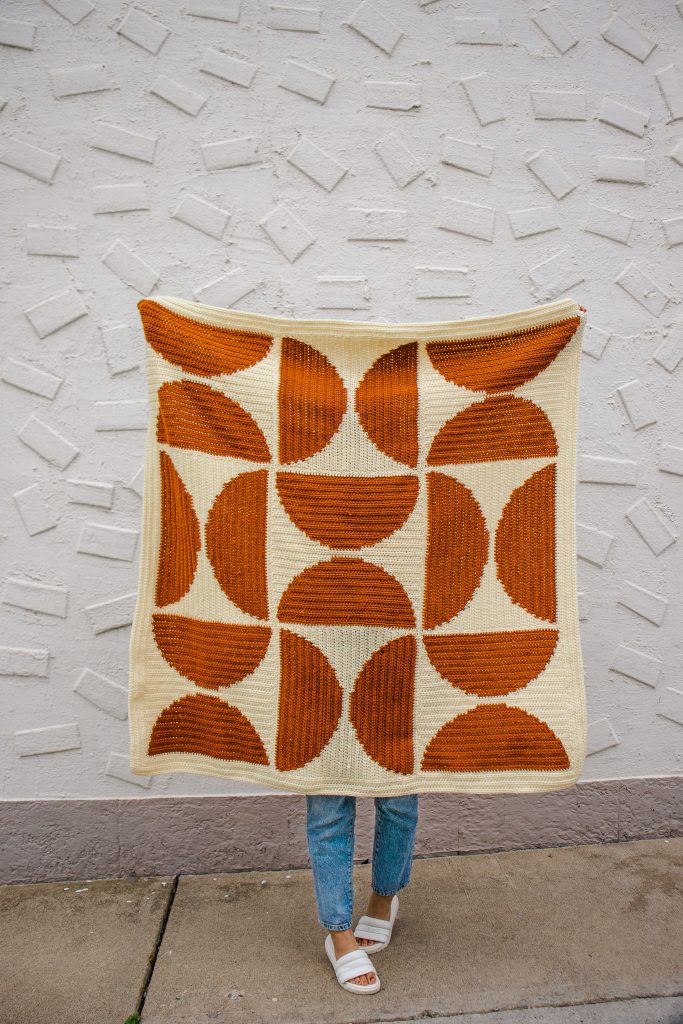
This post includes everything you need to know about my new Curve Appeal Throw, a blanket comprised of 12 intarsia squares, inspired by mid-century modern art. This is a sister pattern to the MCM Throw!
Get the Lion Brand Crochet Kit here (in your desired colourway)!
Before we begin, here are some quick links for you:
- Find the PDF version on Ravelry, Etsy, and my website.
- Add your finished project to Ravelry here!
- Shop the recommended yarn, Lion Brand Basic Stitch, here!
- Shop the full Lion Brand crochet kit here (comes with all yarn required in your chosen colourway + a FREE copy of the PDF pattern)!
- For any questions about this pattern, please email knitsnknotswpg@gmail.com and I’ll get back to you asap!
Shop my first book – Modern Crochet Sweaters: 20 Chic Designs for Everyday Wear – here!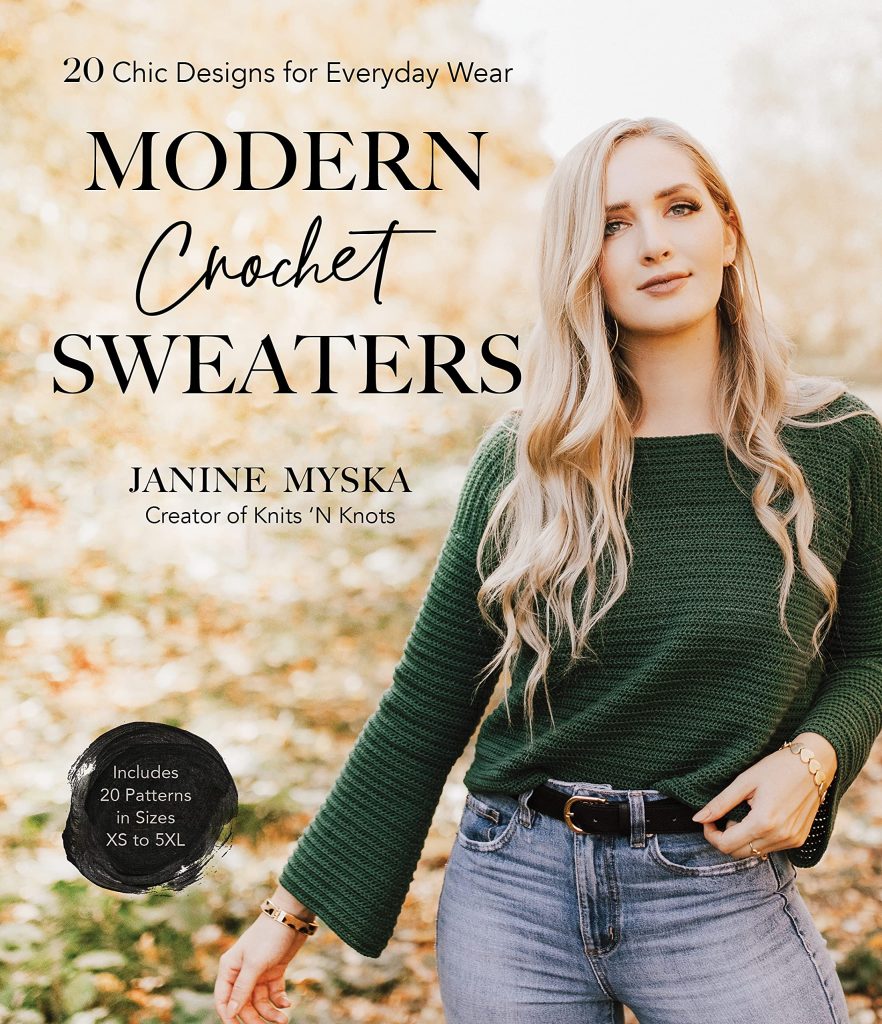
Pre-order my new book – Summer Crochet: 19 Delicate Designs with Simple Lace and Timeless Silhouettes – here!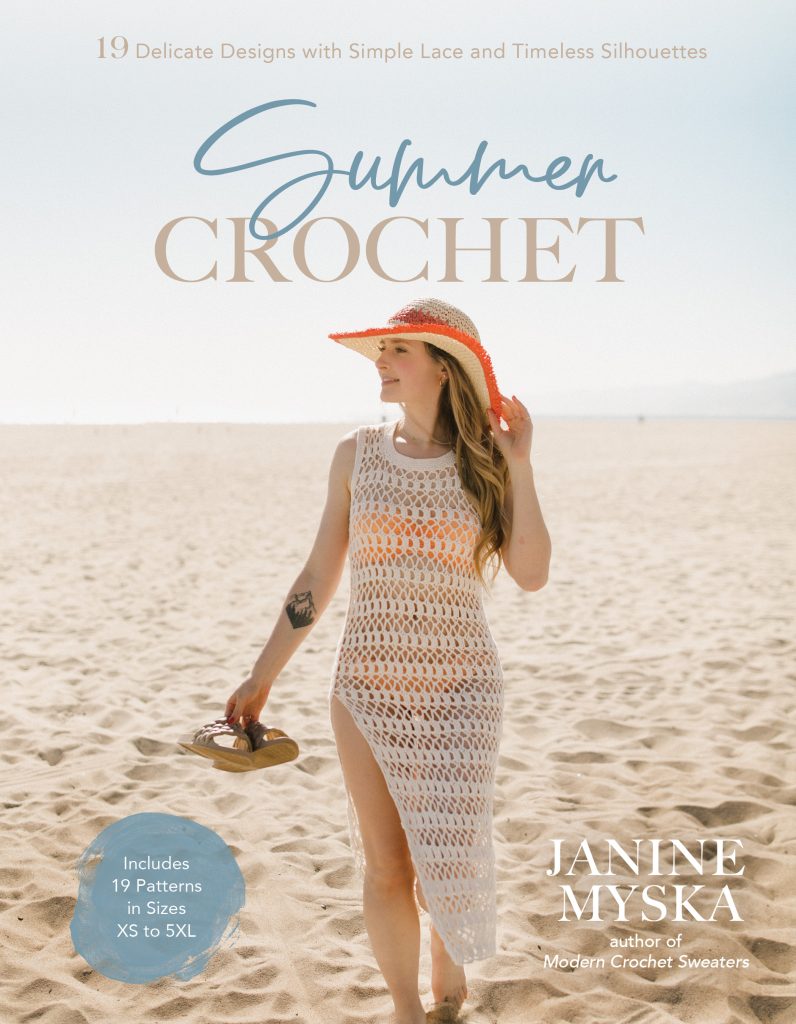
If you want to be notified of all new pattern releases (and get exclusive discounts on all new paid patterns), sign up below!
This post contains affiliate links. This means, should you make a purchase, I will receive a small portion of the sale at no extra cost to you. All opinions are my own. View my Privacy + Disclosures Policy here.
About
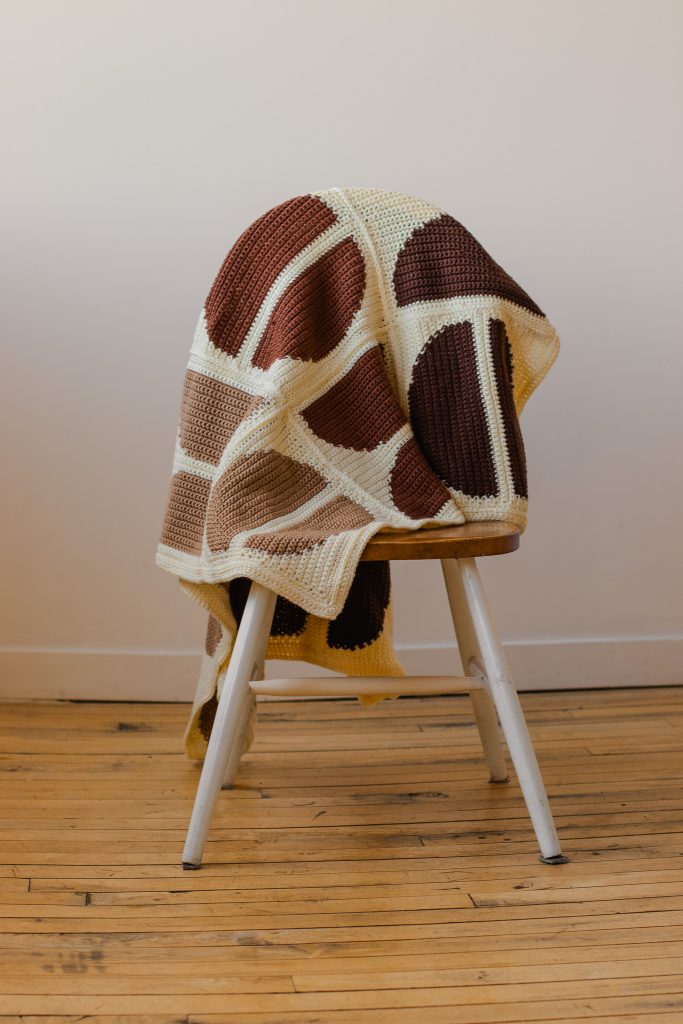
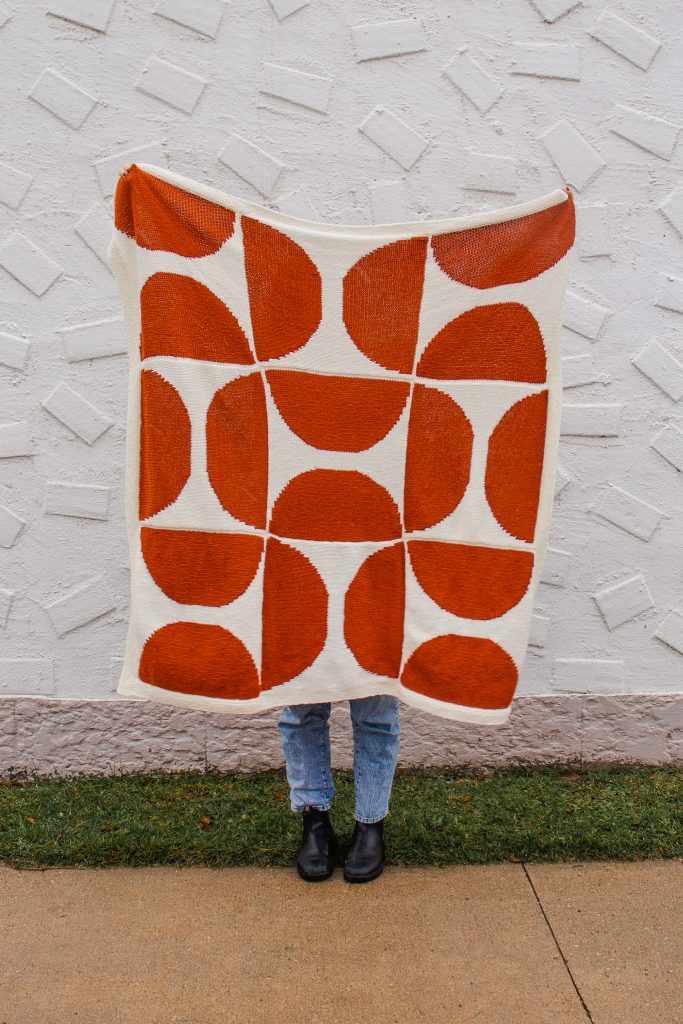
Featuring a bold semi-circle design inspired by mid-century art, the Curve Appeal Throw will make a statement in any living room. Crocheted in 12 simple squares using crochet intarsia colorwork (beginner-friendly video tutorial included), you’ll have this pattern memorized in no time. This is a sister pattern to the MCM Throw – another blanket in a similar style using a different stitch, different yarn, different gauge, and a different method of joining your squares.
Supplementary Video Tutorial
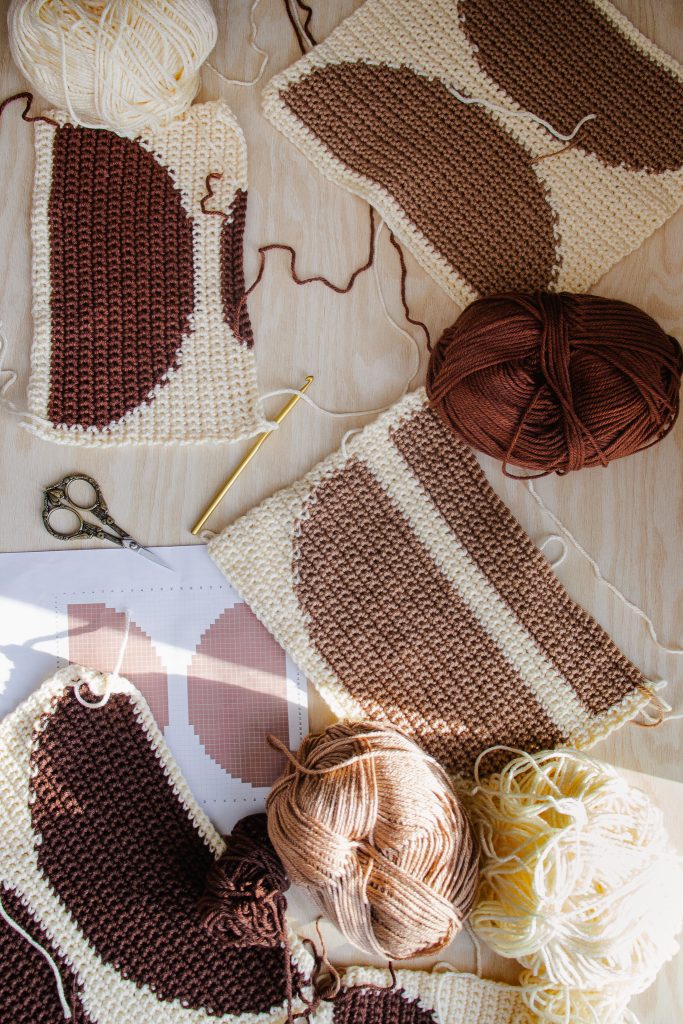
The following tutorial walks you through the steps needed to crochet each intarsia square! If you’re new to intarsia, you’ll find this video super helpful. Please reference this video if you have any questions as you work through your pattern!
Materials
Yarn: Worsted—Lion Brand Basic Stitch Anti Pilling Yarn in 4 colorways: “Ecru” (MC), “Cocoa” (CC-A), “Truffle” (CC-B), and “Hazelnut” (CC-C)
- 100% Acrylic
- 185 yds (170 m) per 3.5 oz (100 g) skein
- Find this yarn on lionbrand.com or visit yarnsub.com to find comparable substitutes available in your region.
- Purchase the full Lion Brand Crochet Kit here
Yardage:
- 7 skeins or 1100 yds (1006 m) of MC
- 2 skeins or 350 yds (320 m) of CC-A
- 2 skeins or 350 yds (320 m) of CC-B
- 2 skeins or 350 yds (320 m) of CC-C
Yarn Substitution: Substitute Lion Brand Basic Stitch Anti Pilling Yarn with any similar worsted weight (category #4) yarn that matches gauge. Be mindful of the fiber content you choose as you will likely want to be able to throw your blanket in the washing machine!
Hook: Size U.S. H/8 (5 mm) or size needed to obtain gauge
Notions: Tapestry needle, scissors, several locking stitch markers to help with joining your squares together
Gauge
4 x 4” (10 x 10 cm) = approximately 14 sc and 16 rows, blocked.
Finished Measurements
Finished blanket measures approximately 38” (97 cm) in width and 50” (127 cm) in length, blocked.
Each square measures approximately 12” (30 cm) square, blocked.
Terms + Abbreviations Used
Written in U.S. Crochet Terms
- CC: contrasting color (used for the semi-circles)
- ch: chain
- ch-sp: chain space
- hdc: half double crochet
- MC: main color (shown in Ecru)
- PM: place marker
- rep: repeat
- rnd(s): round(s)
- RS: right side
- sc: single crochet
- sl st: slip stitch
- st(s): stitch(es)
- WS: wrong side
- yoslst: yarn over slip stitch—yarn over, insert hook into designated st, yarn over, draw loop through stitch and immediately through both loops on hook.
Pattern Notes
Skill Level: Intermediate
Right Side/Wrong Side: There is no right sided or wrong side to your fabric until the joining of your squares. The border worked around each of your squares will be considered the “right side”. Although the “wrong side” of your blanket is still attractive enough to be displayed as the “right side,” if preferred!
Turning Chain: The turning chain does not count as a stitch.
Construction: This blanket is worked in 12 squares which are joined together with your crochet hook using a flat slip stitch seam. A border is worked last to complete the blanket.
Color Charts: There are two different squares for this blanket and two different color charts (Charts A and B, found on pages 7 and 8). The semi-circle shape used throughout this blanket is the same shape in both charts. The difference between the two charts is the orientation of each semi-circle.
Changing Colors: When changing colors, work up to and including the last stitch in the old color, but do not work the final yarn-over to close the stitch. Work this yarn-over with the new color. Then drop the old color to the back of the work and continue crocheting with the new color.
Intarsia Colorwork: This blanket is worked using the colorwork technique called intarsia.
Supplementary Video Tutorial: Please watch the supplementary video tutorial on my YouTube channel to see how each square is worked! If you are new to crochet intarsia, you will find it very helpful.
Border Around Each Square
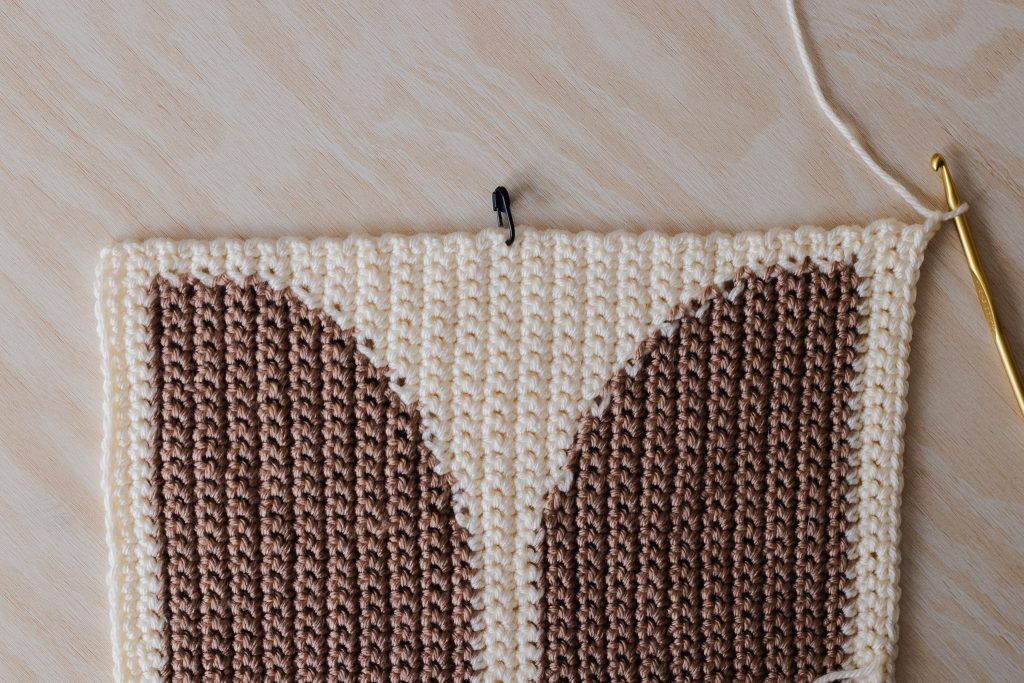
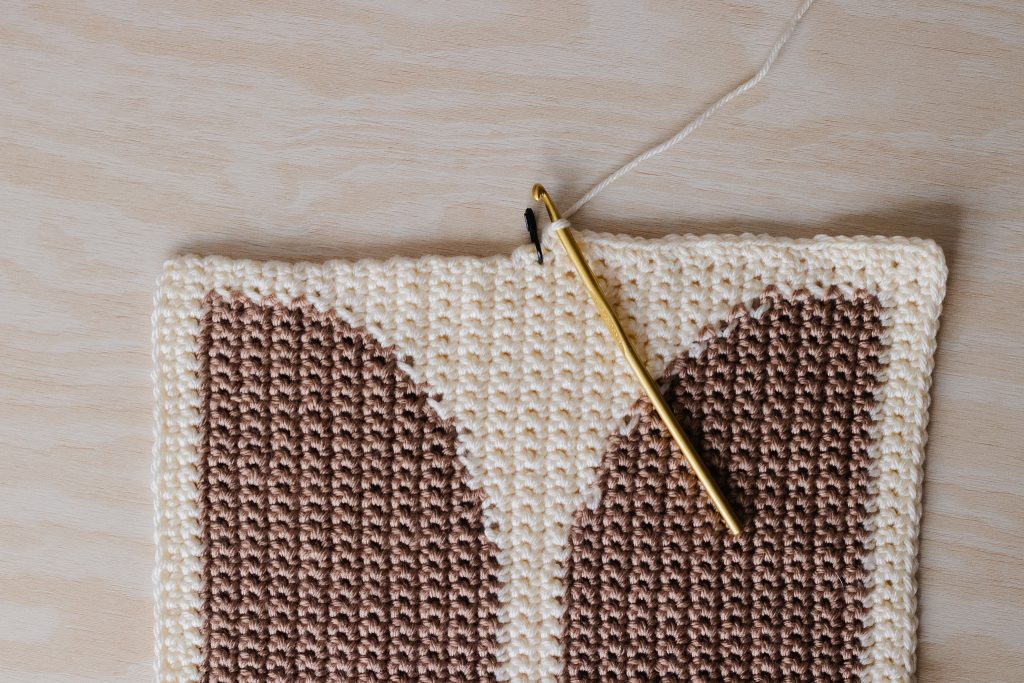
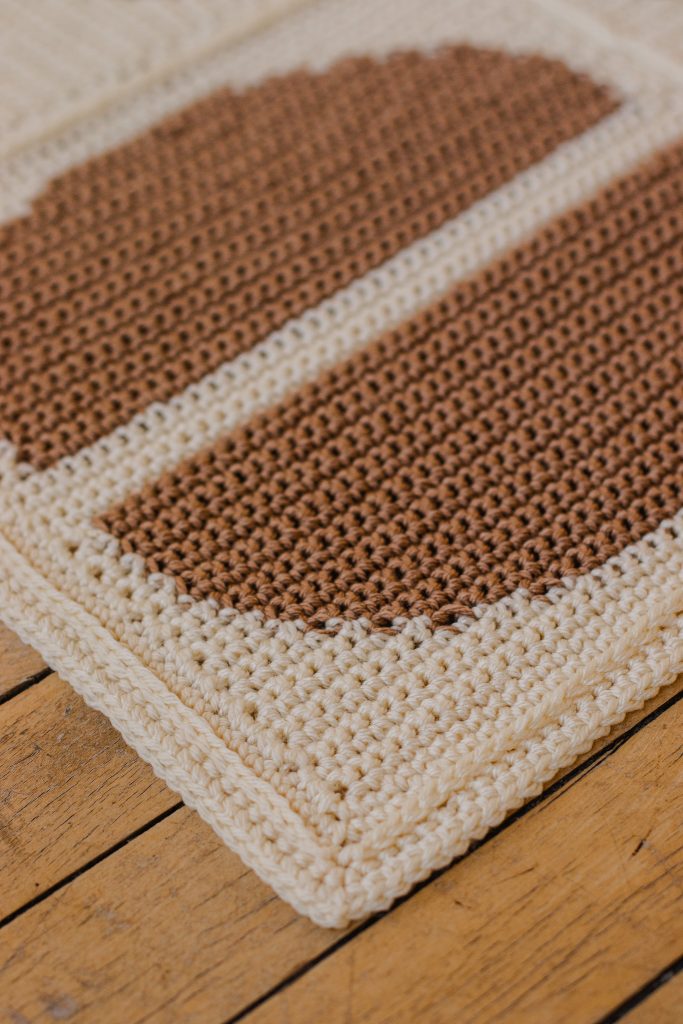
The border of each square is worked by crocheting a specified number of single crochets around the perimeter of your square. On the top and bottom edges, it’s easy, because there are already that same number of existing stitches into which you can crochet. On the sides, though, you are working into raw edges of the rows. There are also a different amount of rows than the number of stitches you will need to work. In this case, what you will do is place a stitch marker into the center of the row, as shown below, and work half the total amount within each section. This marker helps to evenly space your stitches so that your total stitches are evenly distributed throughout this edge!
Joining Your Squares Together
Your squares will be joined using your crochet hook and a series of sl sts to create a Flat Slip Stitch Join.
You will work a total of five seams: two long seams that run the length of your blanket (vertically), and three seams that will run widthwise (horizontally).
Please watch this thorough video tutorial to join your squares!
Final Blanket Border
There is one final border worked around the perimeter of your blanket once your squares are joined together. This border texture mimics the ridge seen in the flat slip stitch seam!
#CurveAppealThrow
Thanks so much for reading!
Shop the full Curve Appeal Throw crochet kit here (comes with all yarn required in your chosen colorways + FREE copy of the PDF pattern)!
Find the pattern PDF in these places:
On Ravelry
On Etsy
On My website
For free in the Curve Appeal Throw crochet kit here!
If you like this pattern, you might also like the MCM Throw (Crochet) and MCM Throw (knit)!
Happy making!
x
Janine
You can find my full print book, Modern Crochet Sweaters: 20 Chic Designs For Everyday Wear on the shelves of all major retailers or see purchasing options here!
For exclusive discounts on all new patterns, join the Knits ‘N Knots newsletter list here!
