
Hi everyone!
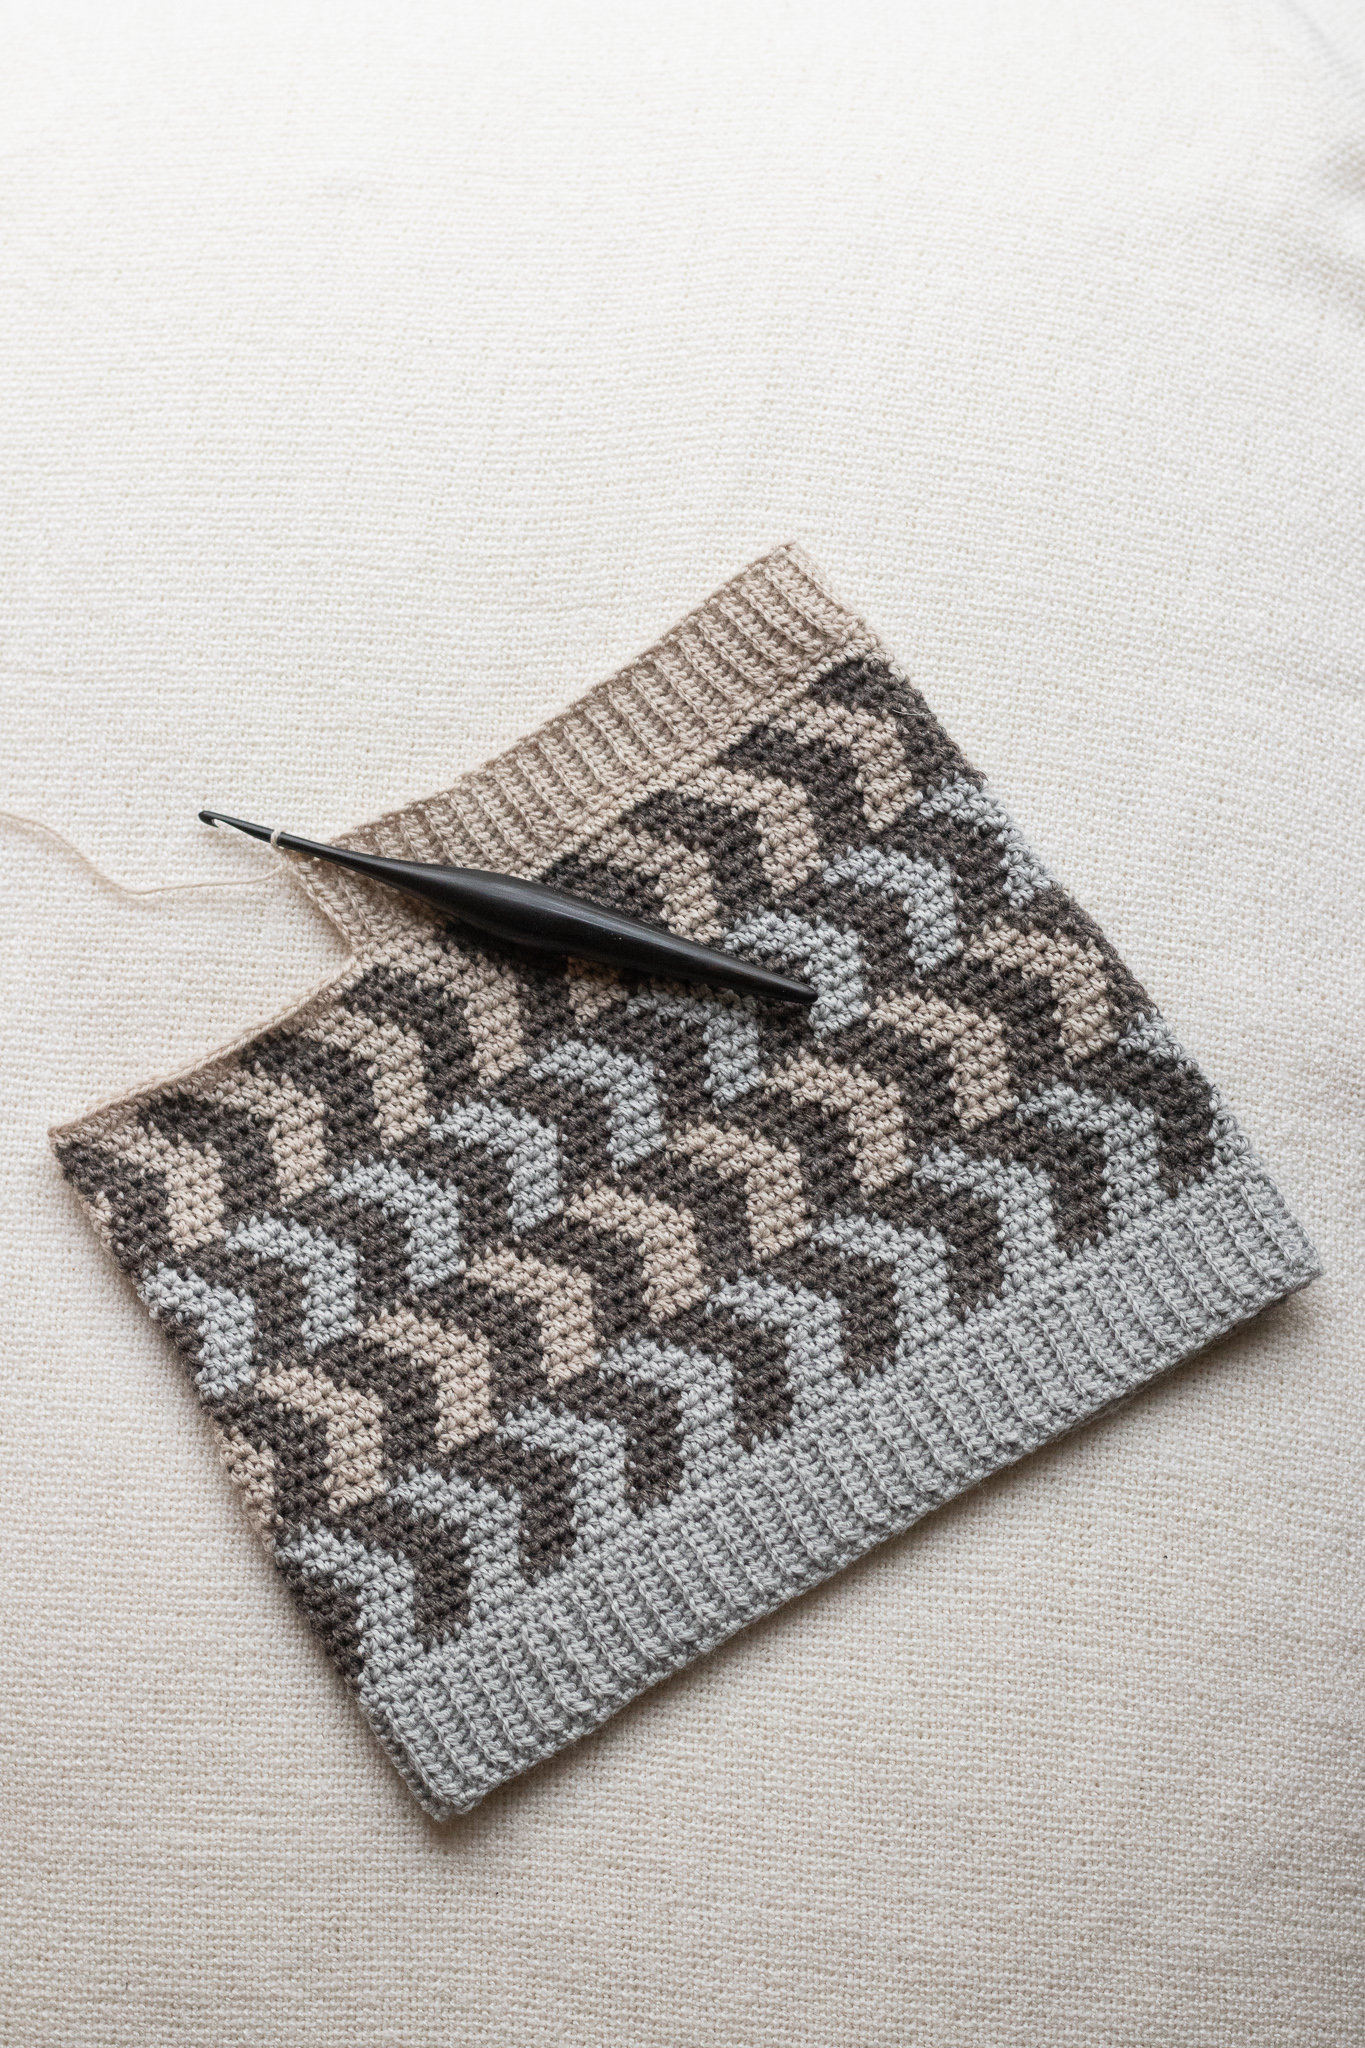
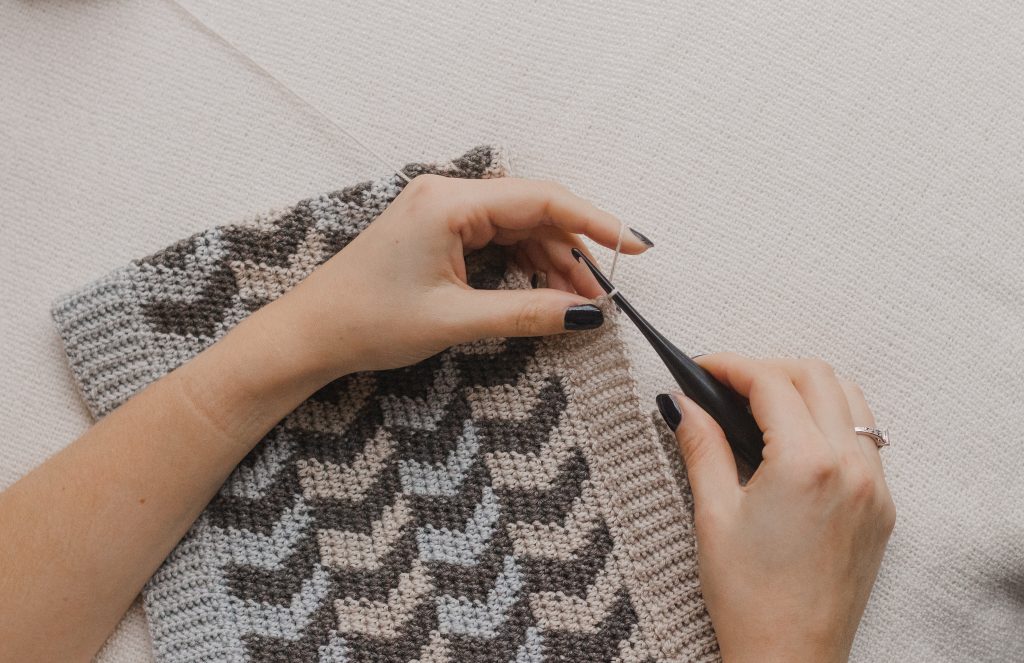
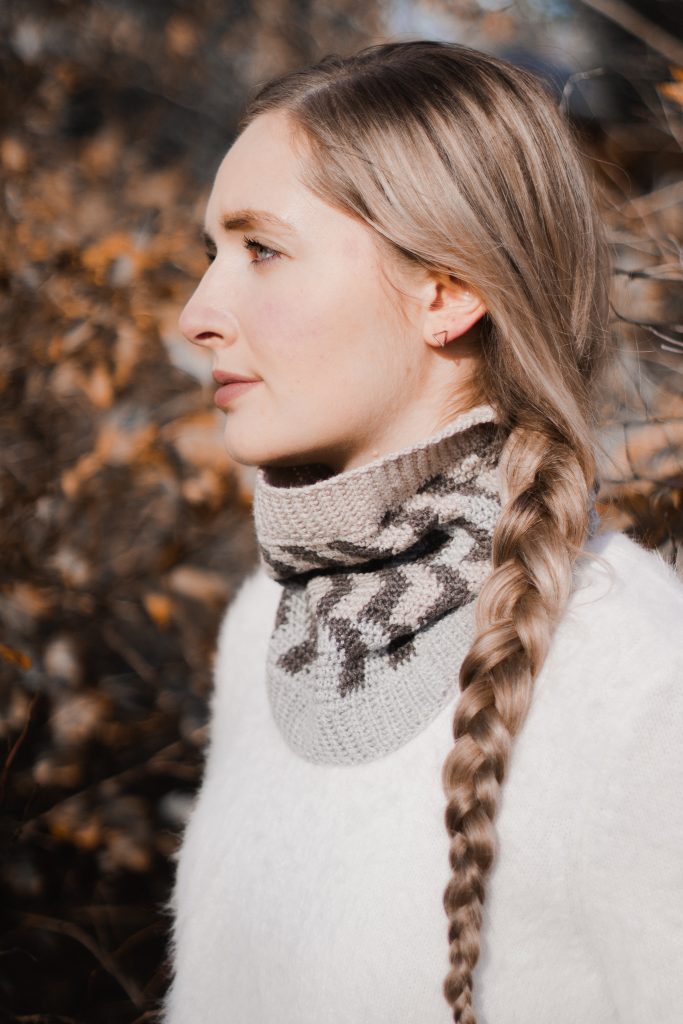
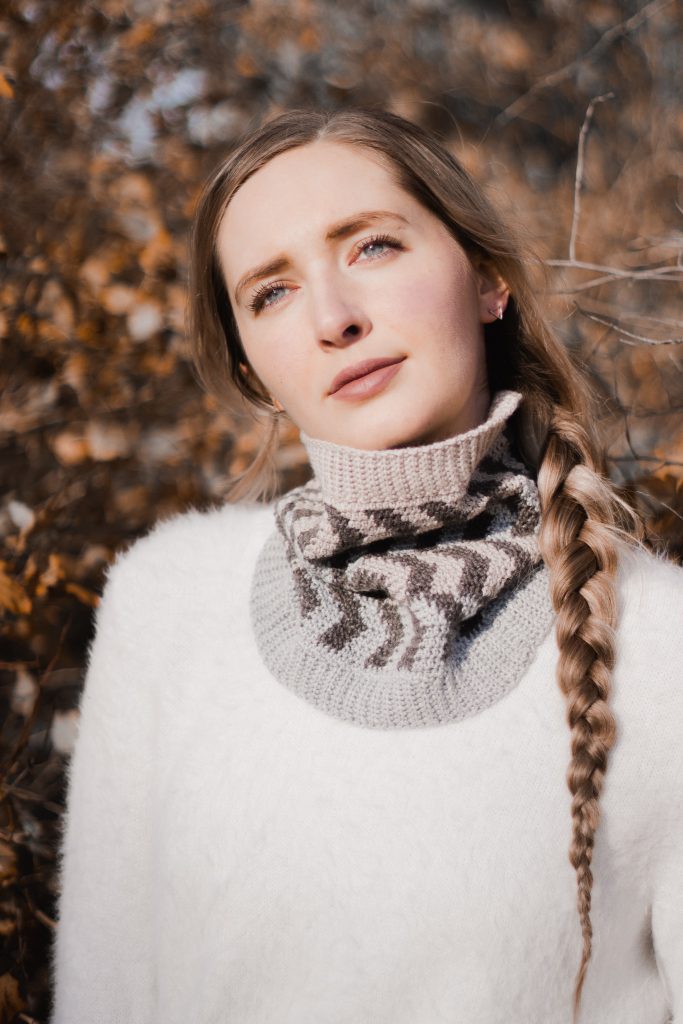
Today I’m sharing a brand new crochet pattern called the Cornerstone Cowl. This tapestry crochet design uses the half double crochet stitch throughout, and uses 3 different colors of fingering weight yarn to create this chevron pattern!
Before we begin, here are some quick links for you:
- The PDF version is available on Ravelry here, on my website here, and on Etsy here!
- Use code PATTERN10 for 10% off!
- Use the pattern hashtag #CornerstoneCowl on Instagram to show off your makes!
- Shop WeCrochet Stroll and WeCrochet Twill
- Make sure to scroll down for other great yarn alternatives!
- Shop my WeCrochet exclusive summer pattern bundle here (5 patterns for $9.99)
- For any questions about this pattern, please email knitsnknotswpg@gmail.com and I’ll get back to you asap!
Preorder my book – Modern Crochet Sweaters: 20 Chic Designs for Everyday Wear – here!
If you want to be notified of all new pattern releases (and get exclusive discounts on all new paid patterns), sign up below!
This post contains affiliate links. This means, should you make a purchase, I will receive a small portion of the sale at no extra cost to you. All opinions are my own. View my Privacy + Disclosures Policy here. This post is sponsored by We Crochet.
About
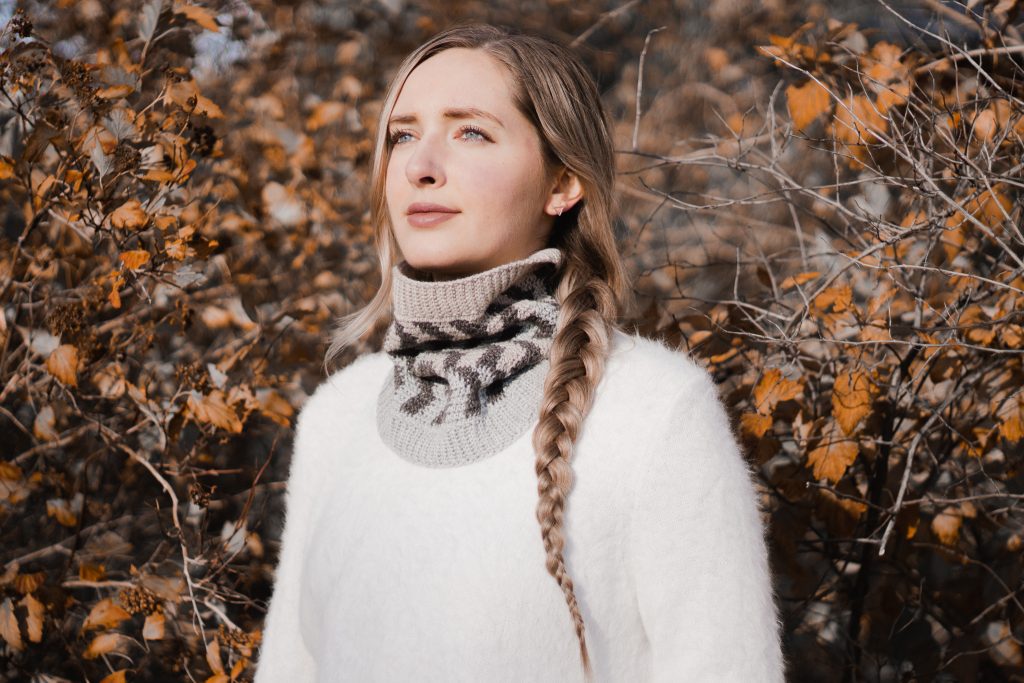
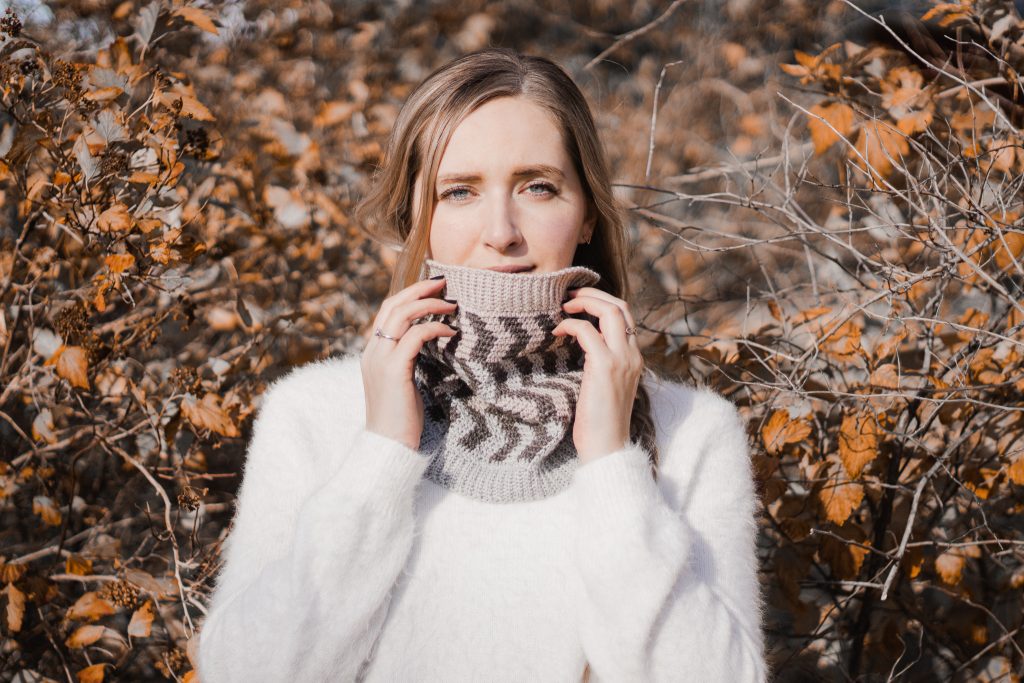
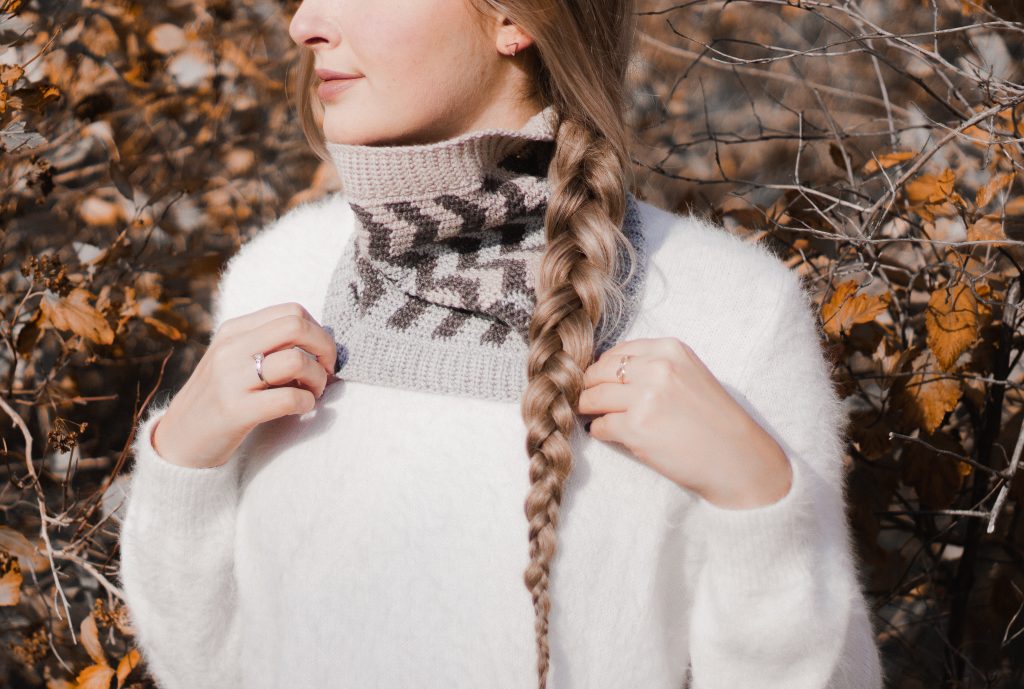
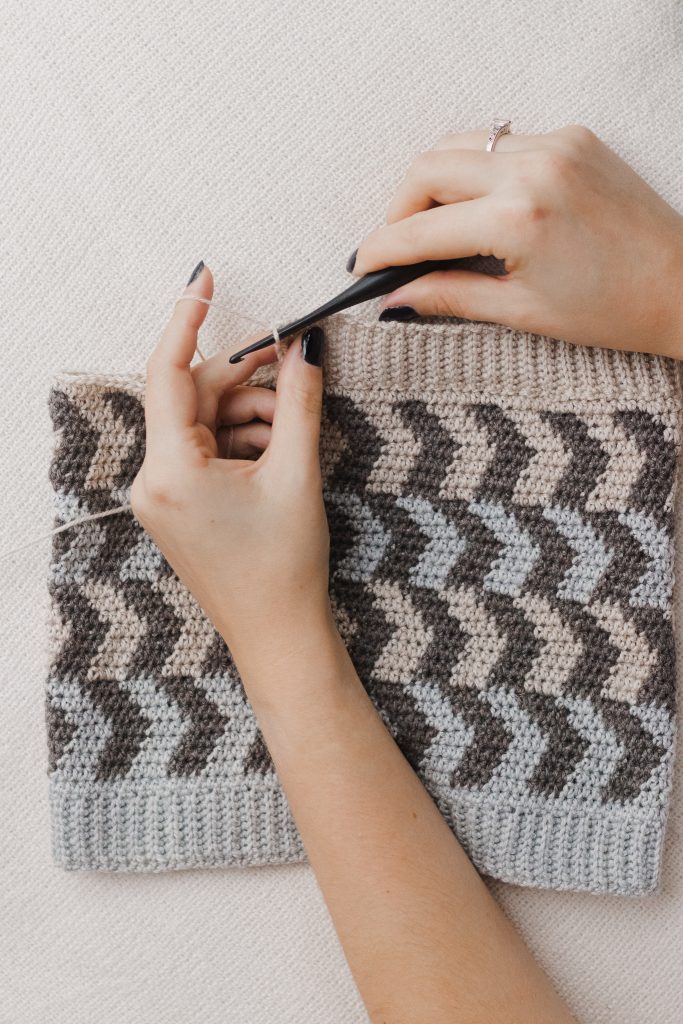
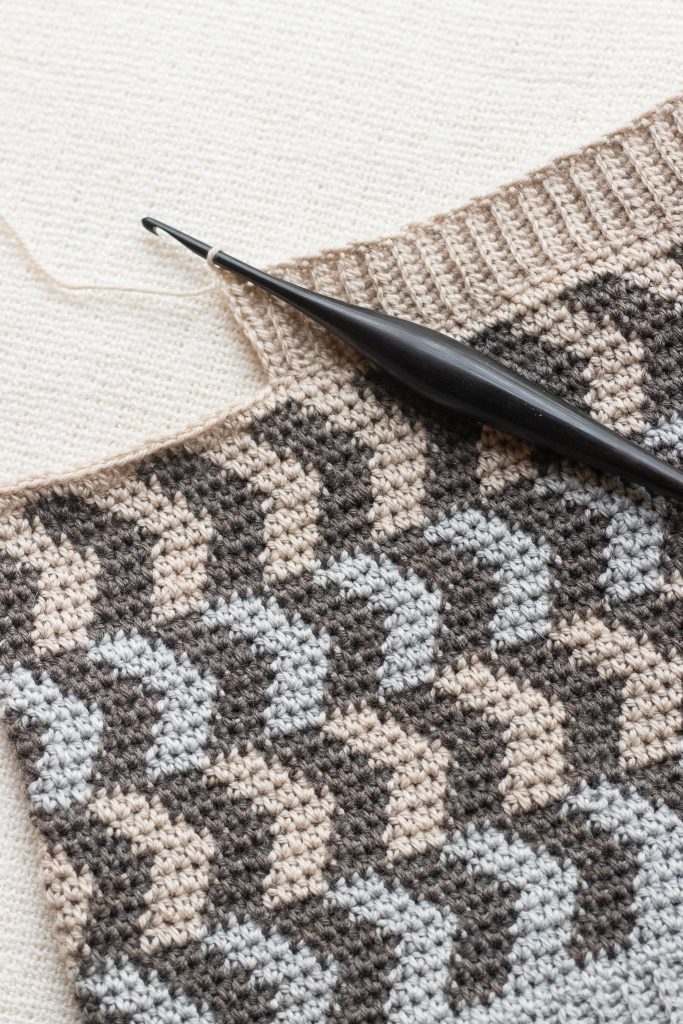
Try your hand at tapestry crochet with this hypnotic chevron pattern, worked entirely in half double crochet stitches with a knit-like ribbing to cap off the colorwork body. Customize your own Cornerstone Cowl by using a solid-colored background for a 2-tone cowl or use as many colors as you’d like for each section. The nature of crocheting seamlessly in the round creates 2 different textures on the front and back; adding to its versatility, making this cowl completely reversible.
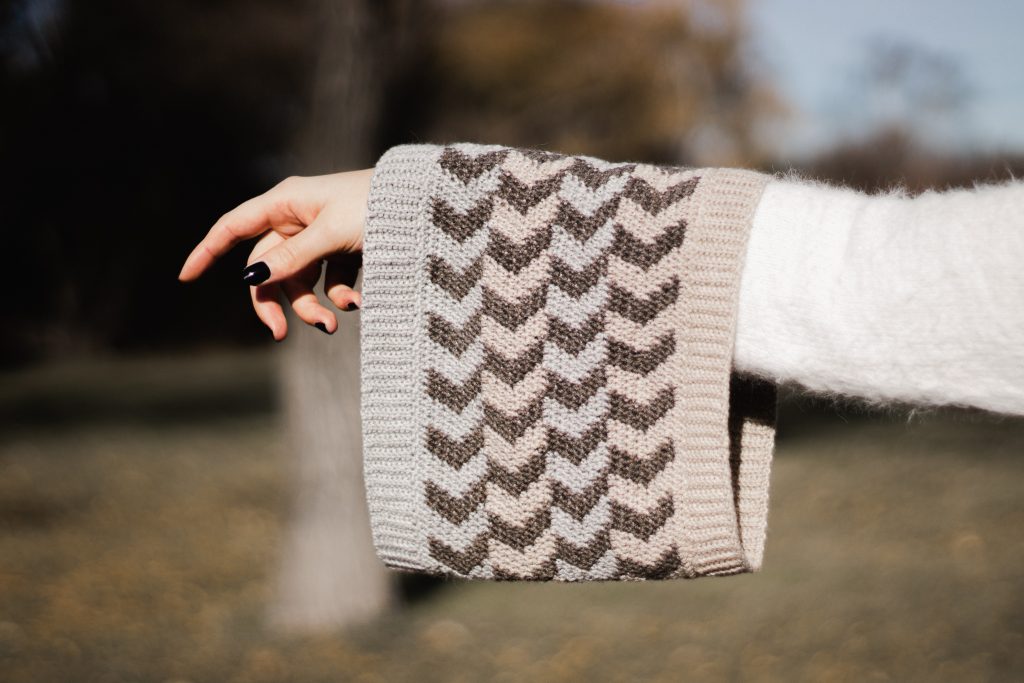
New to multi-colored crochet? No problem – this simple cowl pattern is a great project to ease you into crochet colorwork, using no more than 2 colors at a time and changing colors every 4 stitches. Easy to memorize with plenty of mindless repeats involved, this design is perfect for distracted crocheting. This unique chevron cowl resembles an optical illusion by alternating one of the colors after each chevron section. Grab 3 colors of any fingering weight yarn and let’s get making!
Materials
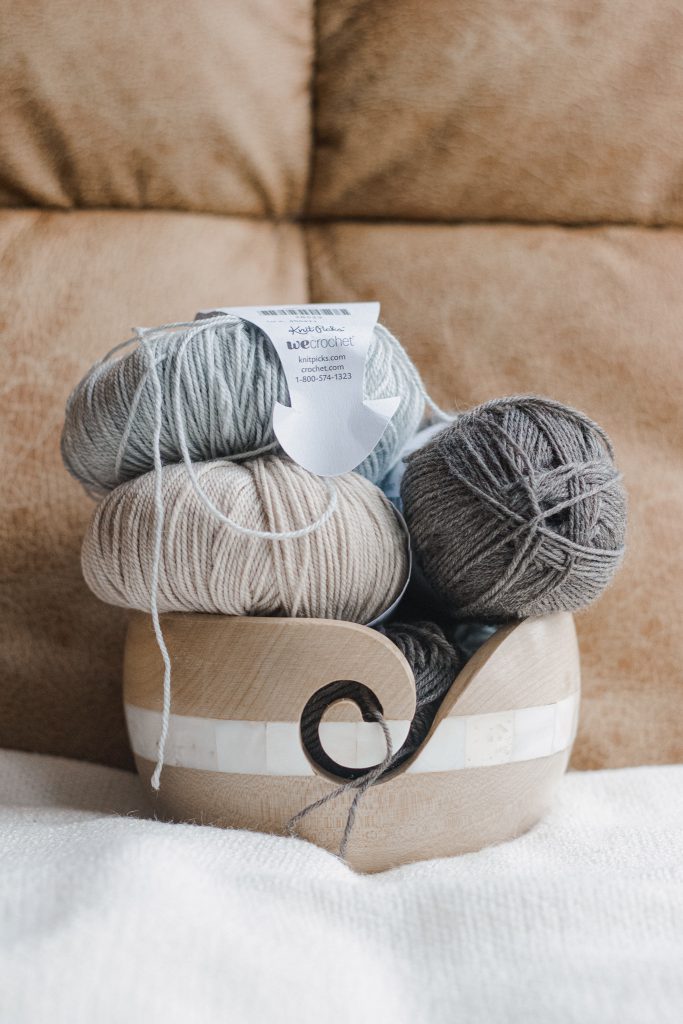
Yarn: Fingering weight yarn in 3 shades
- Color A (grey): WeCrochet Twill Fingering in Sea Salt Heather– 1 skein or 125 yds (115 m)
- Color B (brown): WeCrochet Stroll in Jack Rabbit Heather – 1 skein or 90 yds (83 m)
- Color C (beige): WeCrochet Twill Fingering in Horchata Heather – 1 skein or 125 yds (115 m)
Fiber Content of Stroll & Twill
- 100% Fine Superwash Merino Wool
- 183 yds (167 m) per 1.7-oz (50-g) skein
- Find these yarns on crochet.com
Hook: Size U.S. E/4 (3.5 mm) or size needed to obtain gauge
Notions: Tapestry needle, 1 locking stitch marker to mark the beginning of round (BOR)
Other Yarn Subs
WeCrochet has a lot of lovely fingering weight yarns that would work wonderfully in this pattern. Feel free to use the suggested Stroll and Twill for a really beautiful cowl, or, since this pattern uses such a small amount of yarn per colour, you could use this as an opportunity to try something new!
Stroll has a few other lines to check out:
- 65% Fine Superwash Merino Wool, 25% Nylon, 10% Donegal Tweed – $6.99/50g skein
- This is a tweed version of the yarn used in my sample!
- 75% Fine Superwash Merino Wool, 25% Nylon – $13.99/100g hank
- This is a tonal version of the yarn used in my sample!
- 75% Fine Superwash Merino Wool, 25% Nylon – $13.99/100g hank
- This is a vibrant, variegated yarn line!
Some other fun fingering weight yarns to check out:
- 75% Superwash Merino Wool, 25% Nylon – $15.99/100g hank
- This yarn line has some vibrant variegation!
Hawthorne Speckle Hand Painted
- 80% Fine Superwash Highland Wool, 20% Polyamide – $13.99/100g hank
- This yarn line has some crazy speckling!
- 80% Fine Superwash Merino Wool, 10% Cashmere, 10% Fingering – $8.99/50g ball
- This yarn has a lot of lovely, muted colours.
Gauge
4 x 4” (10 x 10 cm) = 26 hdc x 18 rounds in half double crochet worked in the round
Measurements
Finished cowl measures approximately 21” (53 cm) in circumference and 9.25” (23.5 cm) in height.
See “Modifying Size” in Pattern Notes to adjust size.
Abbreviations
Written in U.S. Crochet terms
BOR: beginning of round
CA: color A (grey)
CB: color B (brown)
CC: color C (beige)
ch: chain
hdc: half double crochet
rep: repeat
rnd(s): round(s)
sk: skip
sl st: slip stitch
st(s): stitch(es)
yoslst: yarn over slip stitch – yarn over, insert hook into designated st, yarn over and pull loop through st, then pull directly through 2 loops already on hook
yoslstBLO: yarn over slip stitch through the back loop only
Pattern Notes
Skill Level: Beginner
Turning Chain: The turning chain does not count as a stitch in this pattern.
Stitch Counts: Stitch counts are listed after each row. If no stitch count is given, there has been no change since the previous row.
Reversible: Although this design has a different texture on both sides of the fabric, either side can be worn as the “right side”.
Changing colors: When changing colors, work your final stitch of the old color as usual, but use the new color for the final yarn over to close the stitch. Then, continue crocheting with the new color while crocheting around the old color, carrying it through the stitches so that you can pick it up when you are ready to switch colors once again.
When Crocheting the Body: Each stitch of the body of this cowl is worked as a hdc.
Modifying Size: Adjust this cowl to suit any circumference by adding or subtracting any multiple of 8 rows from the beginning ribbing.
PATTERN
RIBBING
With CA, ch 10, leaving a 10” (25 cm) tail for seaming ribbing closed.
Row 1: Yoslst in 2nd ch from hook in each ch across, turn. [9 yoslst]
Row 2-136: Ch 1, yoslst through both loops in first st, yoslstBLO in next 7 sts, yoslst through both loops in last st, turn.
BODY
(color chart on page 5)
Set-Up Row: Bring your first and last rows together (without twisting your work) and hdc into the first row-end to join in the rnd. Place BOR marker in this st just worked. Work 1 hdc into each row-end of the ribbing you just completed until reaching BOR. [136 hdc]
Seam the first and last rows of your ribbing closed using the tail from your beginning ch using the whip stitch or seaming method of your choice.
- Note: Replace BOR marker into your first CB stitch, counting it as your first st of the rnd. Continue to move marker up to new st with each subsequent rnd within that section. When you begin a new Chevron Section, replace the BOR marker into the first st of that section.
Work all sts as hdc.
Chevron: Section 1
Rnd 1-4: *CB x 4, CA x 4; rep from * to BOR.
At this point, your colorwork sections should appear to be slanting to the right, even though you have been working the same colors directly on top of one another. This is the nature of crochet stitches when working in a spiral – the stitches naturally lean to the right.
Next, you are going to create a left-leaning slant to complete your first chevron.
Round 5: CA x 2, *CB x 4, CA x 4; rep from * to last 2 sts before BOR, CA x 2.
Round 6: *CA x 4, CB x 4; rep from * to BOR.
Round 7: CA x 6, *CB x 4, CA x 4; rep from * to last 2 sts before BOR, CB x 2, remove BOR, CB x 2.
You should now have your first full chevron section completed, and your next chevron will begin 2 sts over from your previous BOR.
Cut CA, leaving 6” (15 cm) tail to weave in later. Pick up CC to begin Chevron 2.
Chevron: Section 2
Replace your BOR marker into the first CB st of Rnd 8.
Rnd 8-11: *CB x 4, CC x 4; rep from * to BOR.
Rnd 12: CC x 2, *CB x 4, CC x 4; rep from * to last 2 sts before BOR, CC x 2.
Rnd 13: *CC x 4, CB x 4; rep from * to BOR.
Rnd 14: CC x 6, *CB x 4, CC x 4; rep from * to last 2 sts before BOR, CB x 2, remove BOR, CB x 2.
You should now have your second full chevron section completed, and your next chevron will begin 2 sts over from your previous BOR.
Cut CC, leaving 6” (15 cm) tail to weave in later. Pick up CA to begin Chevron 3.
Chevron: Section 3 & 4
Rep Section 1 & Section 2, making sure to replace your BOR marker into the first st of each section as shown in the stitch chart.
You should now have a total of 28 rnds worked. From this point on, you will only be working with CC.
Next rnd (using CC): Hdc in each st to BOR, sl st into marked st, remove BOR.
RIBBING
Ch 10.
Row 1: Yoslst in 2nd ch from hook and in each ch across, sl st into next 2 sts of last body rnd, turn work to begin crocheting back on this row. [9 yoslst]
Row 2: Sk 2 sl st just made, yoslstBLO in next 8 sts, yoslst through both loops in last st, turn.
Row 3: Ch 1, yoslst through both loops in first st, yoslstBLO in next 8 sts, sl st into next 2 sts of last body rnd, turn.
Rep Row 2 and 3 around entire cowl until reaching starting point. Fasten off, leaving 10” (25 cm) tail for seaming ribbing together, then seam with a tapestry needle using the whip stitch or seaming method of your choice. Fasten off.
Weave in any remaining ends.
Block cowl using desired method.
Colorwork Chart
Chart is to be read from right to left, bottom-up and in the round. Each st is worked as a hdc. The first stitch of the round with the BOR marker is the stitch immediately after the red line.

#CornerstoneCowl
I hope you loved this cowl pattern and I can’t wait to see the colors you choose for yourself! If you end up making one, please tag me on Instagram @knitsnknotswpg and use the hashtag #CornerstoneCowl because I’d love to see it! If you’d like your finished cowl to be featured here in this blog post, email me your photos @ knitsnknotswpg@gmail.com and I’ll add them in here 🙂
The inexpensive PDF version is available on Ravelry here, on my website here, and on Etsy here!
-
- Use code PATTERN10 for 10% off!
Shop fingering weight yarn here!
Here are some other wintry accessory patterns you might like – Westwood Headband, Misty Valley Scarf, Hazeldell Wrap, Sunny Hills Cowl, Puffed Up Fringe Scarf, Dandelion Meadow Scarf, and the White Noise Wrap!
Happy crocheting,
x
Janine
You May Also Like


