
Hey guys!
Today I’m finally sharing all my secrets to how I make bralettes! Click here to go to the Beginner Bralette pattern or continue reading for more info + a pattern coupon code!
This post contains affiliate links. All opinions are my own. Any purchases made will help support Knits ‘N Knots blog content.
About
I’m so excited to bring you this pattern! I have made bralettes for a couple years now, and they’re probably my #1 favourite thing to make. They are so fun, so easy, so fast, and so simple to really customize! Once you have a basic bralette down, you can add so many fun details to make it transform into a brand new top. I feel like my crochet skills really improved around the time when I was learning to make bralettes because they’re the perfect project to attempt new stitches, new borders, new techniques, because the project is so small that it’s not a big deal if it doesn’t work out. (Most of the time, even my mistakes looked intentional!) You can scroll back in my Instagram (@knitsnknotswpg) and find a lot of my tops and get some ideas to transform your basic bralette into something that is totally YOU!
I’ve called this pattern the “basic bralette” because it’s exactly that. It’s meant to tell you exactly how I make them, so that even if you’ve never made one before, you’ll be able to make something that fits your own body perfectly. It’s meant to guide you in making your first bralette, or, if you’ve made one before, you can follow along to see how I make mine.
This pattern is written in more of a tutorial-style so that you can adjust everything to fit your own body, rather than giving you exact stitch counts for each size. BUT, don’t worry, I have provided you with suggested stitch counts in some places in case you’re making it for somebody else and you don’t have their exact body measurements.
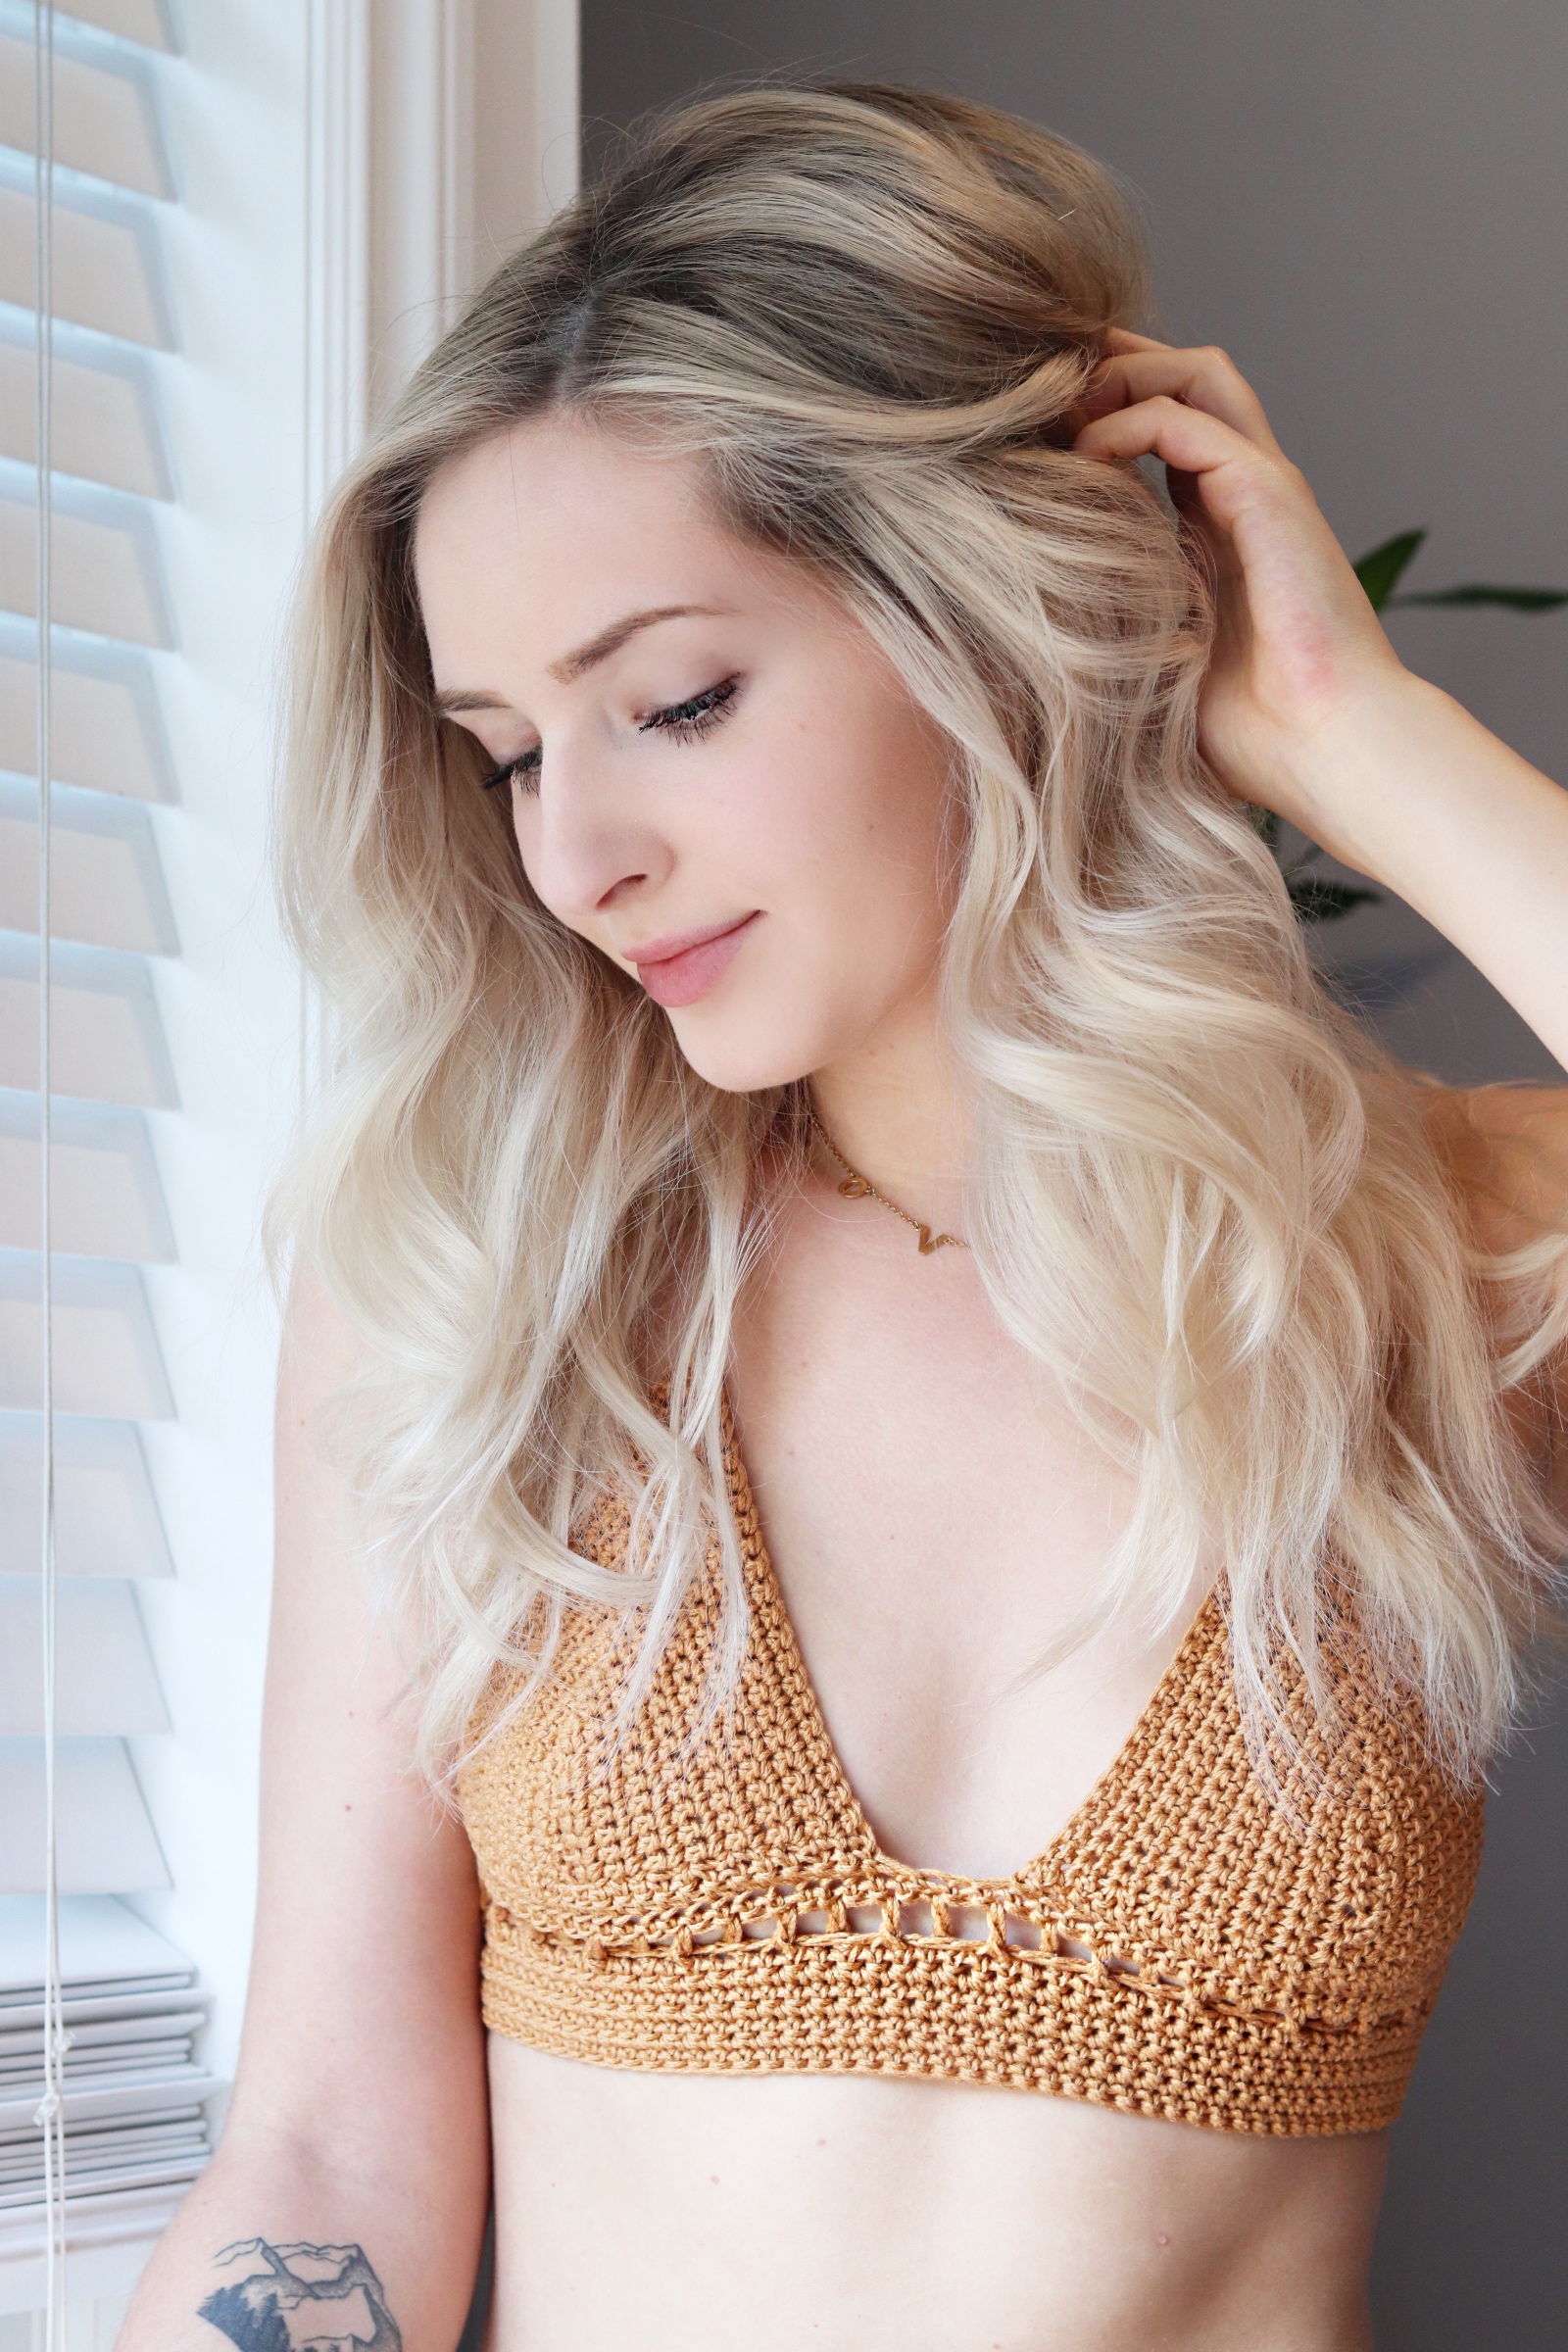
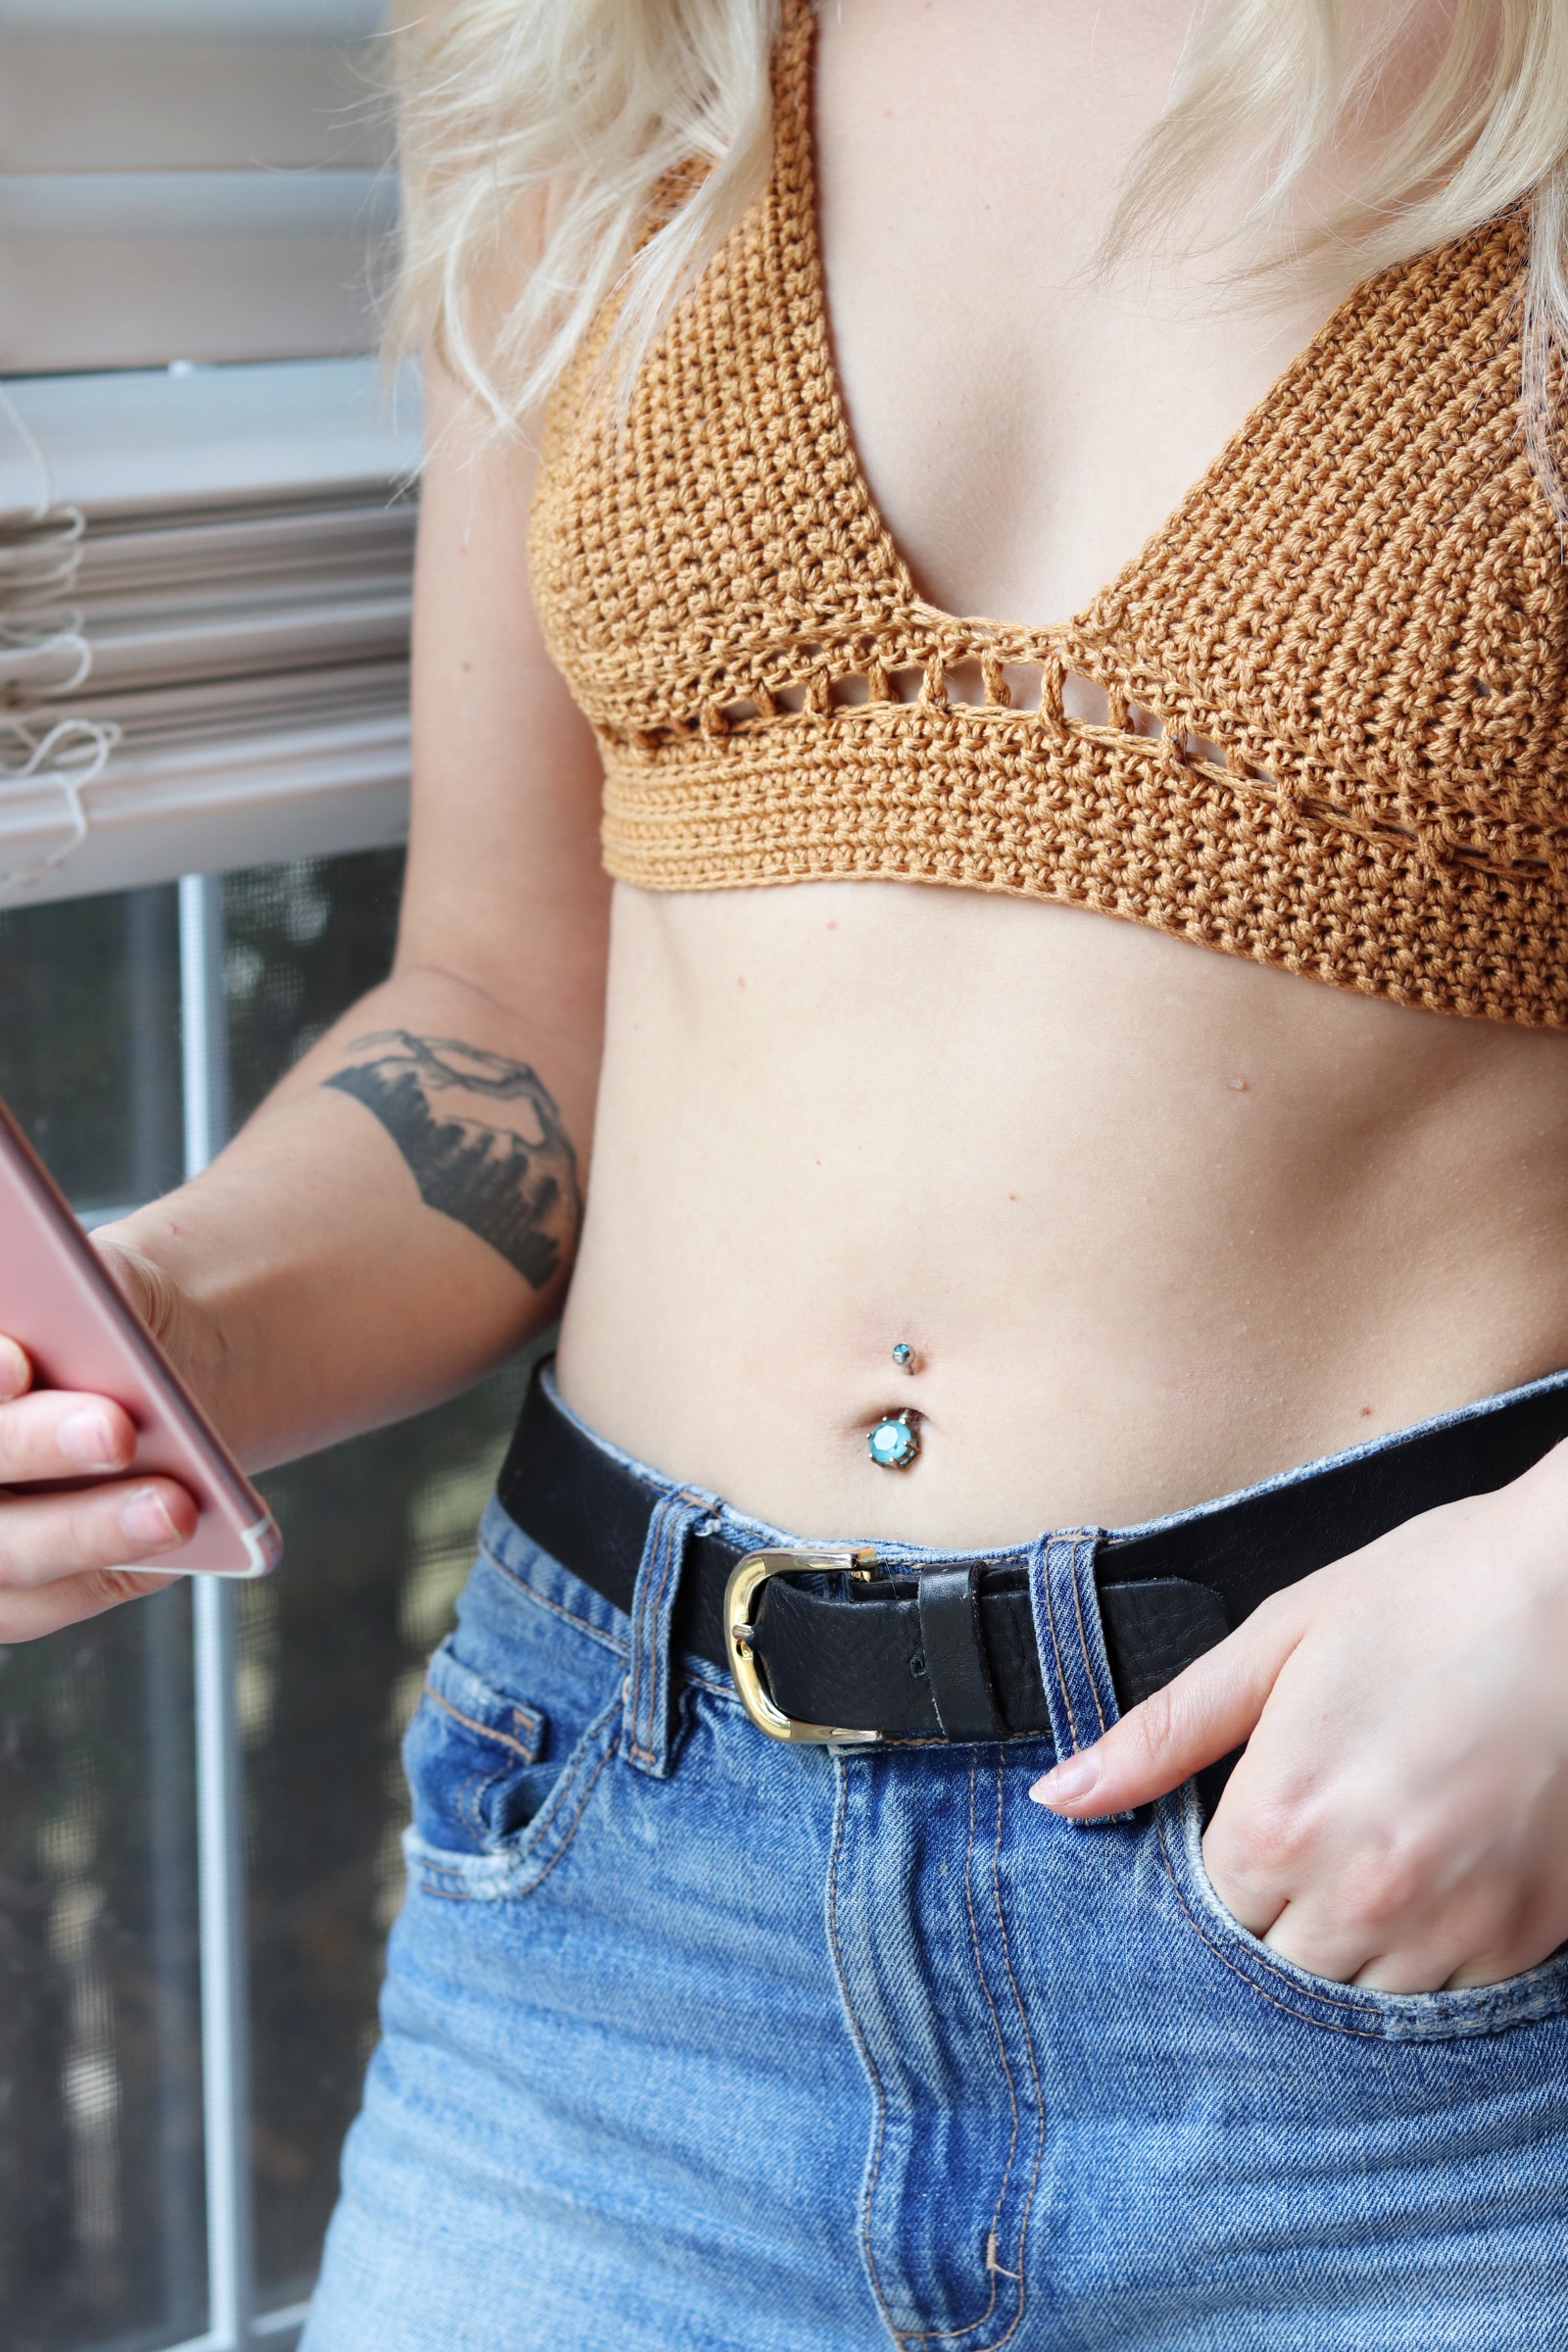
This top is called a “bralette” because it’s a bra-shape without underwire, bra closures (clasps) or any other attributes giving the bra structure on its own. This type of top is meant to be form-fitting to your body and tied behind the neck and behind the back to secure it to your body. These tops are so much fun to make and I hope that you have fun making yours! I think one of the most fun parts is finding outfits to wear them with once you’re finished. They can show as much or as little skin as you like, you can add fringe, tassels, eyelets, etc. so you can really personalize it to reflect your own style.
These are not made to be worn with a bra, although you could line them with fabric or sew in bra cups if you’re more comfortable having a little extra somethin’ in there.
Construction
I neeeeed to talk to you about my favourite thing about this top: the STRAPS.
The straps in the back actually run through the front of the top to act as underwire. It helps keep the girls supported if ya know what I mean. This was my biggest “Aha” moment and honestly makes the biggest difference. If you’ve got a large chest, it’s necessary to have this strap in the front if you want to feel comfortable and supported. Without it, if you were to lift your arms up, you’d give everyone a show. But, with this strap in the front pulled secure, you can do any movement and not have to worry. Are you sold yet? Ya. I thought so!
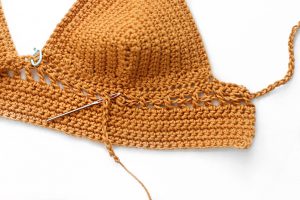
This top is created in 3 pieces: 2 identical cups, and 1 body panel that wraps around your ribs. The cups are then sewn to the body and straps are added. Boom. Done. It’s that easy!
I’ve included some photos to help let you know that you’re on the right track which I think you’ll find to be really helpful!
All you’ll need is 1-2 skeins of Lion Brand 24/7 cotton, a yarn needle, a stitch marker, and a 3.75mm crochet hook. And although this is what I wrote the pattern using, you can use any yarn. I recommend cotton since it will be tight to your skin, but I wrote the pattern so that you can literally use anything, any weight, because you’re crocheting to a certain measurement. If you want to use Hobby Lobby cotton or Bernat Handicrafter, go for it. Use a hook that is smaller than the recommended hook size because you want the stitches to be tight.
Pattern is written in US crochet terms, and you’ll need the following skills: single crochet, double crochet, skipping stitches, crocheting into chain spaces, seaming. This an easy level pattern.
Yarn
I used 24/7 Cotton for this top and I think it’s a great choice for this project. I’ve used a few different materials from acrylic to other cottons, and Lion Brand 24/7 Cotton is my favourite. It gives the most clean, professional looking results. I recommend sticking to cotton, but you can experiment and see for yourself. You can read here why 24/7 Cotton is my favourite. If you need to pick up a few skeins, you can click here to shop. You’ll need 1 skein if you’re usually XS-S, and 2 skeins if you’re typically a M-L. I’d get an extra skein or two for 2XL or 3XL.
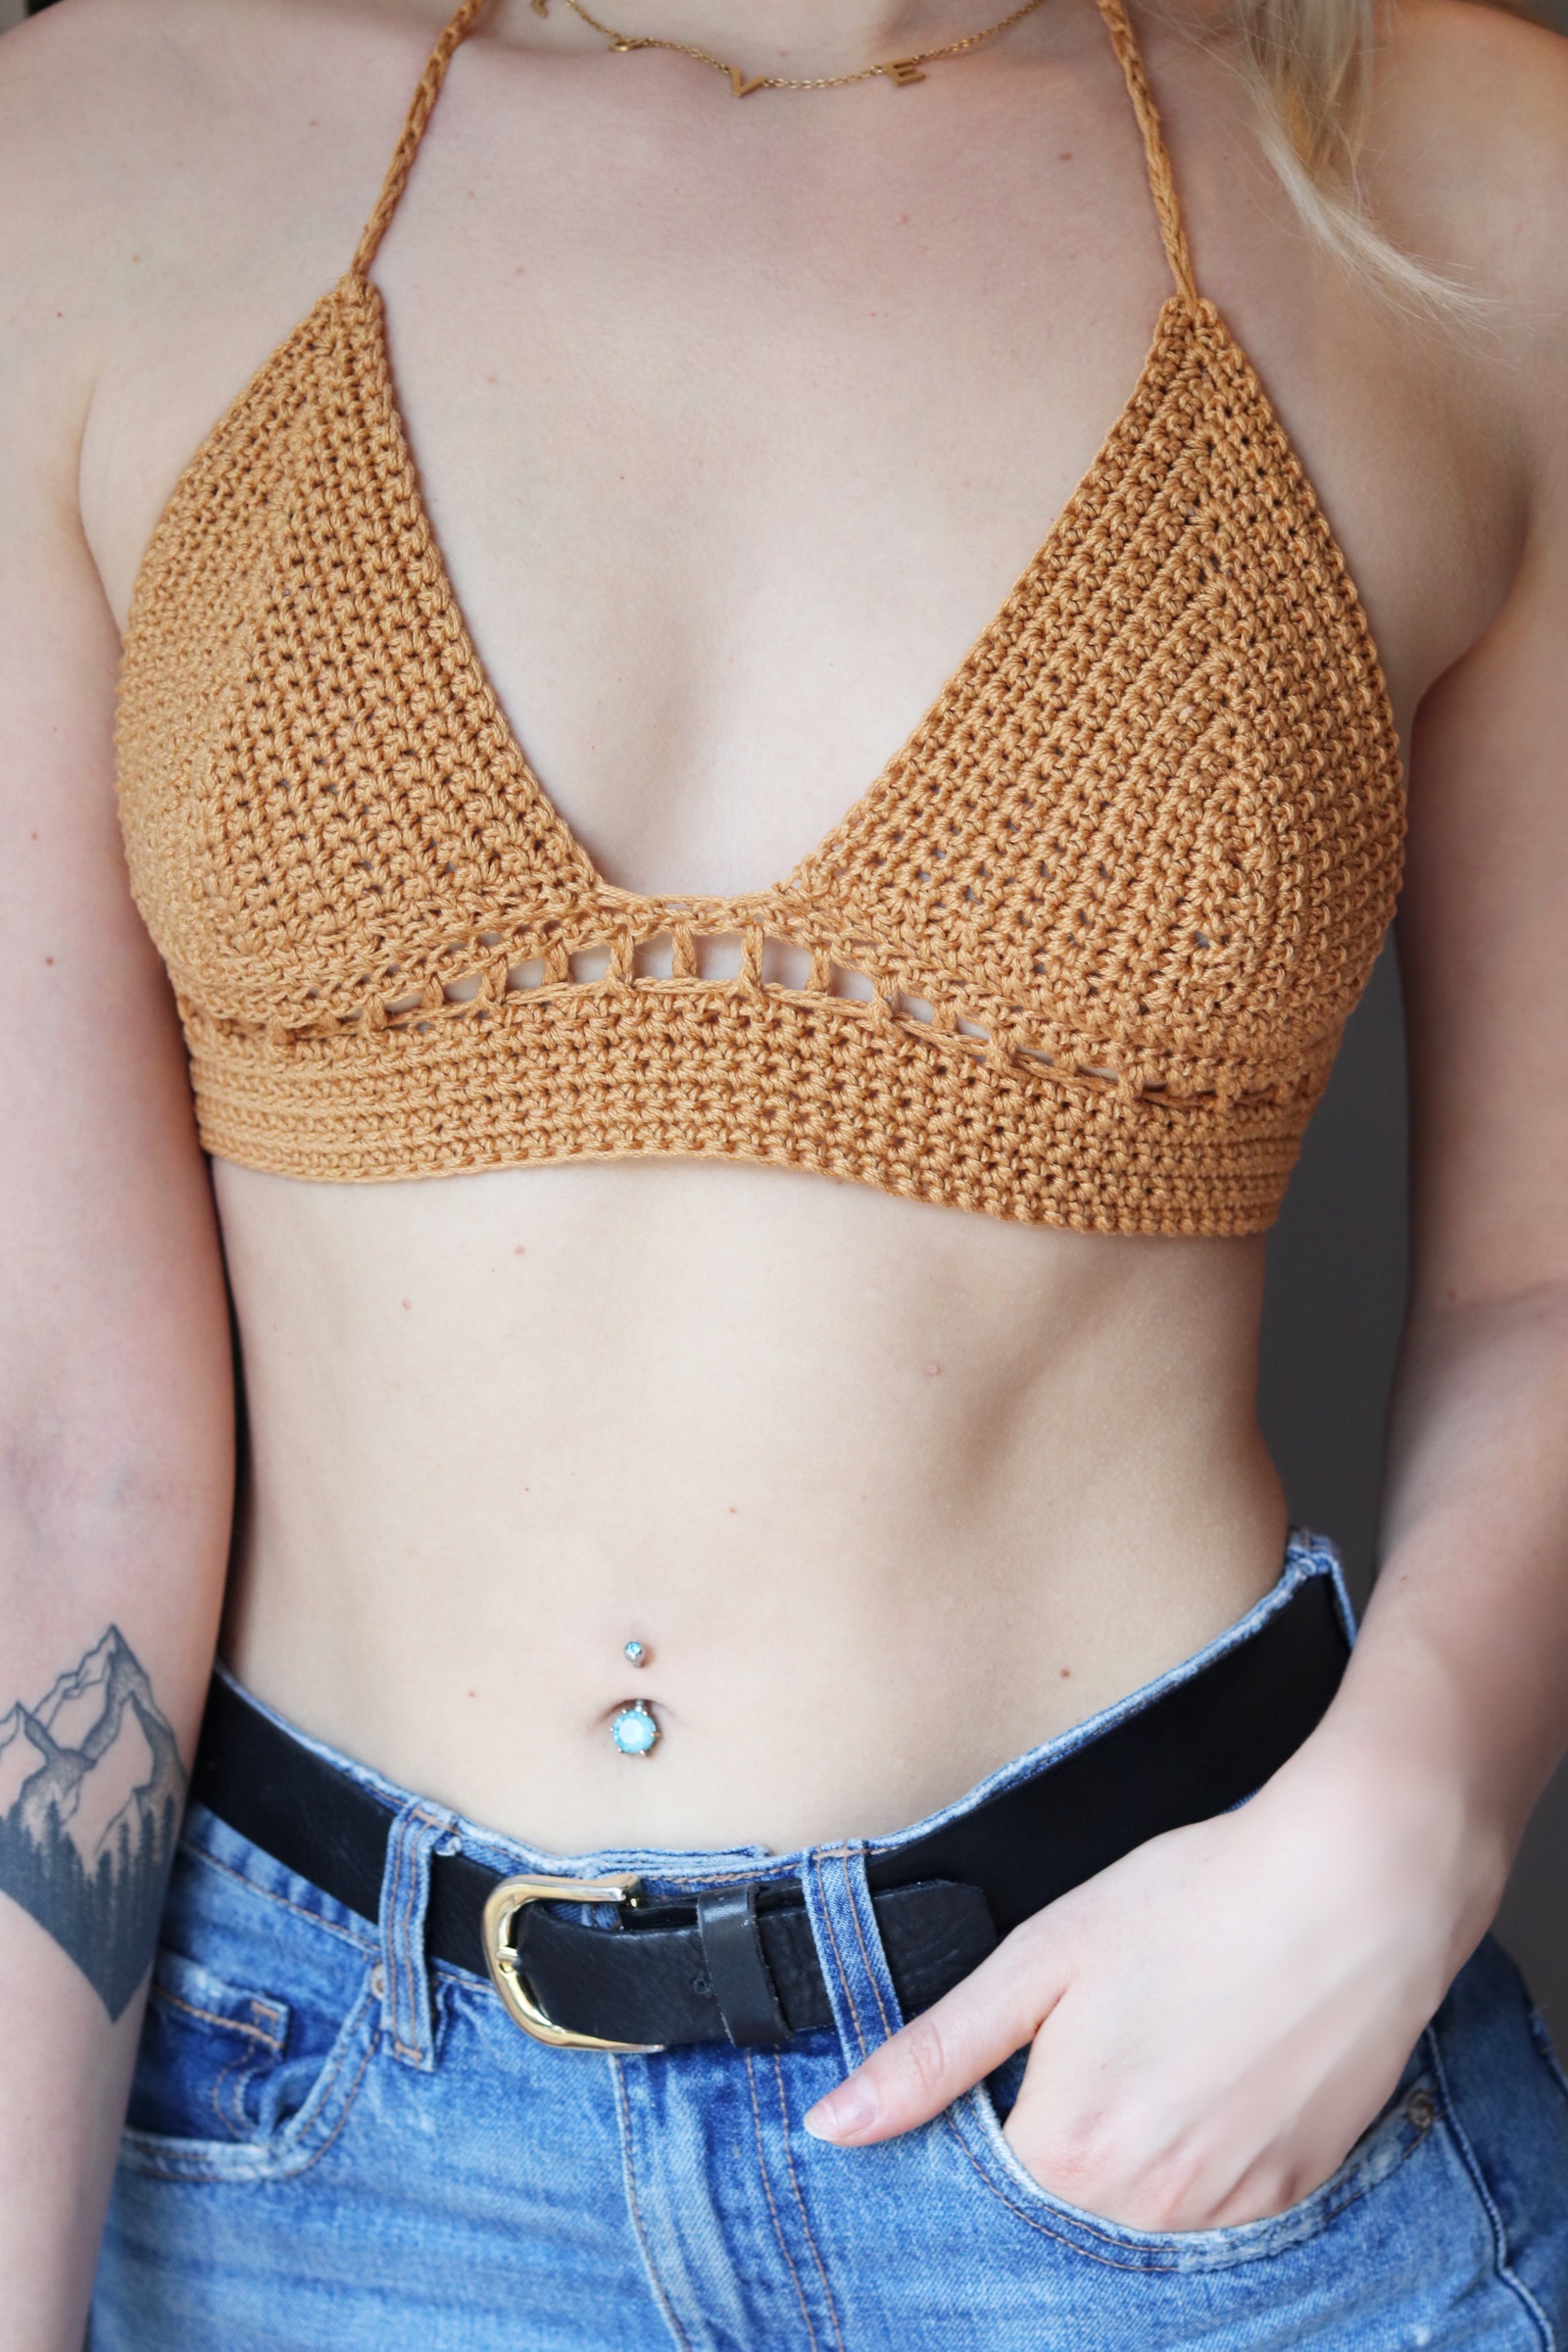
I used the colour “camel” in the sample photos. I used under 1 skein for approx. size XS.
You can find the pattern in these places:
On my website here.
On Ravelry here.
On Etsy here.
(Use the code “PATTERN10” for 10% off all patterns)
I can’t wait to see your WIPs! Make sure to tag me @knitsnknotswpg and use the pattern hashtag #BeginnerBralette so that everyone can see your projects!
Happy crocheting,
Janine xo
You May Also Like


