

Hi friends!
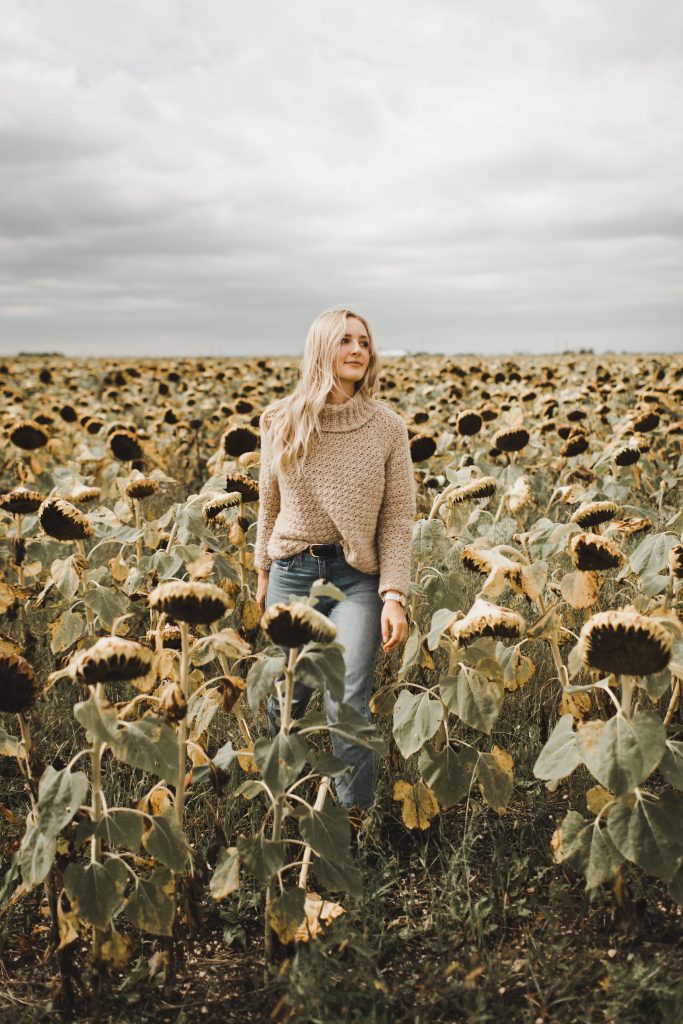
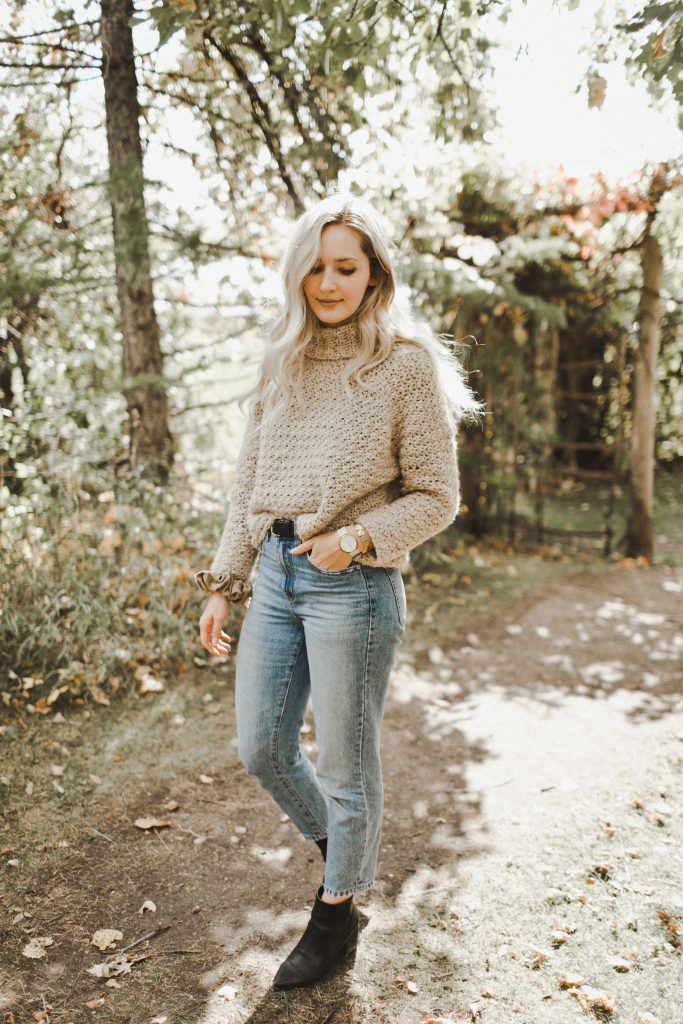
This post includes everything you need to know about my Chainette Turtleneck, an oversized raglan sweater worked seamlessly from the top-down with a deep yoke and a relaxed cowl neck.
Get the Lion Brand Crochet Kit here (in your desired colourway)!
Before we begin, here are some quick links for you:
- Find the PDF version on Ravelry, Etsy, and my website.
- Add your finished project to Ravelry here!
- Shop the recommended yarn, Lion Brand LB Collection Chainette, here.
- Shop the full Lion Brand crochet kit here on (comes with all yarn required for your chosen size + a FREE copy of the PDF pattern)!
- For any questions about this pattern, please email knitsnknotswpg@gmail.com and I’ll get back to you asap!
Shop my first book – Modern Crochet Sweaters: 20 Chic Designs for Everyday Wear – here!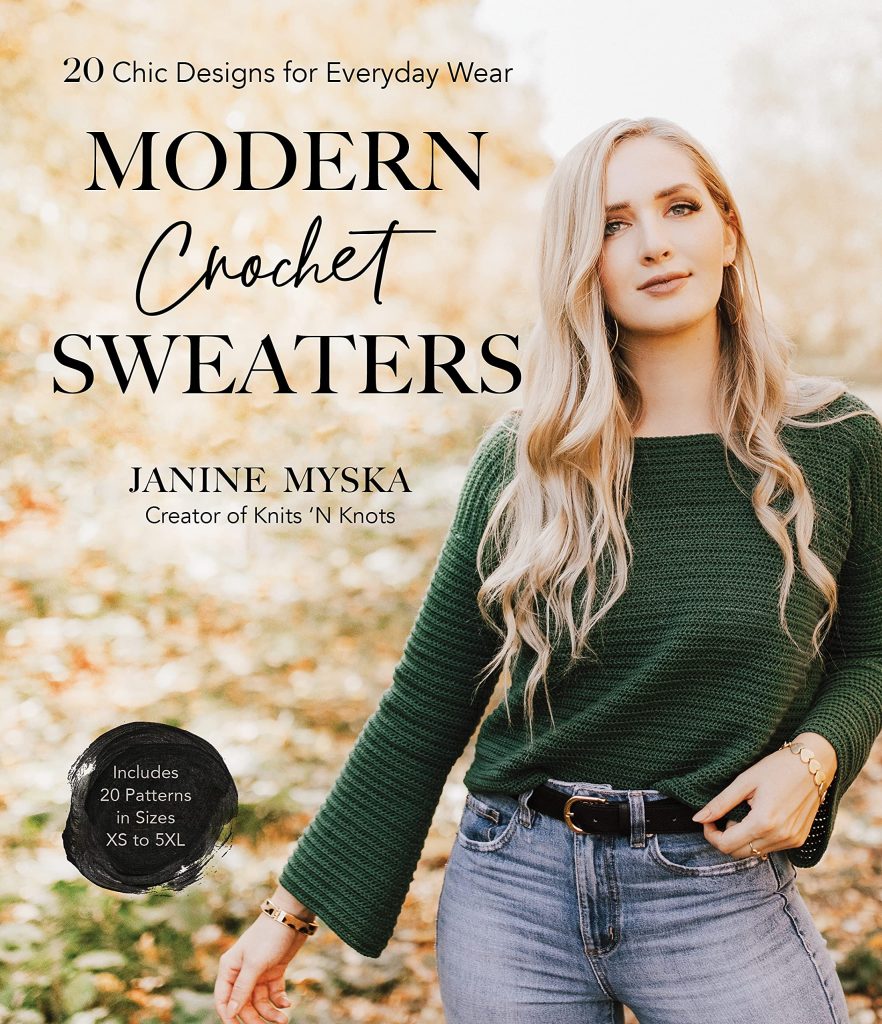
If you want to be notified of all new pattern releases (and get exclusive discounts on all new paid patterns), sign up below!
This post contains affiliate links. This means, should you make a purchase, I will receive a small portion of the sale at no extra cost to you. All opinions are my own. View my Privacy + Disclosures Policy here.
About
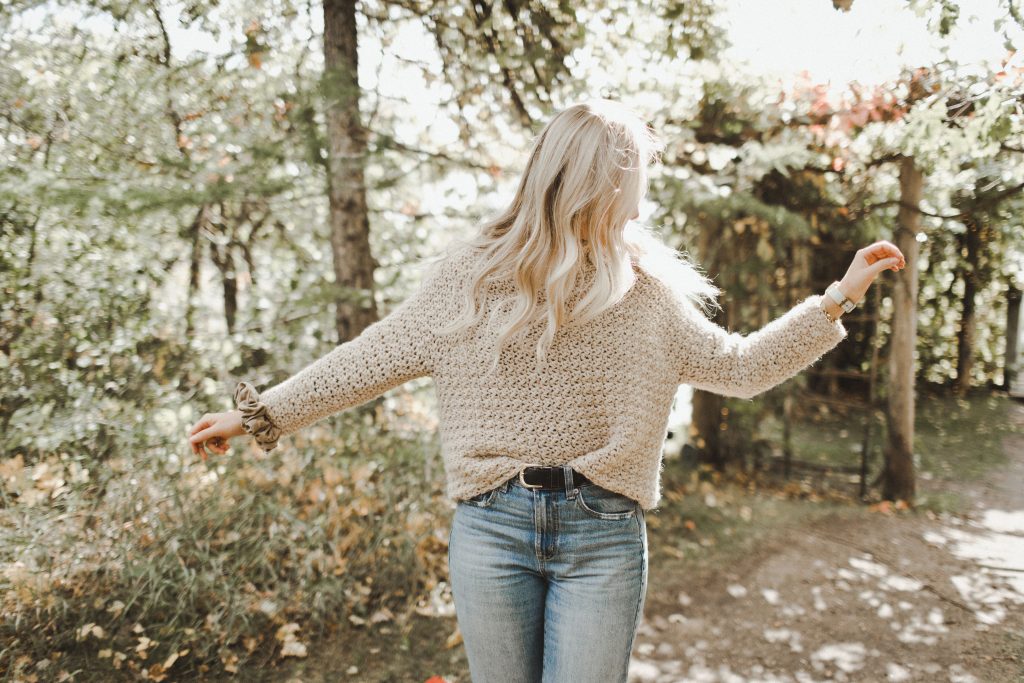
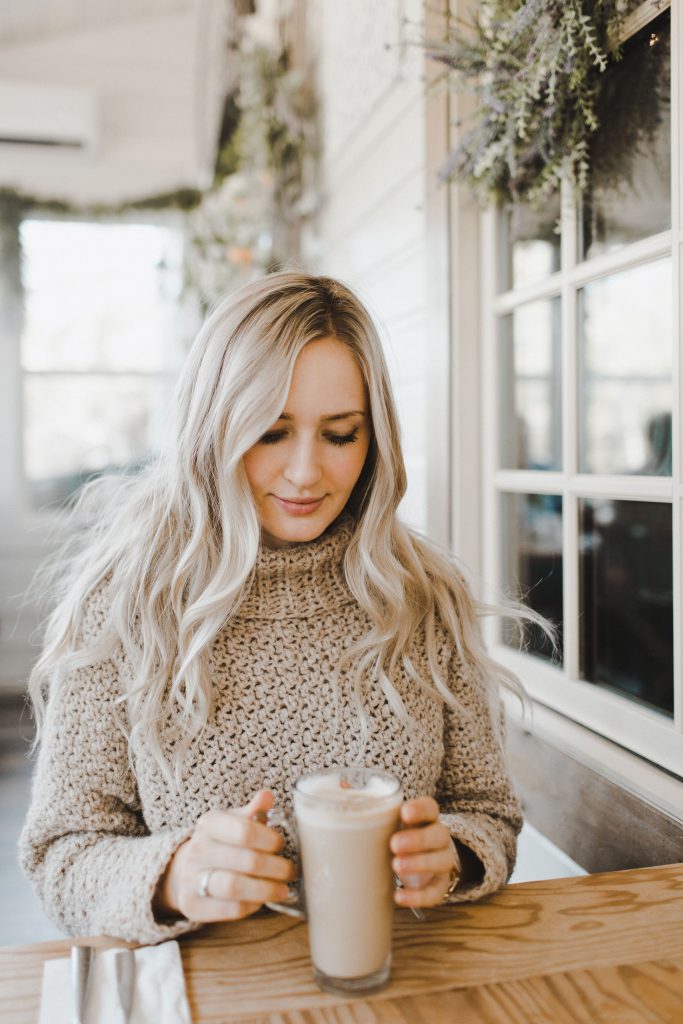
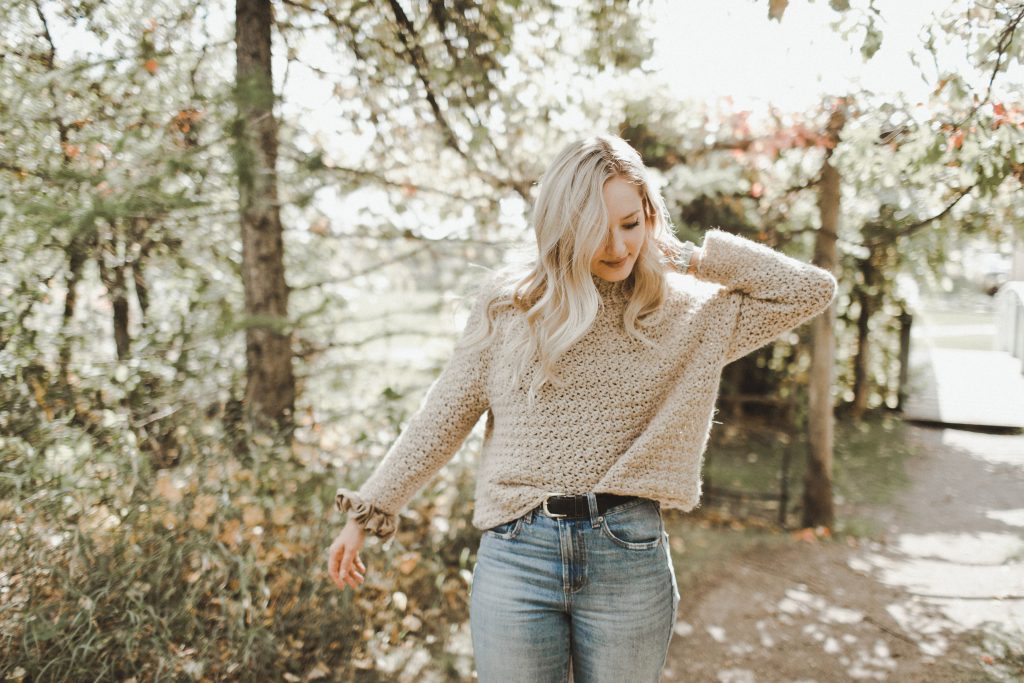
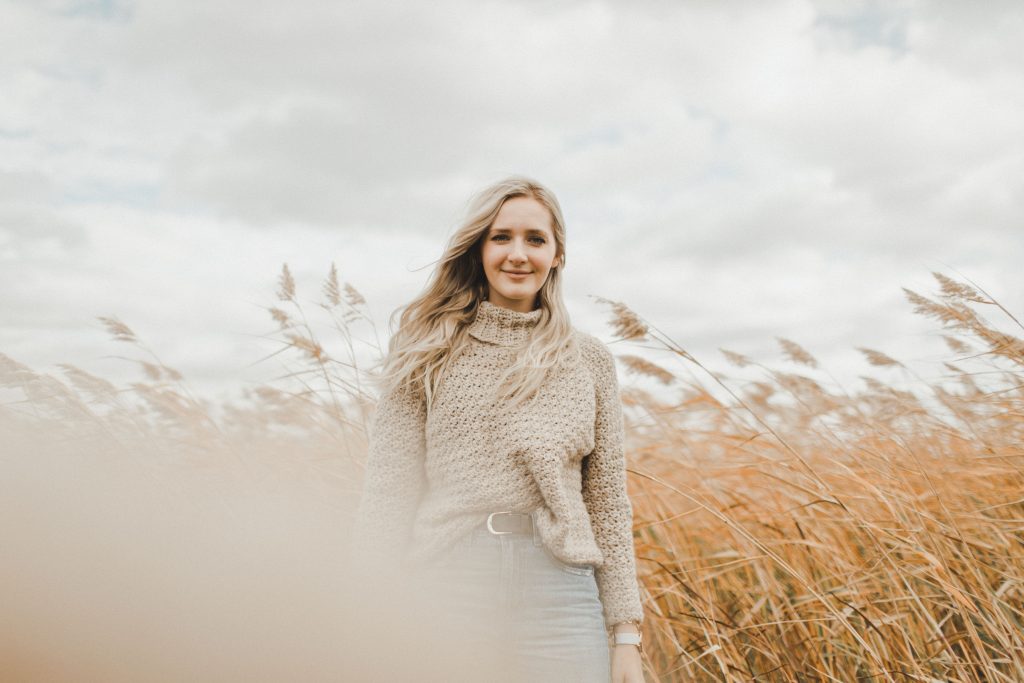
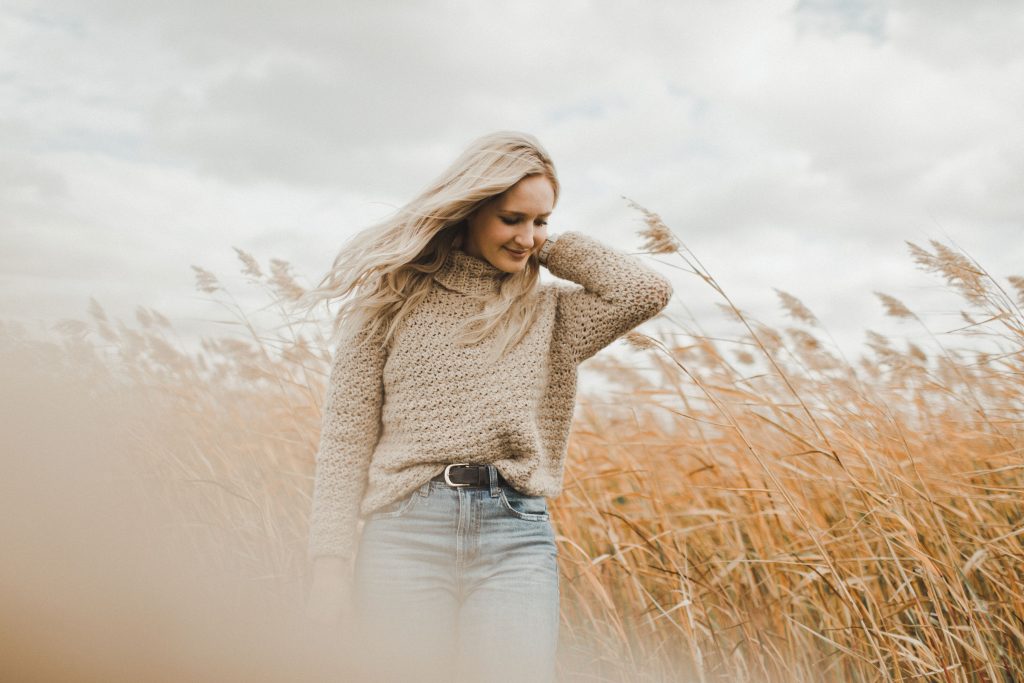
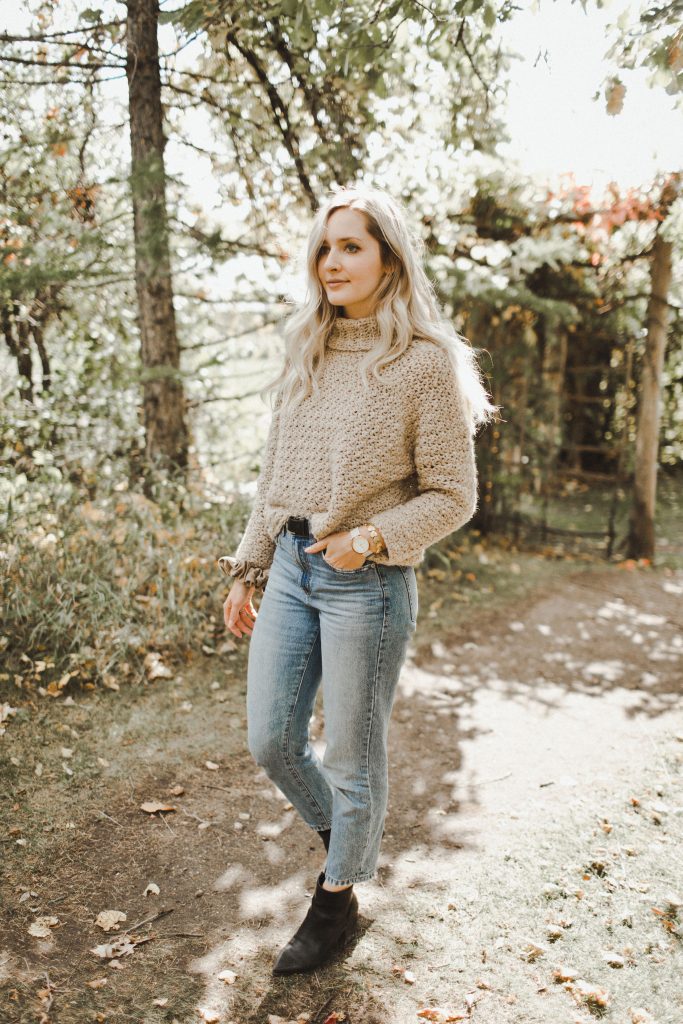
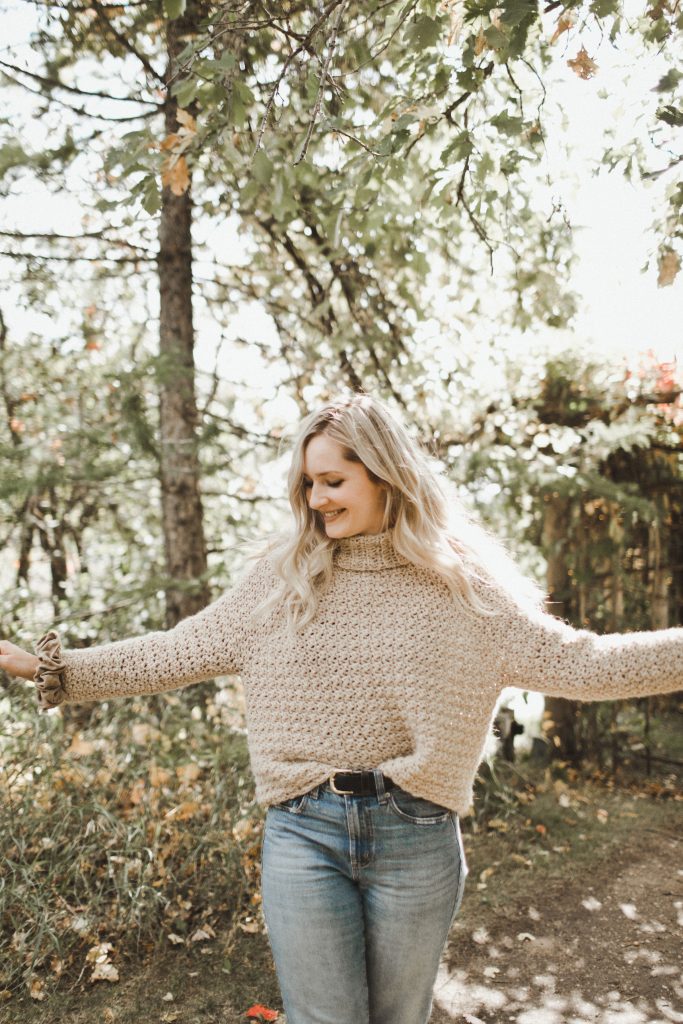
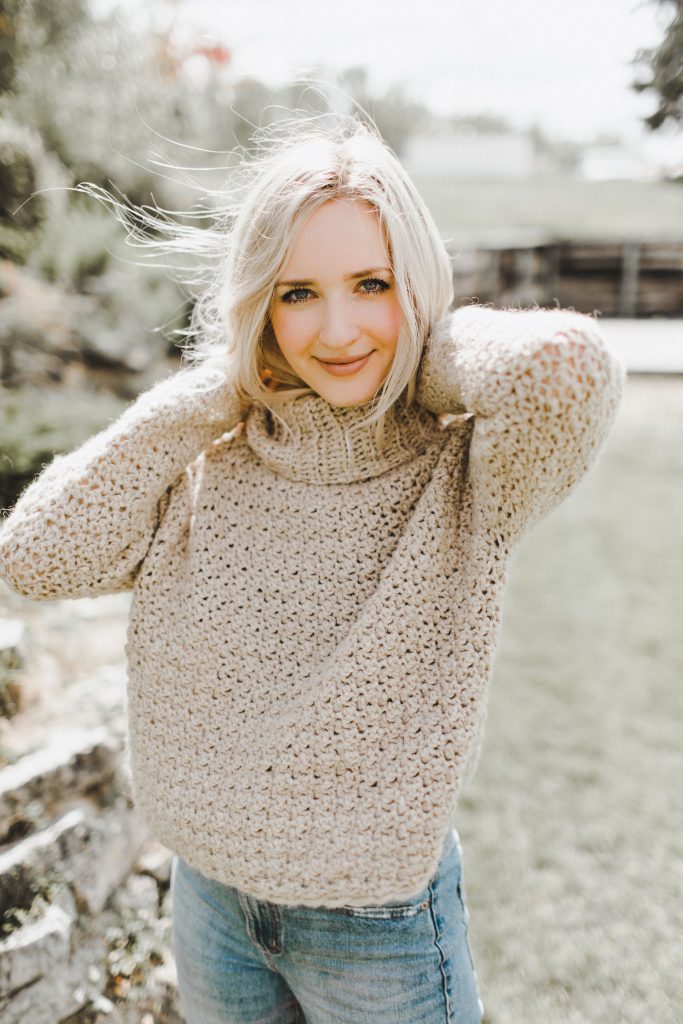
The Chainette Turtleneck is an oversized raglan sweater worked seamlessly from the top-down with a deep yoke and a relaxed cowl neck. The all-over stitch pattern, paired with this light-as-a-cloud yarn, create a delightfully cozy sweater that can be worn year-round.
Let me tell you why I made this sweater in the first place.
A few years ago, I bought a grey, turtleneck sweater that I just LOVE. I wear it all the time. There was just something about the shape of it that I found really flattering on my body. It was soft, textured, fuzzy, stretchy, warm, neutral coloured, not really “cropped” but fell to the upper-mid hip, oversized with fitted sleeves, and had a turtleneck. Check, check, check, check.. all my favourites in one sweater.
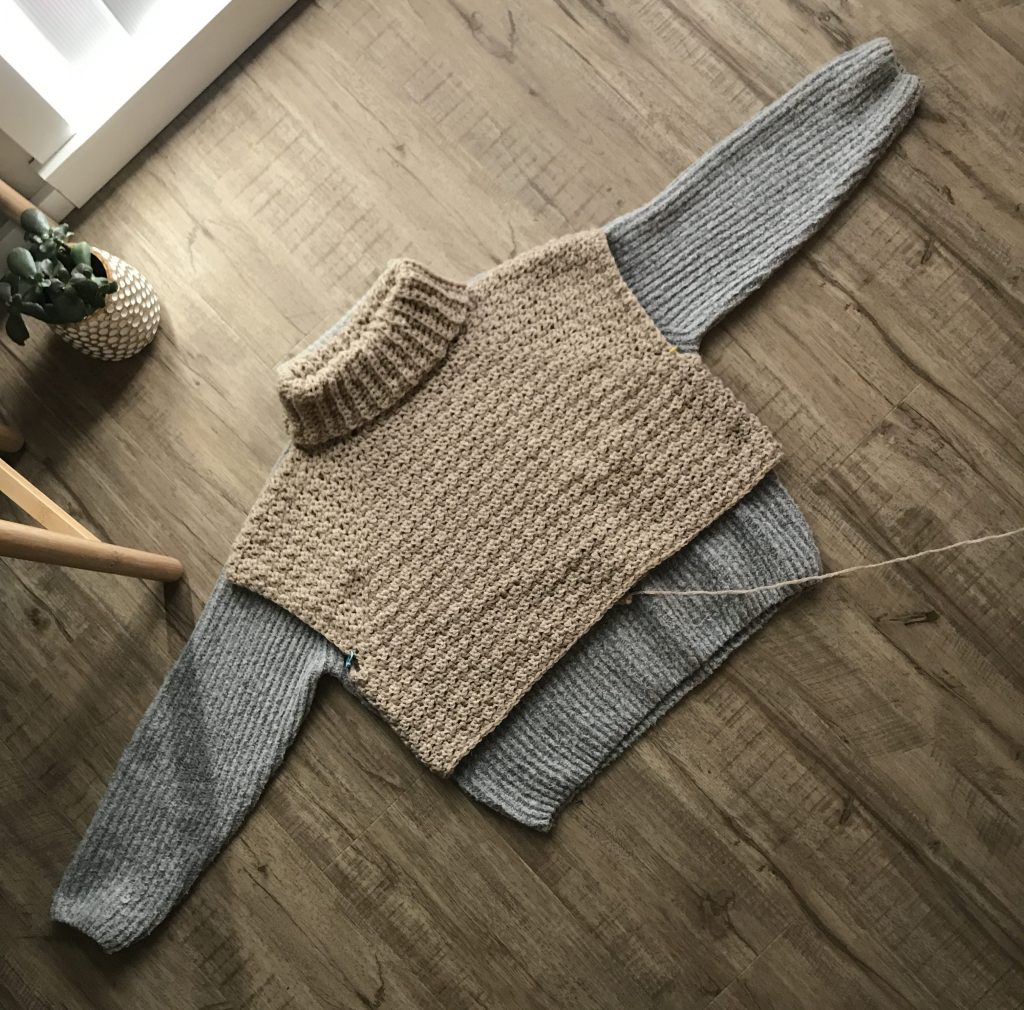
I never would have thought I would actually be able to replicate this sweater, since it was a raglan-style sweater. BUT.. after learning how to crochet a raglan sweater, replicating the shape of my favourite grey sweater was finally an option! It’s pretty amazing how much my design world has opened up since learning this new skill of top-down crochet. I wrote an entire blog post about learning how to crochet a raglan if you’re interested in reading about the process.
This sweater uses Lion Brand Chainette which I’ll go over later in this post – or you could click here and read my review from one of my Fiber Friday yarn review posts!
![]()
MATERIALS
Yarn: Worsted—Lion Brand LB Collection Chainette in colorway “Beige”
- 65% Baby Alpaca, 35% Nylon
- 164 yds (150 m) per 1.75 oz (50 g) skein
- Find this yarn on lionbrand.com or visit yarnsub.com to find comparable substitutes available in your region.
- Grab the Lion Brand kit here!
Yardage Required:
- 5 (6, 7, 9, 9) skeins of LB Collection Chainette
- 748 (931, 1131, 1336, 1420) yds
- 684 (851, 1034, 1222, 1298) m
Yarn Substitution: Substitute Lion Brand LB Collection Chainette with any similar category 4, medium weight yarn with a blown construction that matches gauge. This type of construction creates a very light and airy yarn with a fuzzy halo. For a finished sweater similar to the one shown, choose a yarn with similar properties, being mindful of the weight and yardage per skein. Many crocheters have completed beautiful versions of this sweater in all types of fiber contents. Always swatch before beginning to ensure you are happy with the resulting fabric.
Hook: Size U.S. K/10½ (6.5 mm) or size needed to obtain Main Gauge
Notions: Tapestry needle, scissors, 8 locking stitch markers

Gauge
The gauge for the cowl neck differs from the main gauge. Make sure to check both gauges to ensure you are using the appropriate hook sizes for your tension. For sample shown, the same 6.5 mm hook was used throughout the entire pattern, but you may need to use two different hooks depending on your unique tension.
Main Gauge
4 x 4” (10 x 10 cm) = 10.5 sts and 11 rows in stitch pattern, blocked.
For Swatch:
Ch 15.
Row 1: Dc in 2nd ch from hook, sc in next ch, *dc in next ch, sc in next ch; rep from * to end of row, turn. [14 sts]
Row 2: Ch 1, *dc in next sc, sc in next dc; rep from * to end of row, turn.
Rep Row 2 until swatch measures approximately 5” (13 cm) in height. Block your swatch the same way you would your finished sweater. Measure the innermost 4” (10 cm) of your swatch (not the first or last row, and not the edge stitches) to get the most accurate measurement.
Cowl Neck Ribbing Gauge
3 x 3” (8 x 8 cm) = approximately 10 sts x 6.5 rows in scBLO, blocked.
Pattern Notes
Skill Level: Intermediate
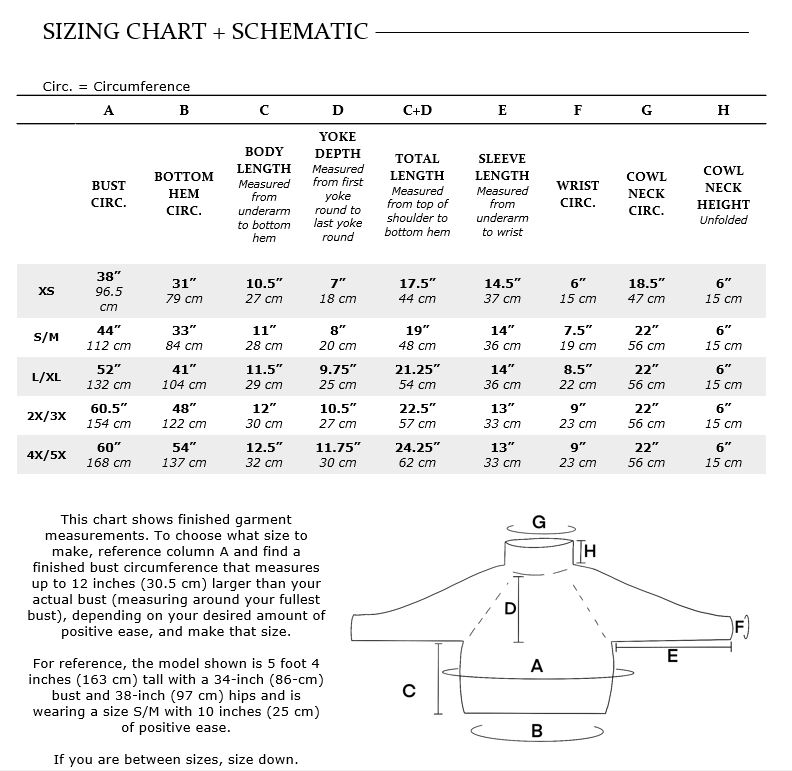
Sizing: This sweater is written in five hybrid sizes as follows: XS (S/M, L/XL, 2X/3X, 4X/5X). Make sure to follow the numbers for your size only.
View full sizing chart below.
Reversible: There is no “right side” or “wrong side” to this sweater.
Stitch Counts: Stitch counts are listed after each row/round in italics. If no stitch count is given, there has been no change since the previous row/round. If only one number is provided, it applies to all sizes.
Turning Chain: The turning chain does not count as a stitch anywhere in this pattern. You will notice that the turning chain is a ch-1 throughout the pattern, even when the first stitch of the round is a double crochet. This ch-1 is intentional to mimic the height of a preceding single crochet and will help make the back-seam less noticeable.
“Work in pattern sequence”: This means to alternate dc and sc stitches, working each dc into a sc, and each sc into a dc (except when working into stitches that have been decreased in the previous round, in which case you will continue the stitch pattern you have already established).
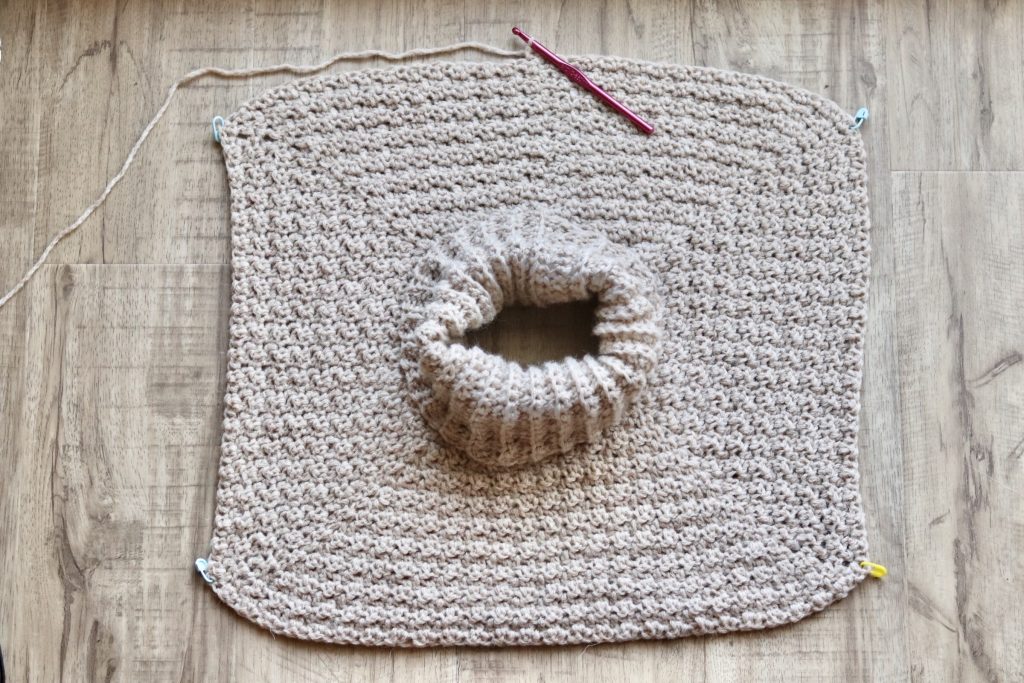
Construction: The cowl neck is worked first, then you will begin the yoke, increasing at a few different rates to shape the upper body. Once you have reached your specified yoke depth, you will join your work in the round and complete the body. The wide, tapered sleeves are crocheted directly onto the sleeve openings.
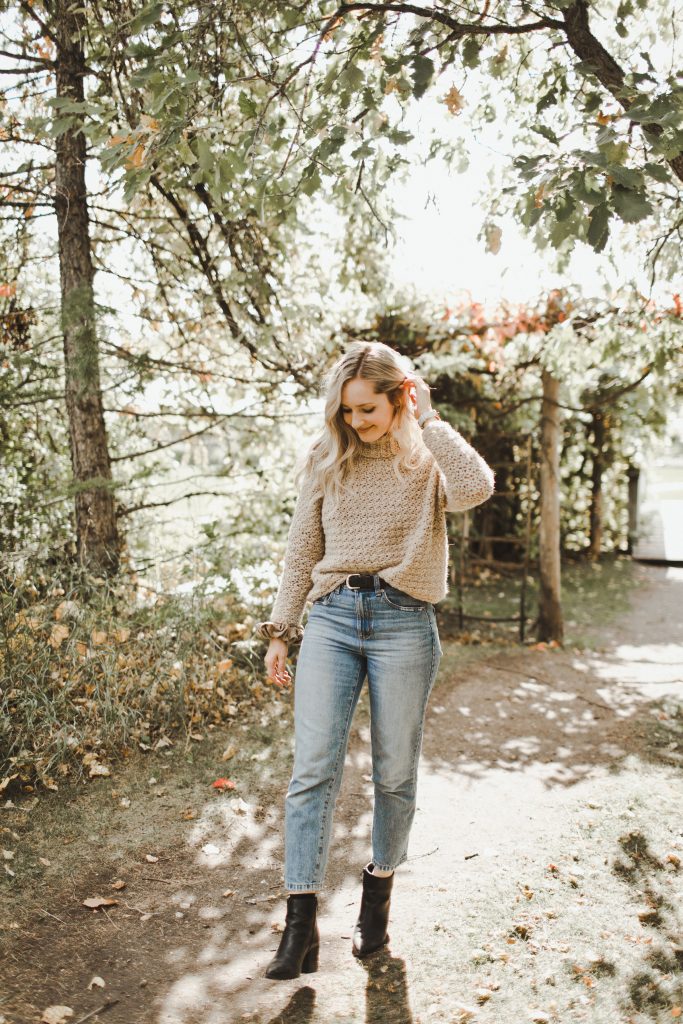
Notes on Fit: This design is intended to fit oversized, with a wide fit in the bust and gradually become more fitted as the sleeves are worked toward the wrists. The sleeves are designed to be bracelet length, intended to land just before the wristbone. The finished sweater length ends at mid-hip, although you are welcome to work your sweater to any length you like. Just note that additional yarn will be required to work additional length.
Anatomy of a Yoke
There are 4 sides to your yoke. The side with the seam from joining your rounds is the back of your sweater. The end-of-round join will always take place at the center-back. The opposite side is the front of your sweater, and the two adjacent sides are the sleeves.
Terms + Abbreviations Used
Written in U.S. Crochet Terms
- ch(s): chain(s)
- ch-sp(s): chain space(s)
- dc: double crochet
- dec: decrease (working 2 stitches together) (further explained in the pattern)
- FSC: foundation single crochet (further explained in the pattern)
- rep: repeat
- rnd(s): round(s)
- sc: single crochet
- scBLO: single crochet in the back loop only
- sk: skip
- st(s): stitch(es)
- sl st: slip stitch
![]()

![]()
![]()
#ChainetteTurtleneck
Thanks so much for reading!
Shop the full Chainette Turtleneck crochet kit here (comes with all yarn required for your chosen size + FREE copy of the PDF pattern)!
Find the pattern PDF in these places:
On Ravelry
On Etsy
On My website
For free in the Chainette Turtleneck crochet kit here!
x
Janine
You can find my full print book, Modern Crochet Sweaters: 20 Chic Designs For Everyday Wear on the shelves of all major retailers or see purchasing options here!
For exclusive discounts on all new patterns, join the Knits ‘N Knots newsletter list here!
You May Also Like


Lori Benjamin Brenig
Hi, I love this sweater! I have been crocheting a while, but not really wearables. What skill level would you say this pattern is?
18 . Nov . 2019Thank you!
Janine Myska
Thank you so much, Lori! I would say advanced beginner. It uses only single crochet and double crochet stitches, and as long as you can read a pattern you should be fine!
18 . Nov . 2019